

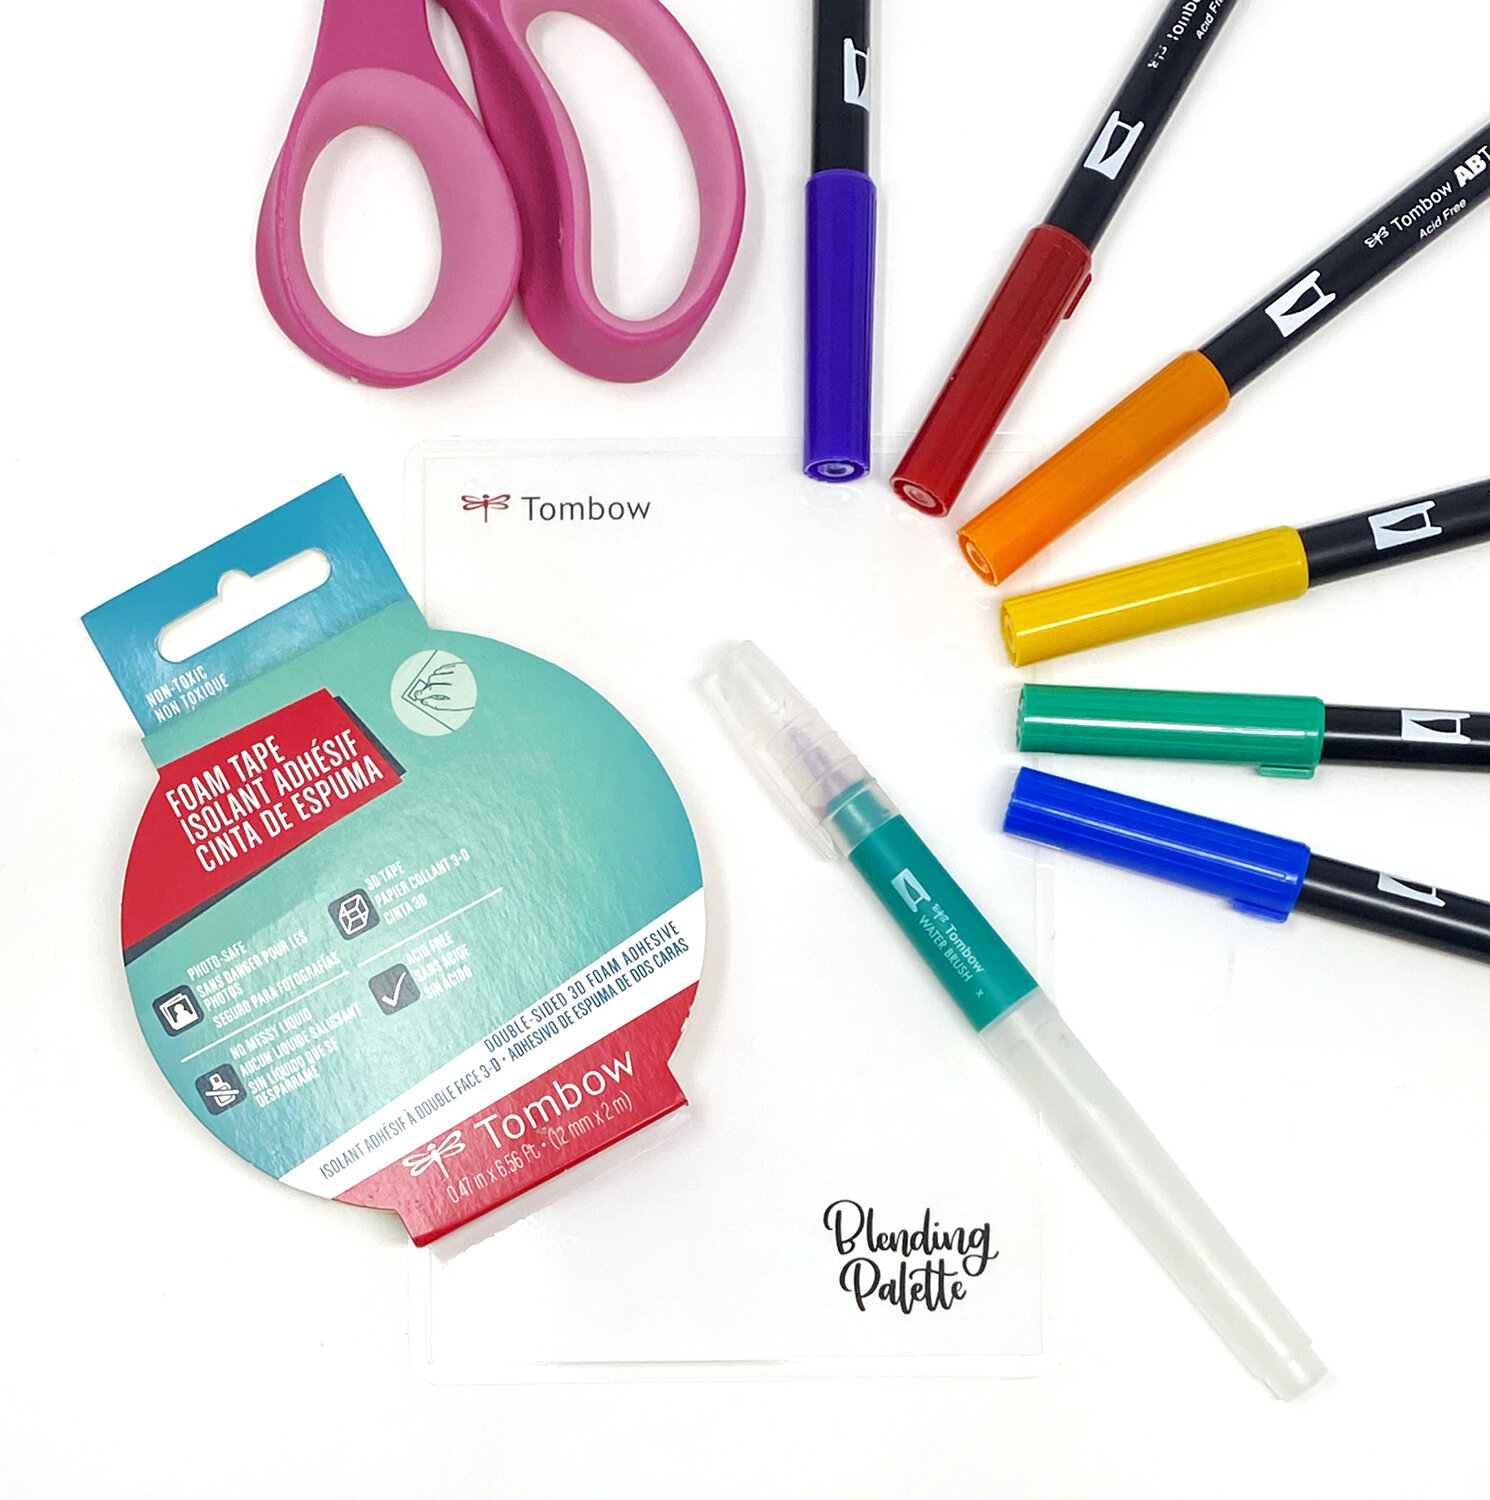
Today I’m going to show you how to make 3D watercolor artwork in rainbow colors! Here’s what you’ll need to get started.
Supplies:
Watercolor paper
Scissors
Frame (optional)
You can use my affiliate code ‘bpbunny15’ for 15% off all Tombow products.
Step 1: Cut Out Leaves
You’re going to want to cut out at least 15-20 leaves from watercolor paper. You need enough that you can build upwards as well as out to get the 3D effect. You can either draw your design using a pencil first or just get straight to cutting out your shapes. They don’t have to look the same or be uniform. Tip: I used a large pair of scissors to cut out the basic shapes and then used these tiny and super-sharp ones to get into the smaller areas.

Step 2: Paint Your Leaves
You can use any Dual Brush Pen colors you like. I’ve chosen Dual Brush Pens 925, 985, 296, 535, 606 and 847. Start by scribbling the ink onto your Blending Palette and then use your Water Brush to pick it up and blend it onto your leaves. This is why you need to use watercolor paper for this project. Thinner paper won’t hold up to the water-blended ink. You could either color each leaf with one color like I have in the example OR you could get really wild and make each one rainbow!
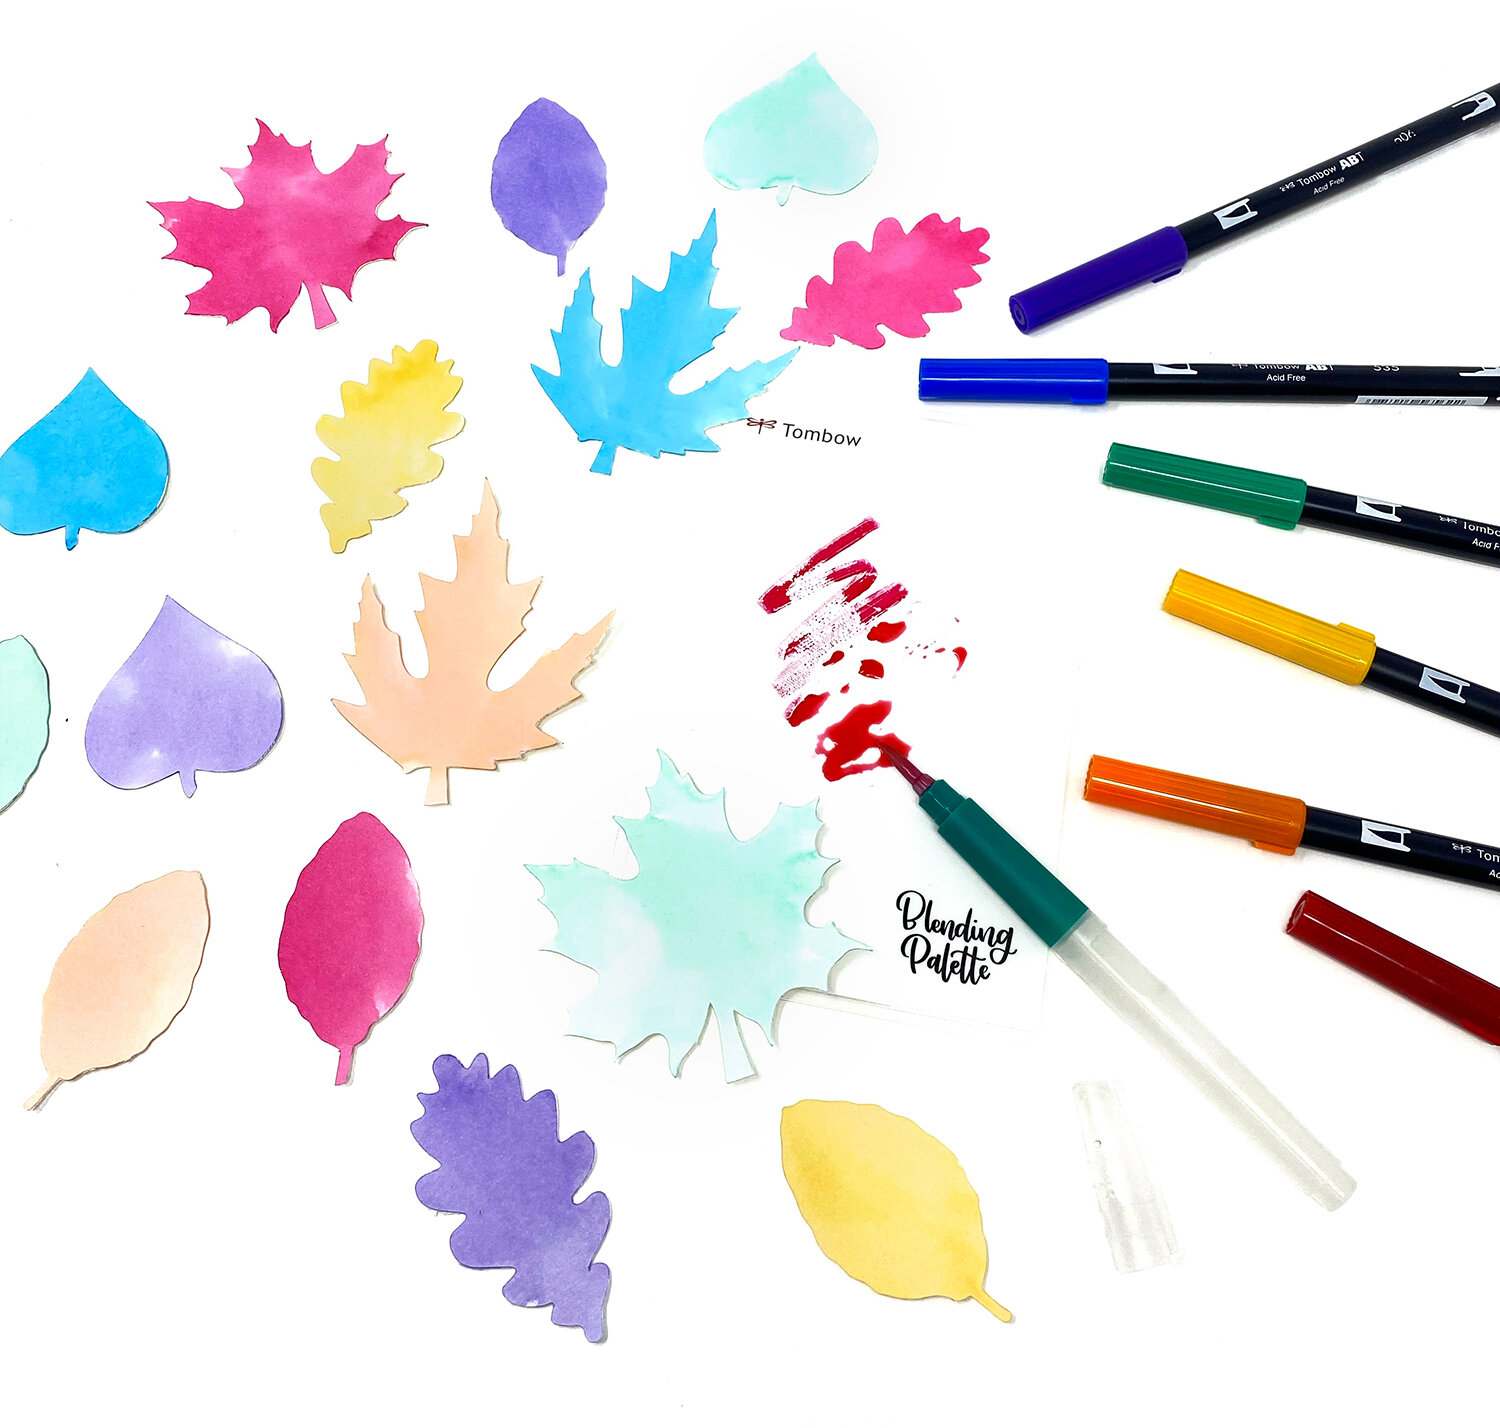
Step 3: Add Detail
Using the bullet tip of your Dual Brush Pens, add some veins and detail to each of the leaves once they are dry.

Step 4: Build your 3D Watercolor Artwork
Start by laying your leaves out to get a rough idea of where you want to place them. Once you’re happy with the placement, start cutting small pieces of the Foam Tape and sticking the leaves to a separate piece of watercolor paper (or you could use card if you’d like for the backing). Make sure you build upwards as well as outwards. You can stick Foam Tape between layers of leaves to give them height or you can stick multiple pieces of tape on top of each other to create a little foam tower. Then, stick a leaf on top.

Step 5: Frame Your Artwork!
You can use a shadow-box type frame or just leave the glass out of a regular frame so your 3D watercolor artwork has room to shine. It makes a nice gift. If you did a miniature version, you could make a pretty cool 3D card!

I’d love to see what you made, so if you share it to social media make sure to tag @BrownPaperBunny so I can take a look.
If you’re looking for more watercolor projects, check out How to Paint Watercolor Flowers with Markers.
----------
Please note: This blog post contains affiliate links, which help pay for the upkeep of this site. That being said, I will never, ever promote anything I am not 100% in love with.