
Today I’m going to show you how to make easy, gorgeous mail art with markers and stamps! Mail art is a guaranteed way to put a smile on someone's face and provide a lovely break from bills and junk mail! Plus, it will only take you a few minutes to create. Here's what you'll need to get started.
Supplies:
A thick envelope
A small piece of cardboard
Step 1: Stamp on Your Design
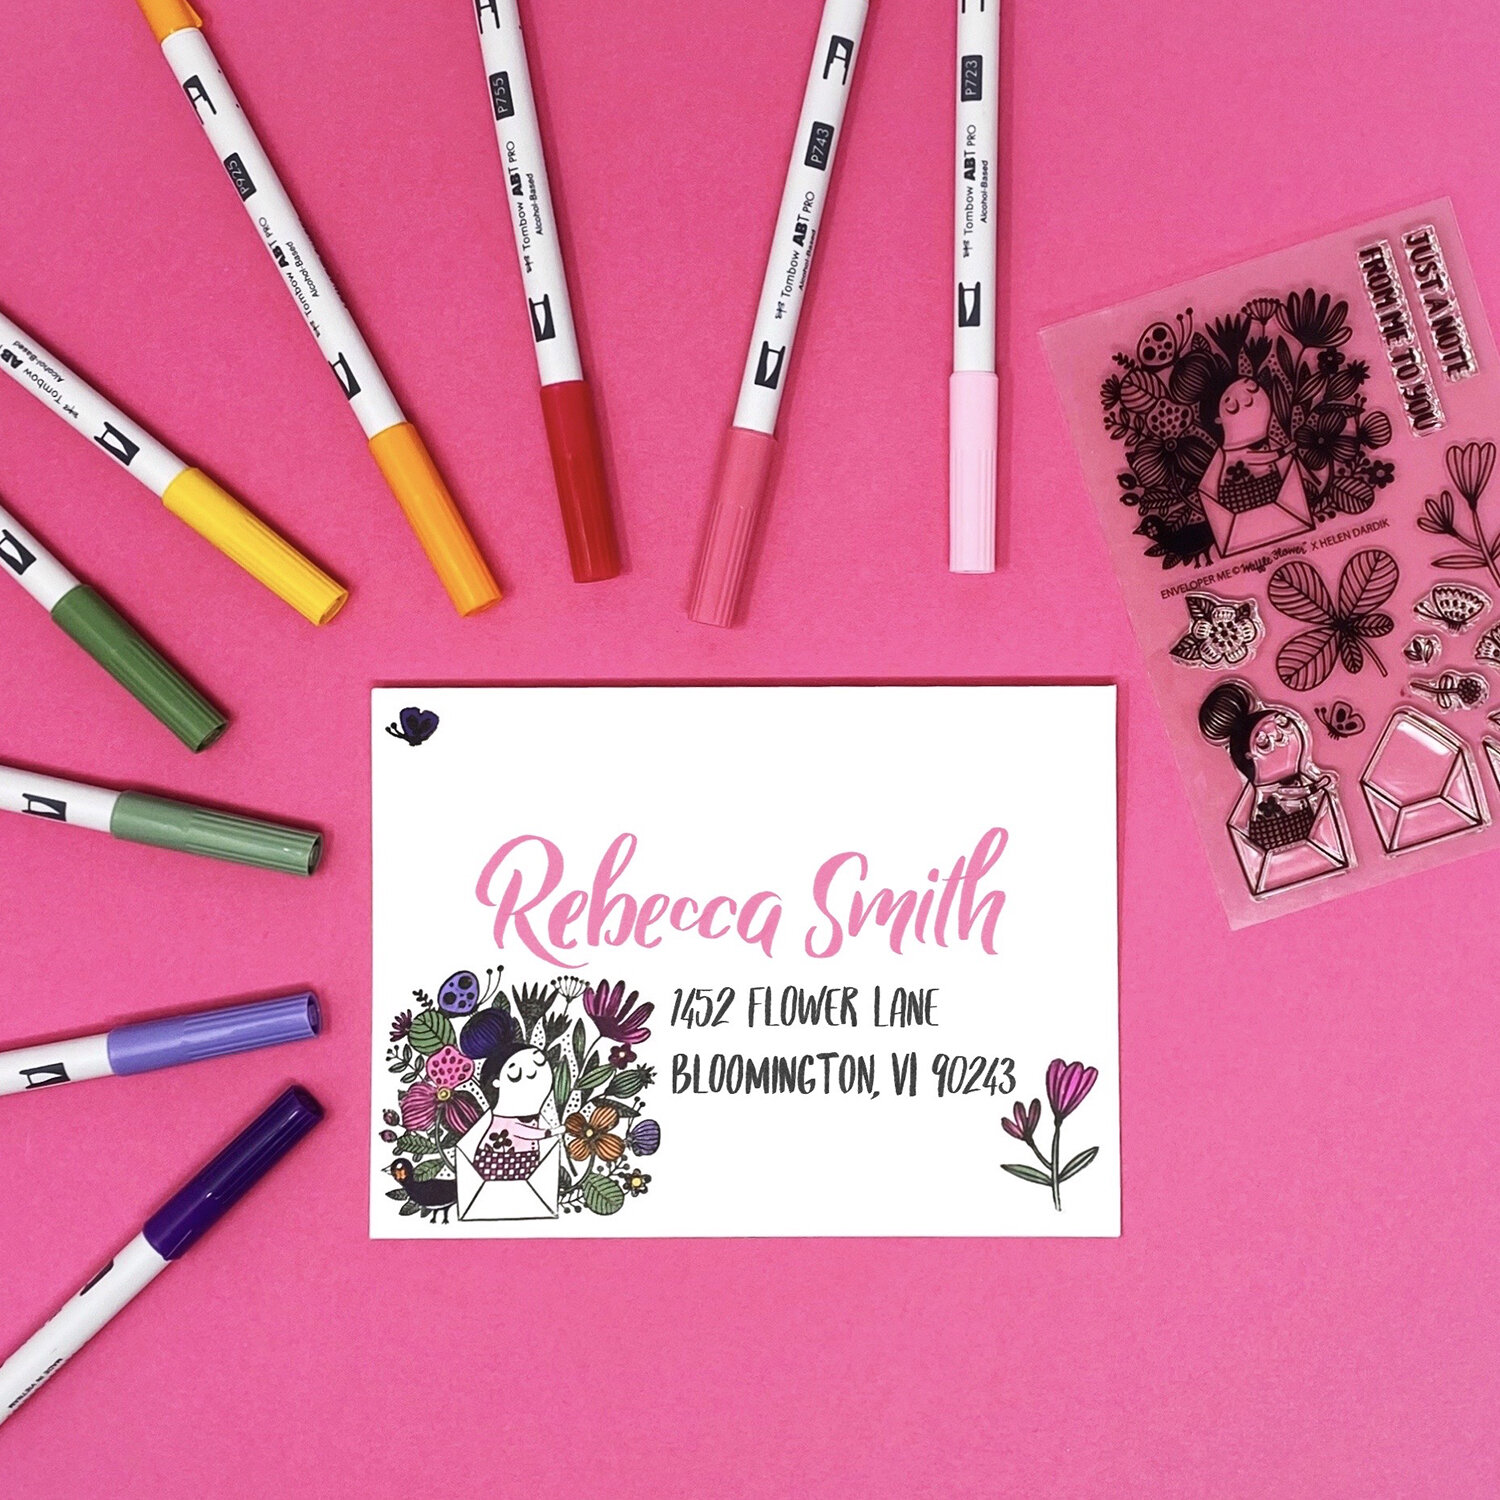
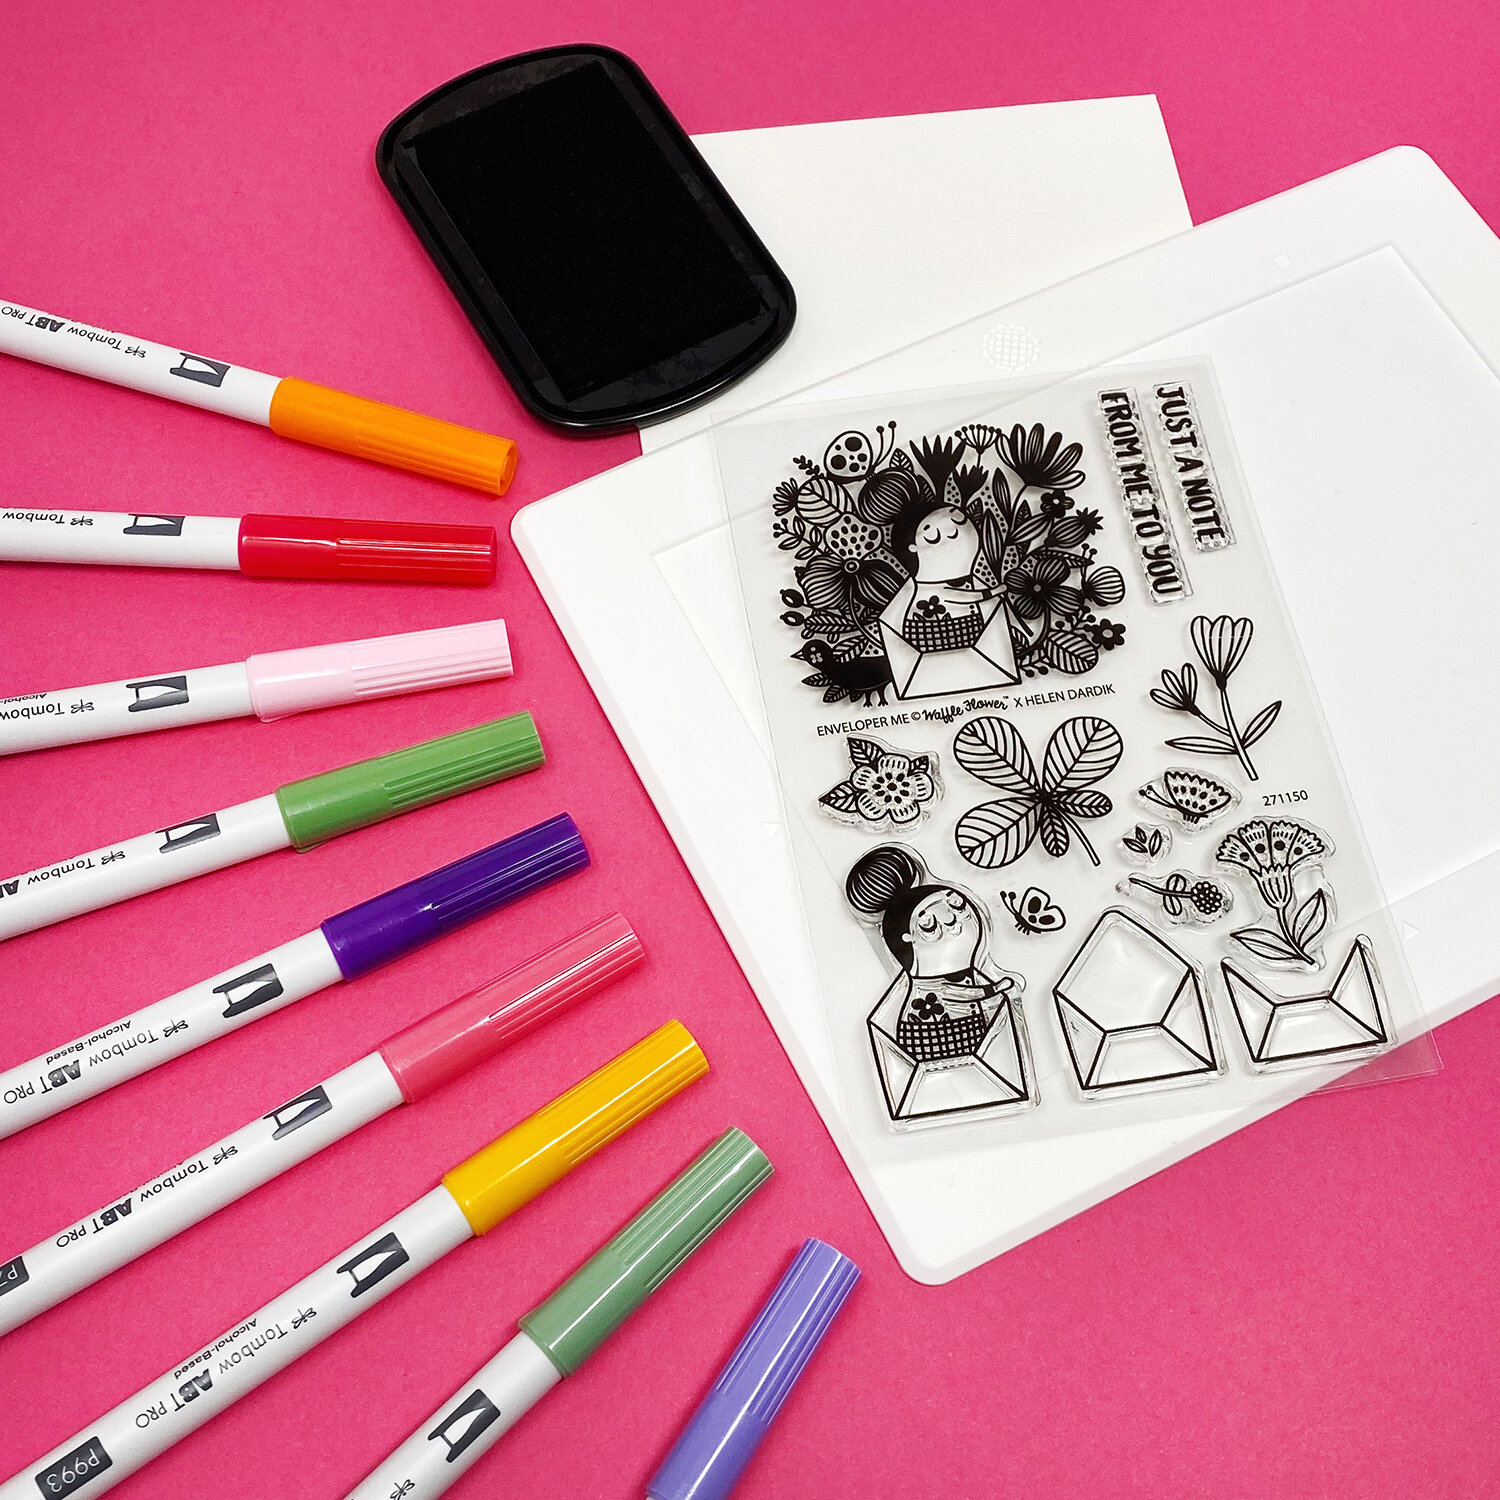
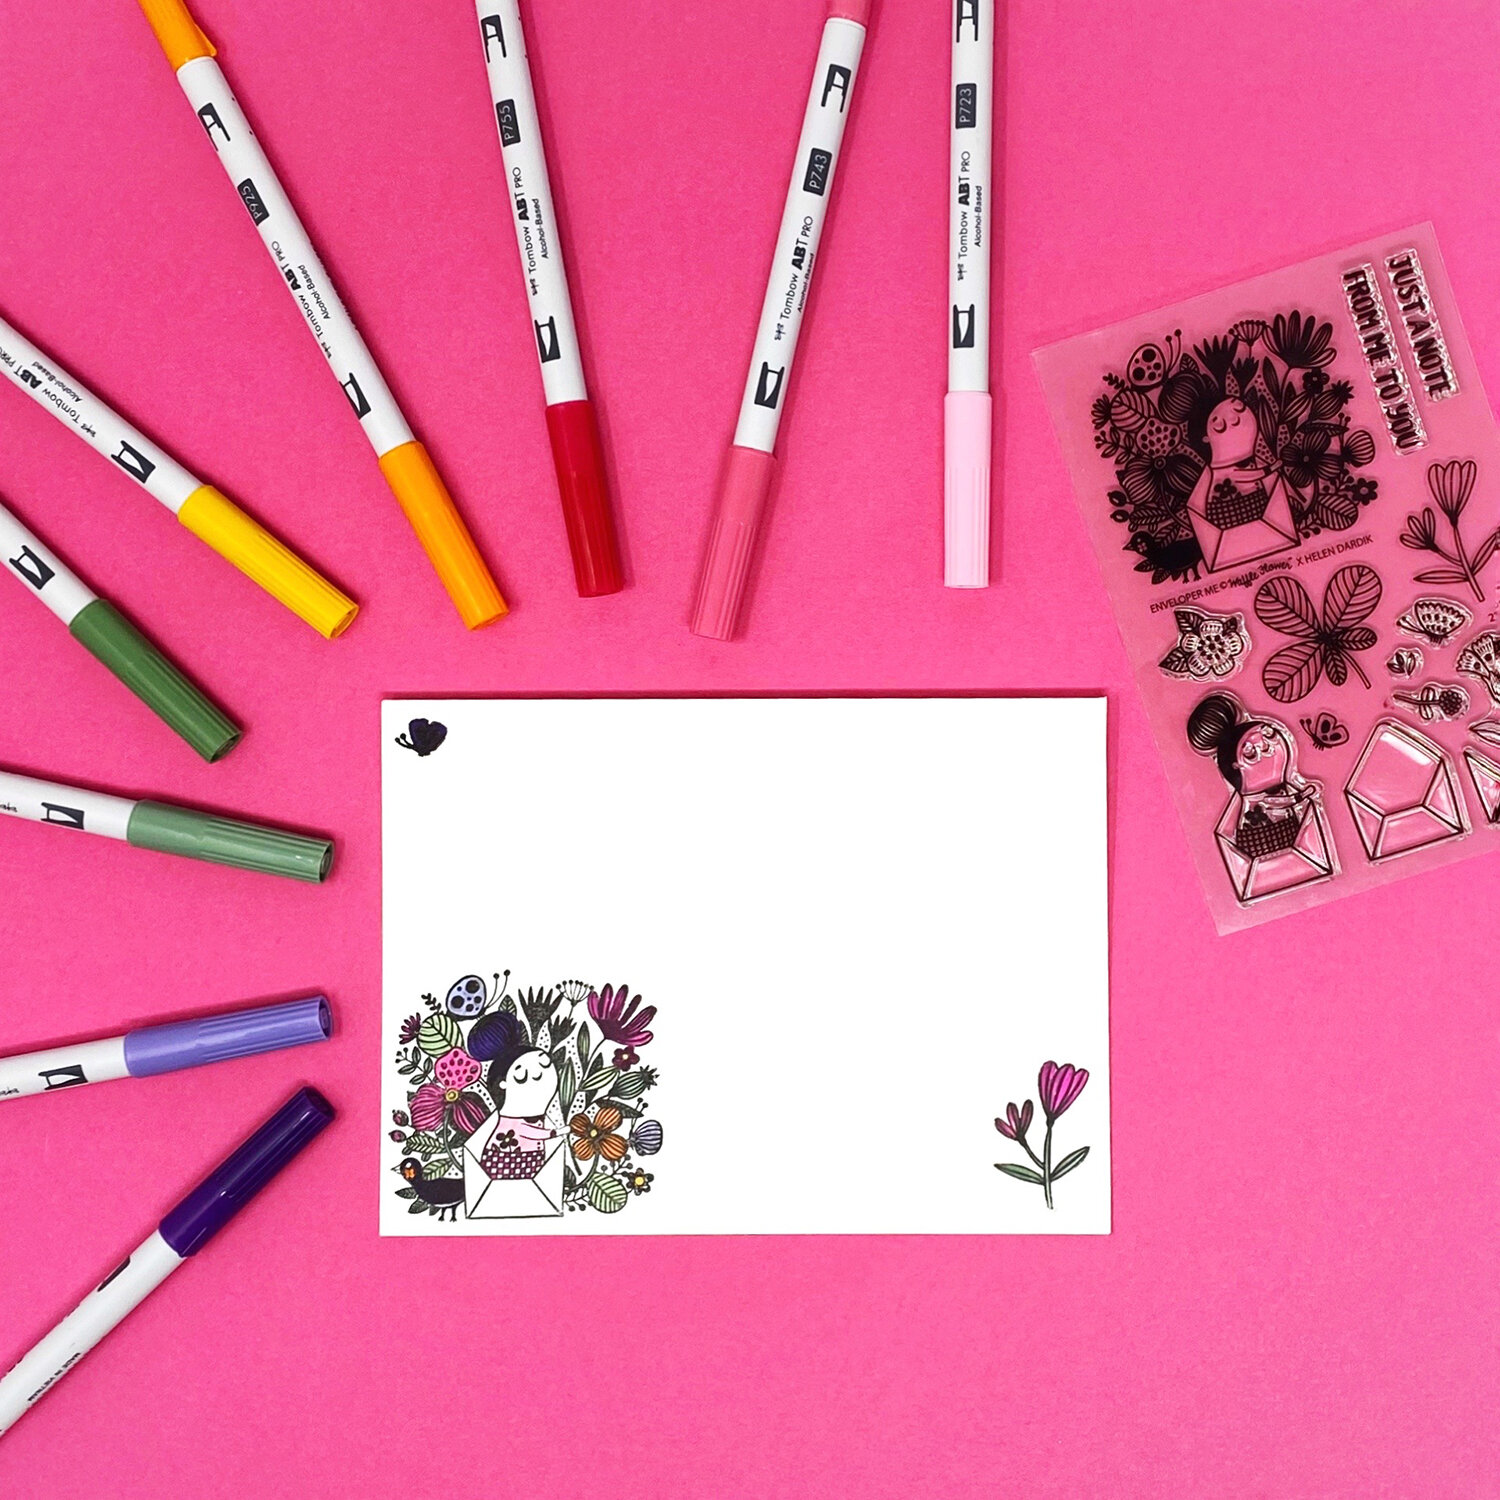
Get out the stamps you want to use to decorate your envelopes. I'm using the Enveloper Me Stamp Set which was designed by Helen Dardik, one of my favorite artists. Next, we're going to cover the stamps in an even layer of ink. The best way to keep from getting ink everywhere is to lay your stamp (with the raised surface facing up) on your Mini Media Mat which is non-slip, waterproof and heat-resistant. Then dab ink all over the raised areas with your stamp pad. Next, line up your envelope with the stamp and gently press it down, making sure to apply even pressure all over. Repeat this step until you've stamped on all the designs you want to use to decorate your envelopes. Leave them somewhere out of the way until they have dried fully.

Step 2: Color Your Design
Next, we're going to color in our stamped designs using the Tombow ABT PRO Alcohol-Based markers. I love these markers because the color is so vibrant, and with the brush tip on one end and the chisel tip on the other you can color both tiny details or large areas easily. They also dry quickly which helps prevent you from smudging your work. I recommend placing a small piece of cardboard inside your envelope to stop any bleed-through from the markers as you color. Choose just a few colors that will work nicely together and complement your stamp design. I've chosen colors that felt like spring to me.
Step 3: Address the Envelope
Once your design is colored in, you're ready to address your envelope. You can use the ABT PRO markers for this part, or switch to the smaller brush of the Tombow Fudenosuke pen. Just make sure it is legible enough for the post office to deliver! There you have it, you've created some gorgeous mail art with Tombow and Waffle Flower. All that's left is to add a stamp, write a letter or card and you're ready to send your mail art!

----------
Please note: This blog post contains affiliate links, which help pay for the upkeep of this site. That being said, I will never, ever promote anything I am not 100% in love with!