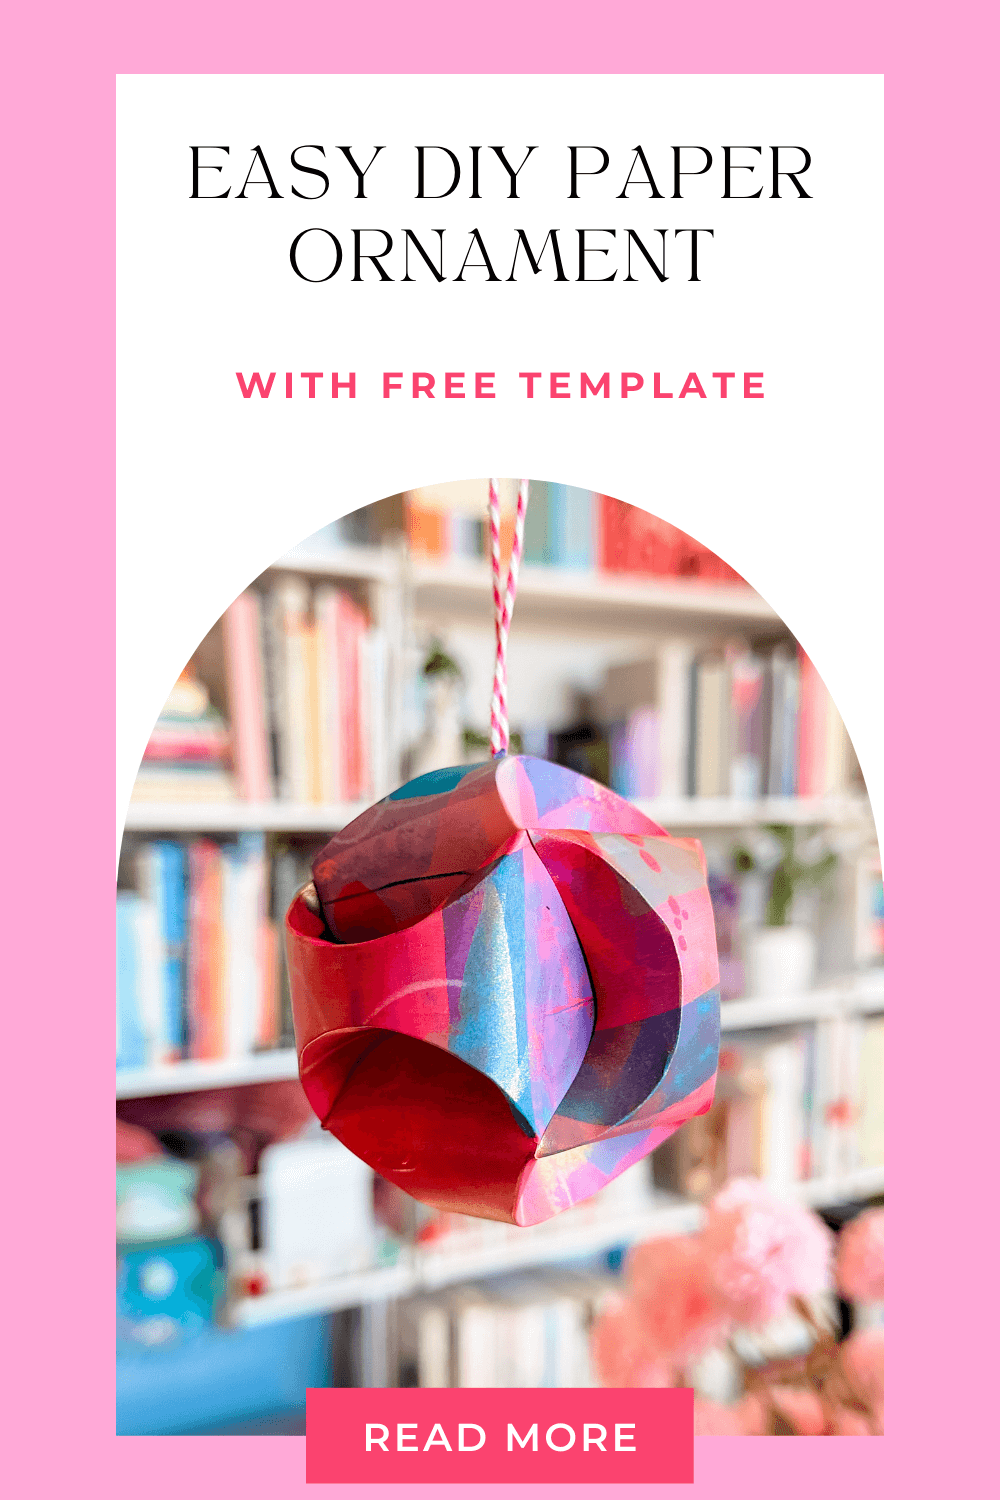
If you’re looking for a simple, beautiful holiday craft you can make with supplies you already have at home, this easy DIY paper ball Christmas ornament is the perfect project. It’s beginner‑friendly, kid‑friendly, and endlessly customizable. Whether you love bold colors, soft pastels, recycled paper, or glittery cardstock, this ornament works with any style and adds a handmade touch to your tree.
Below you’ll find step‑by‑step instructions, tips for choosing the right paper, and a free downloadable template so you can start crafting right away.
Why Make a Paper Ball Ornament
Paper ornaments are lightweight, inexpensive, and surprisingly sturdy. They’re ideal for:
Filling out a Christmas tree with cohesive, handmade decorations
Creating personalized gifts or gift‑topper accents
Crafting with kids or groups
Using up leftover scrapbook paper, watercolor scraps, or wrapping paper
This project takes about five minutes once you get the hang of it, and you can batch‑make a whole set in an afternoon.
Supplies You’ll Need
Printed template (download below)
Decorative paper (scrapbook paper, watercolor paper, wrapping paper, or decorate your own)
Scissors
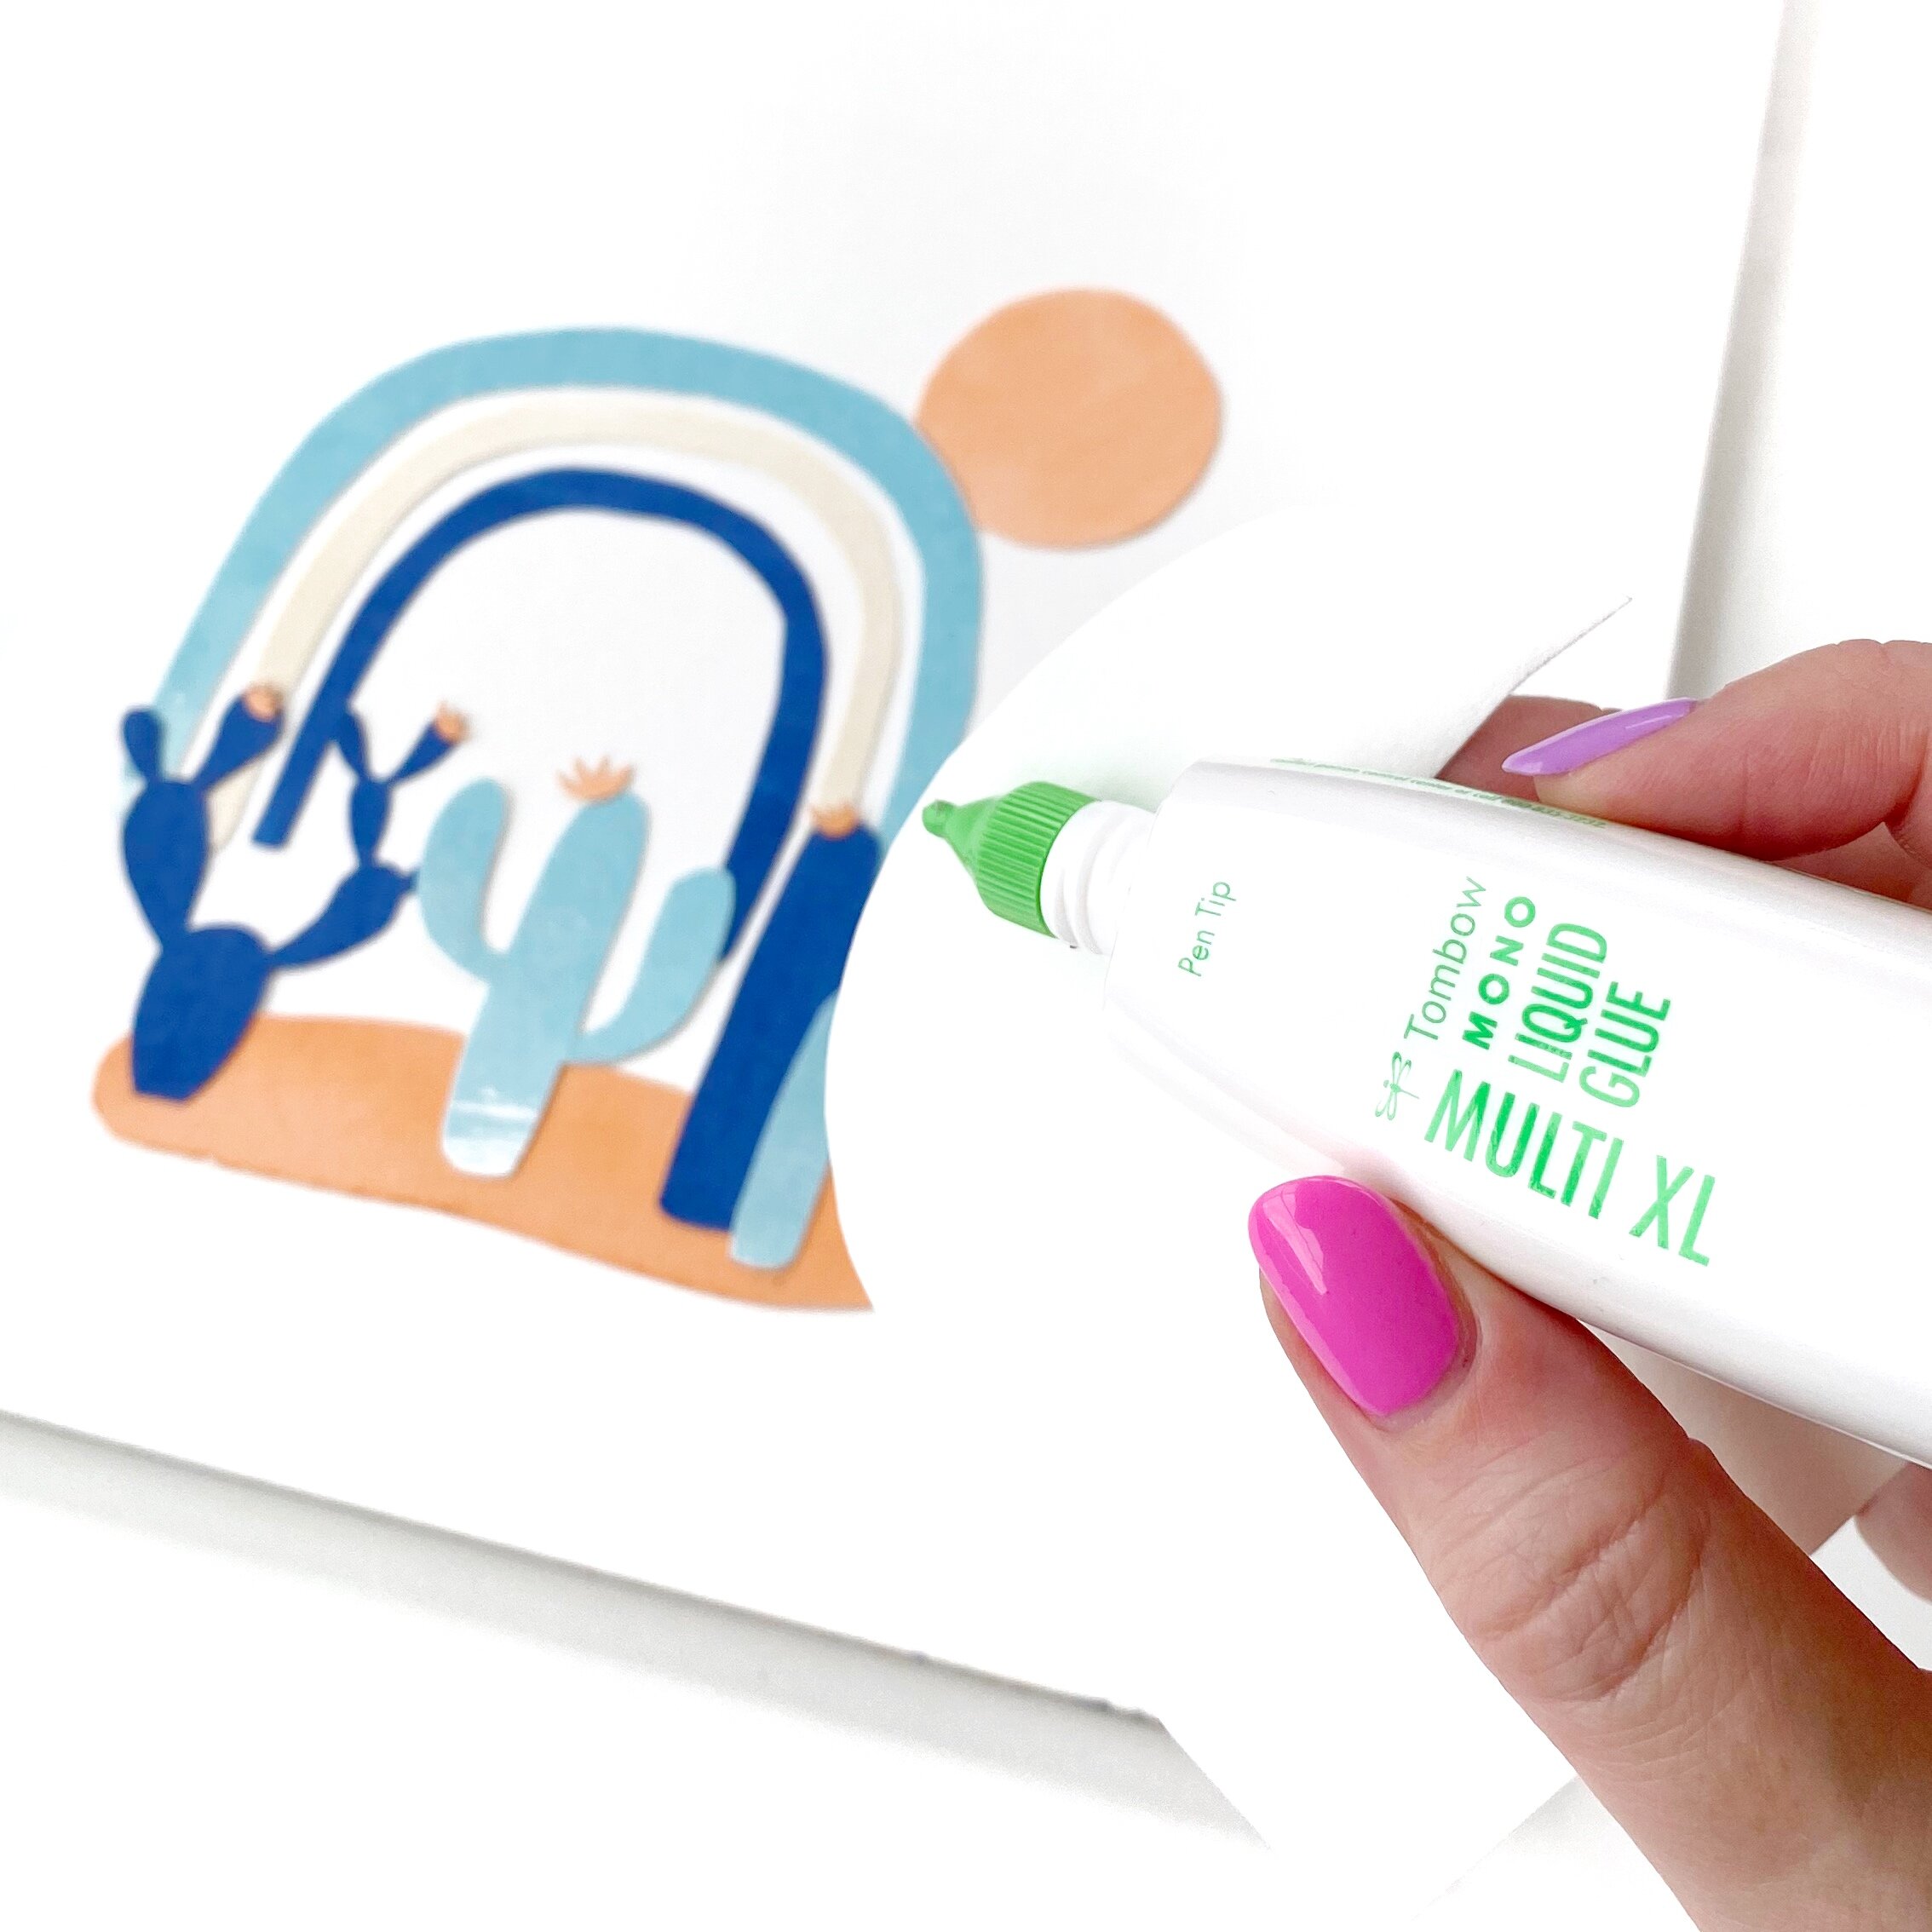
Glue stick or double‑sided tape
Ribbon, twine, or ornament string
Hole punch or something sharp to make the hole for the string
Step‑by‑Step Instructions
1. Print and cut out your template
Download the free paper ball ornament template and print it onto regular printer paper or directly onto your decorative paper. Cut out each of the three rectangles.
2. Trace Onto Your Chosen Paper
If you printed the template on plain paper, use the cut shapes as tracers. Trace them onto your decorative paper or decorate directly on your print-out.
3. Score Each Semi Circle
Using a scoring tool or ball-point pen, score a groove into the paper so that each semi-circle folds in the correct spot.
4. Thread the String or Ribbon
Punch a hole where the template indicates, and thread your knotted string or ribbon through.
5. Assemble the Ornament
Glue the first (the one with the string or ribbon) and the second paper strips into separate circles. Put the second circle inside the first circle. Thread the third paper strip through the second circle, and around the first to hold it all together (this is where the video will help).
6. Push in all the Semi-circles
Gently push in all the semi-circles on all three strips of paper.
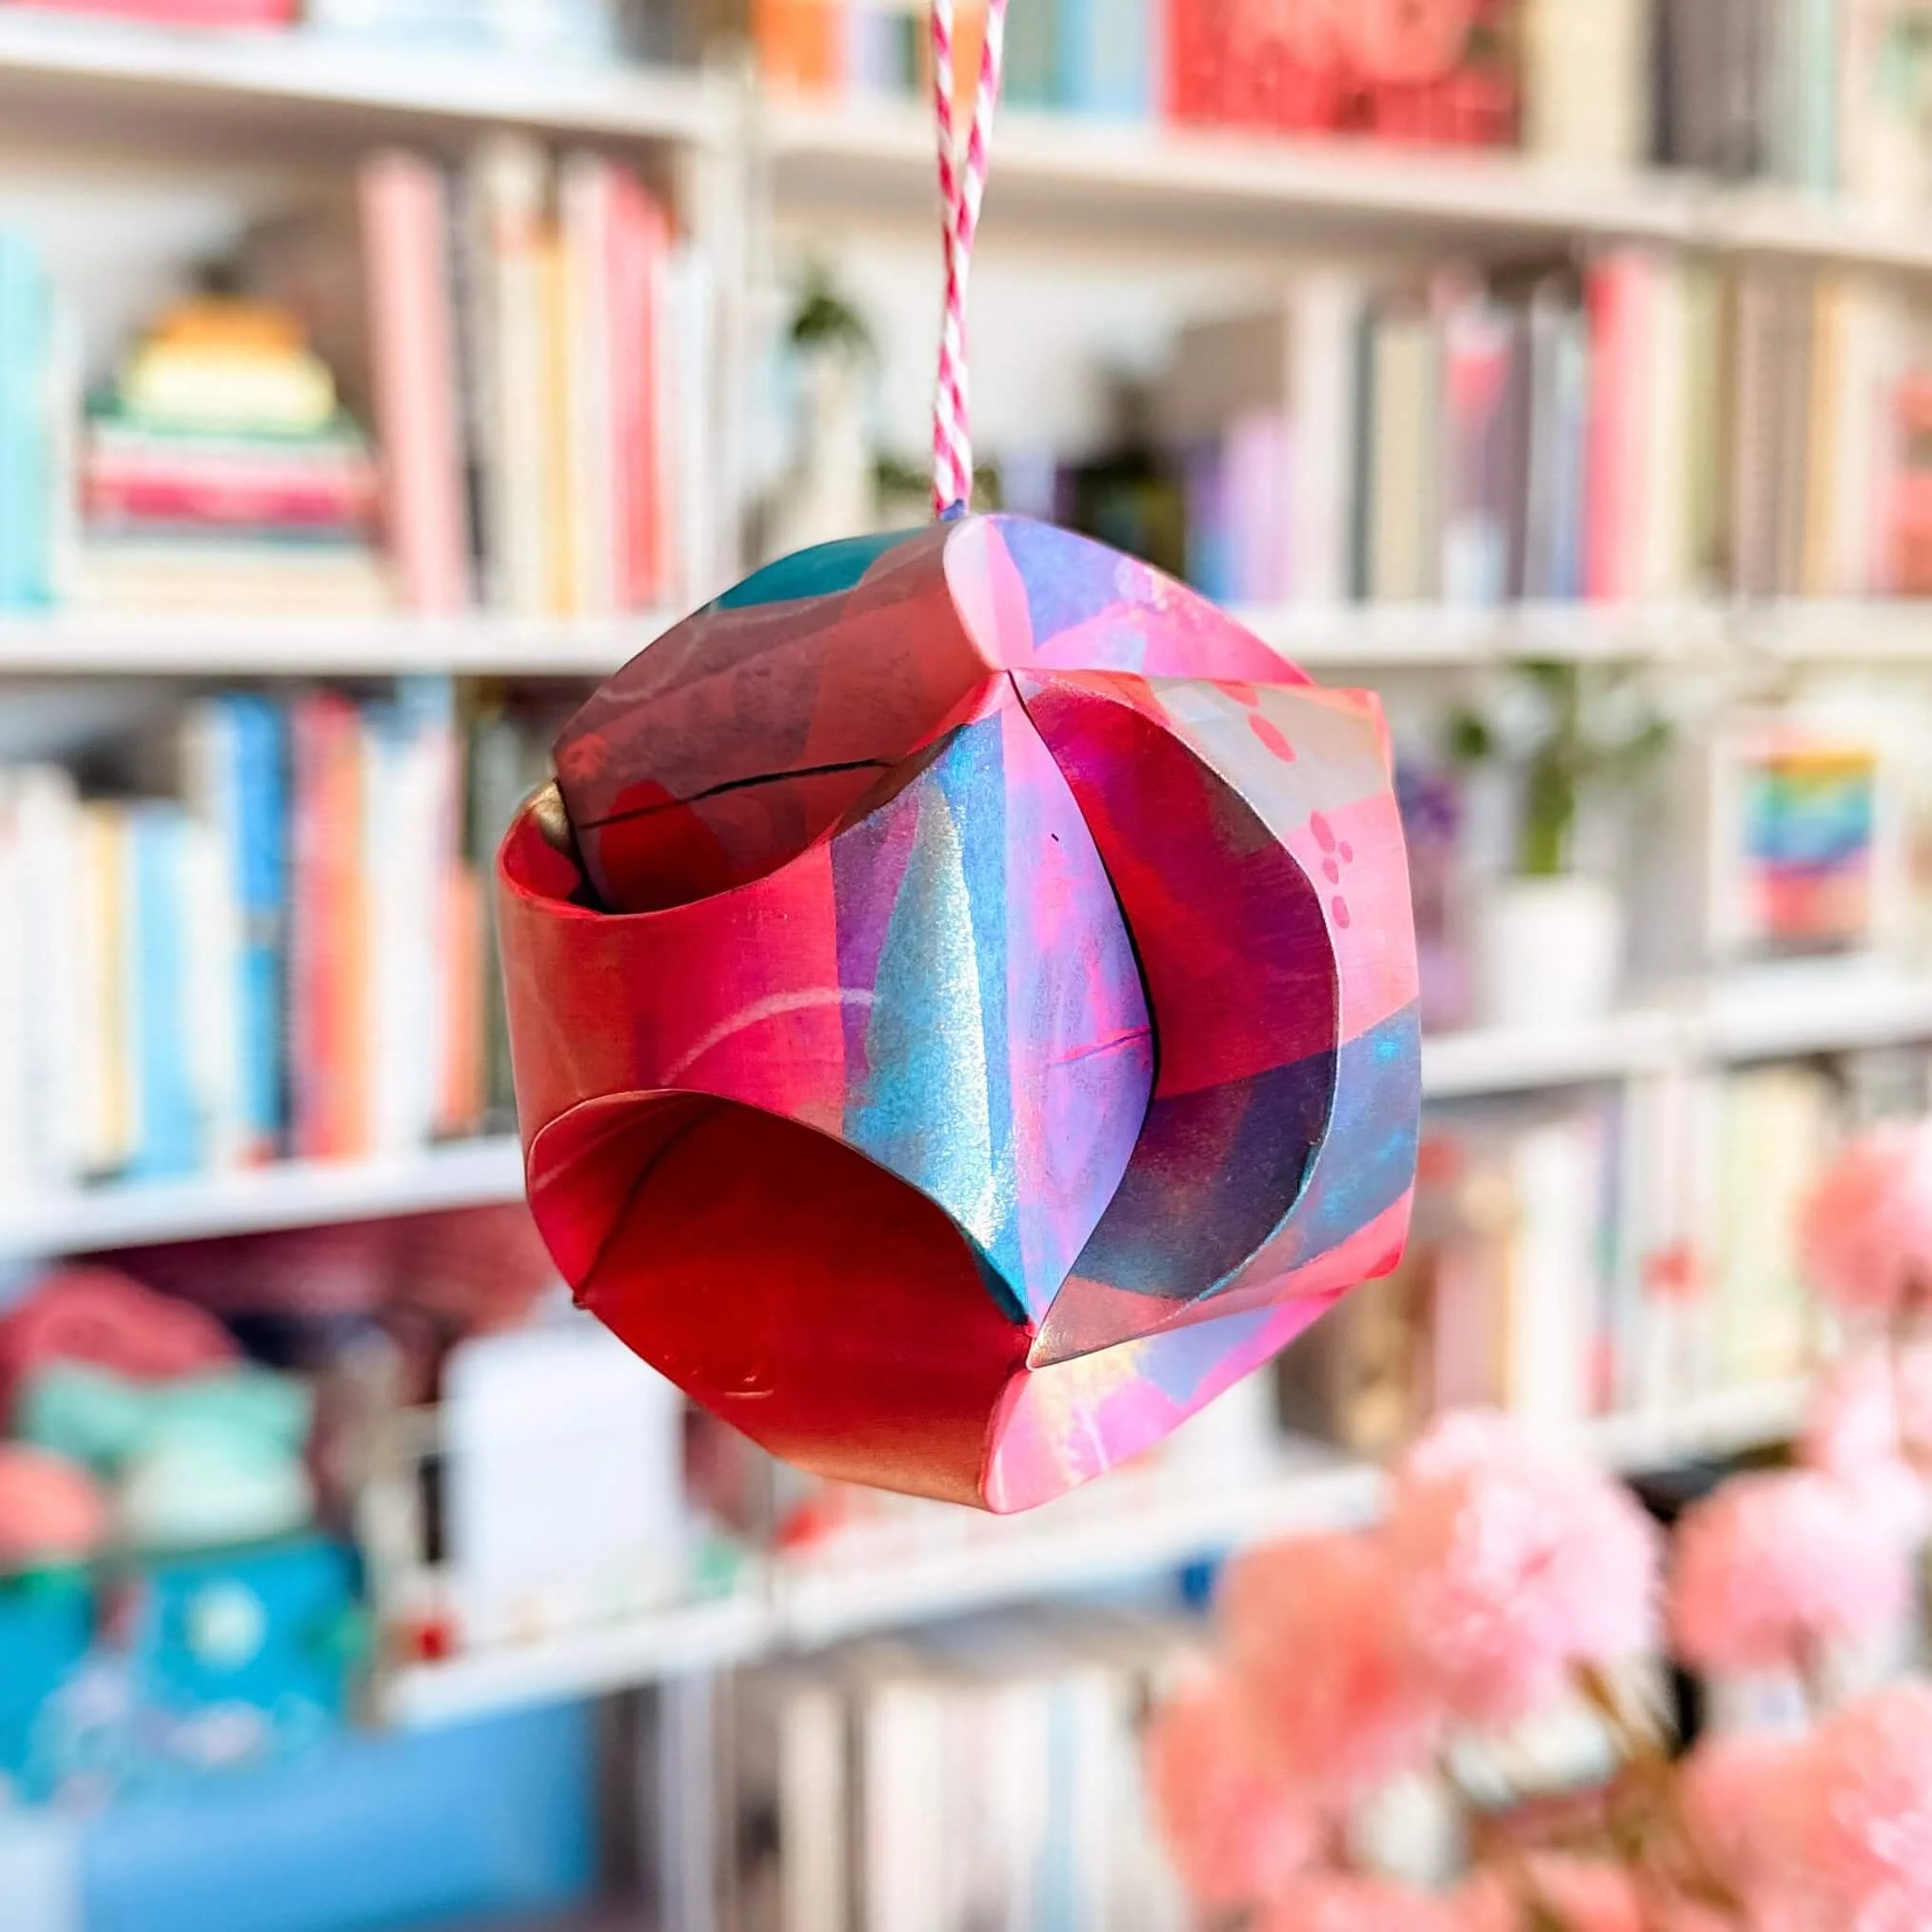
Voila, you’ve create a visually striking and beautiful paper ornament, and I bet it was easier than you thought it would be.
Tips for Beautiful Results
Mix patterns within the same color palette for a cohesive look
Use watercolor paper scraps for a soft, handmade feel
Try metallic or glitter cardstock for extra sparkle
Make a set of ornaments in different sizes by scaling the template before printing
Download the Free Paper Ball Ornament Template
Sign up to the BrownPaperBunny newsletter and you’ll get the ornament template as soon as you hit ‘Join’.
This easy DIY paper ball Christmas ornament is a wonderful way to slow down, get creative, and add a personal touch to your holiday decorating. Once you make one, you’ll want to experiment with colors, textures, and patterns to create a whole collection.
If you’d like to help me out, share this post to Pinterest, using the graphic below.