
Today I’m going to show you how to create your own floral Mother's Day art. This project is designed to be tailored to the individual so it will be all the more special. Here's what you'll need to get started.
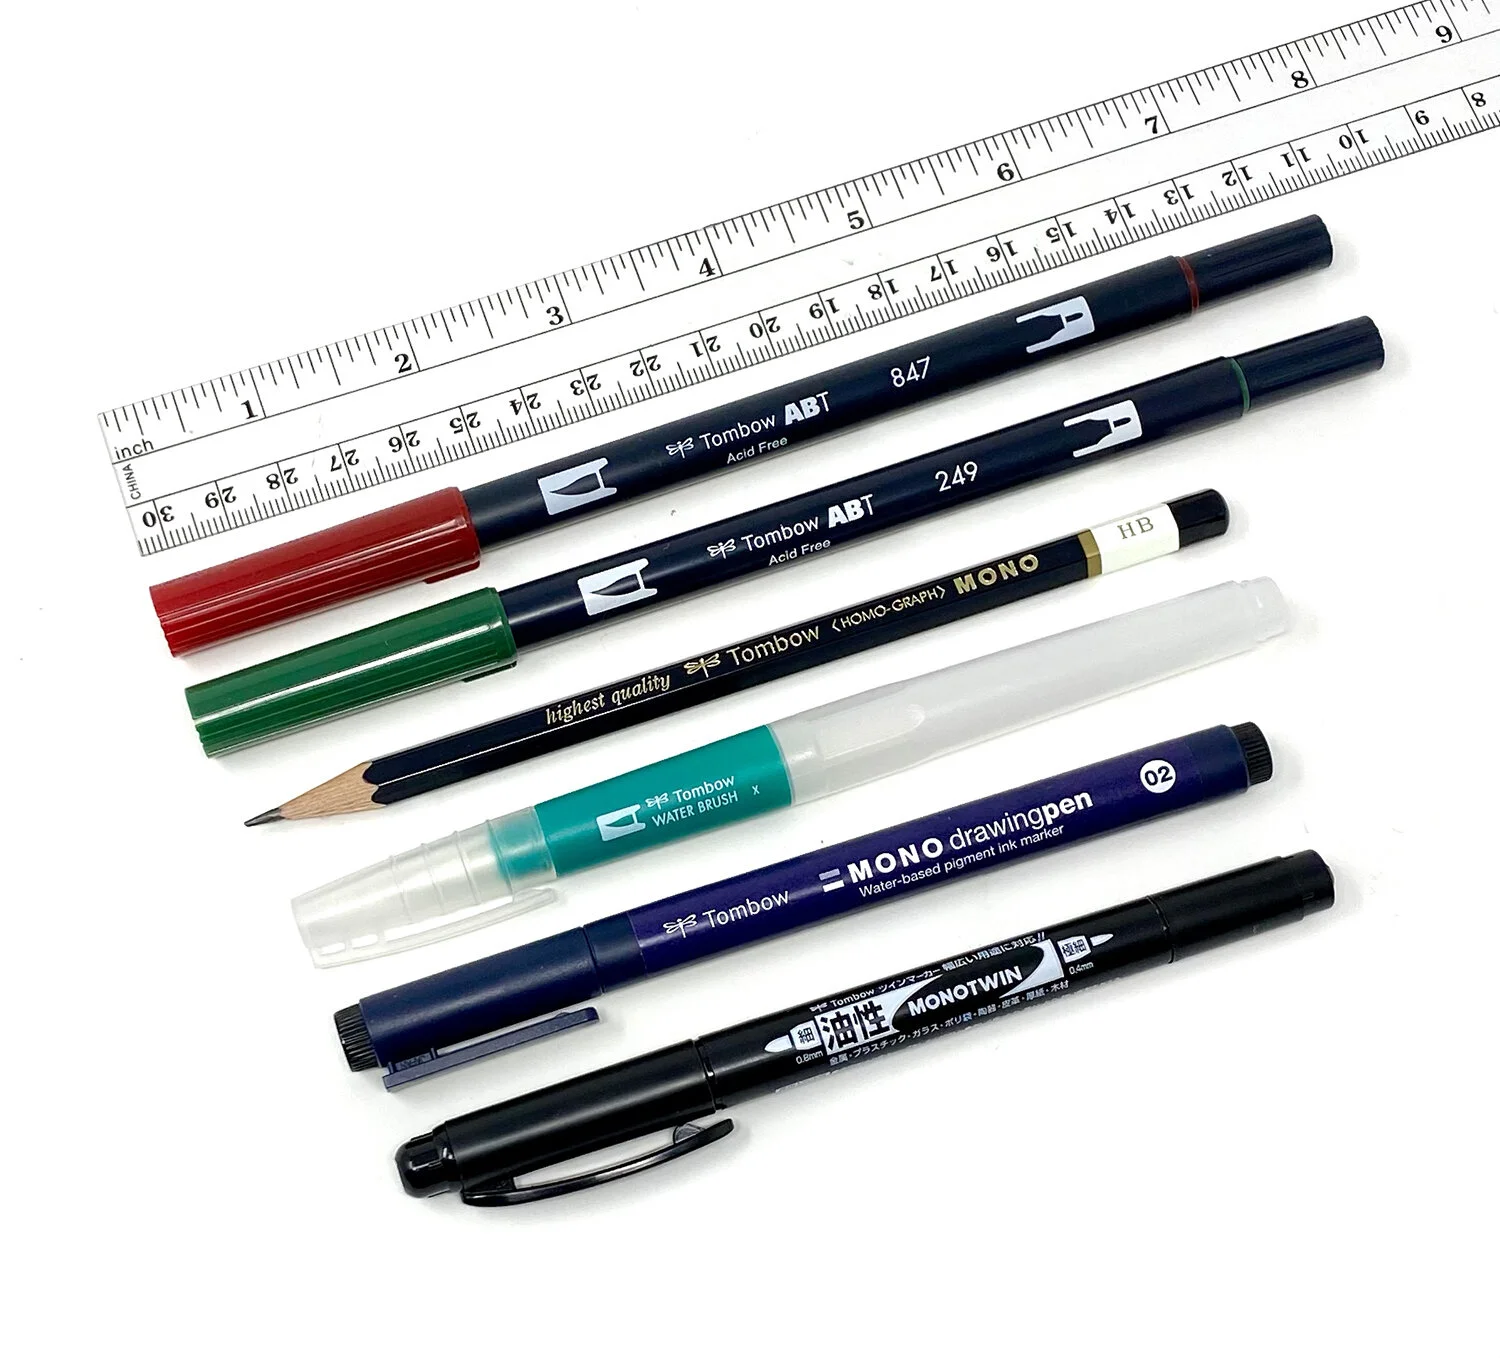
Supplies
Step 1: Sketch Your Design
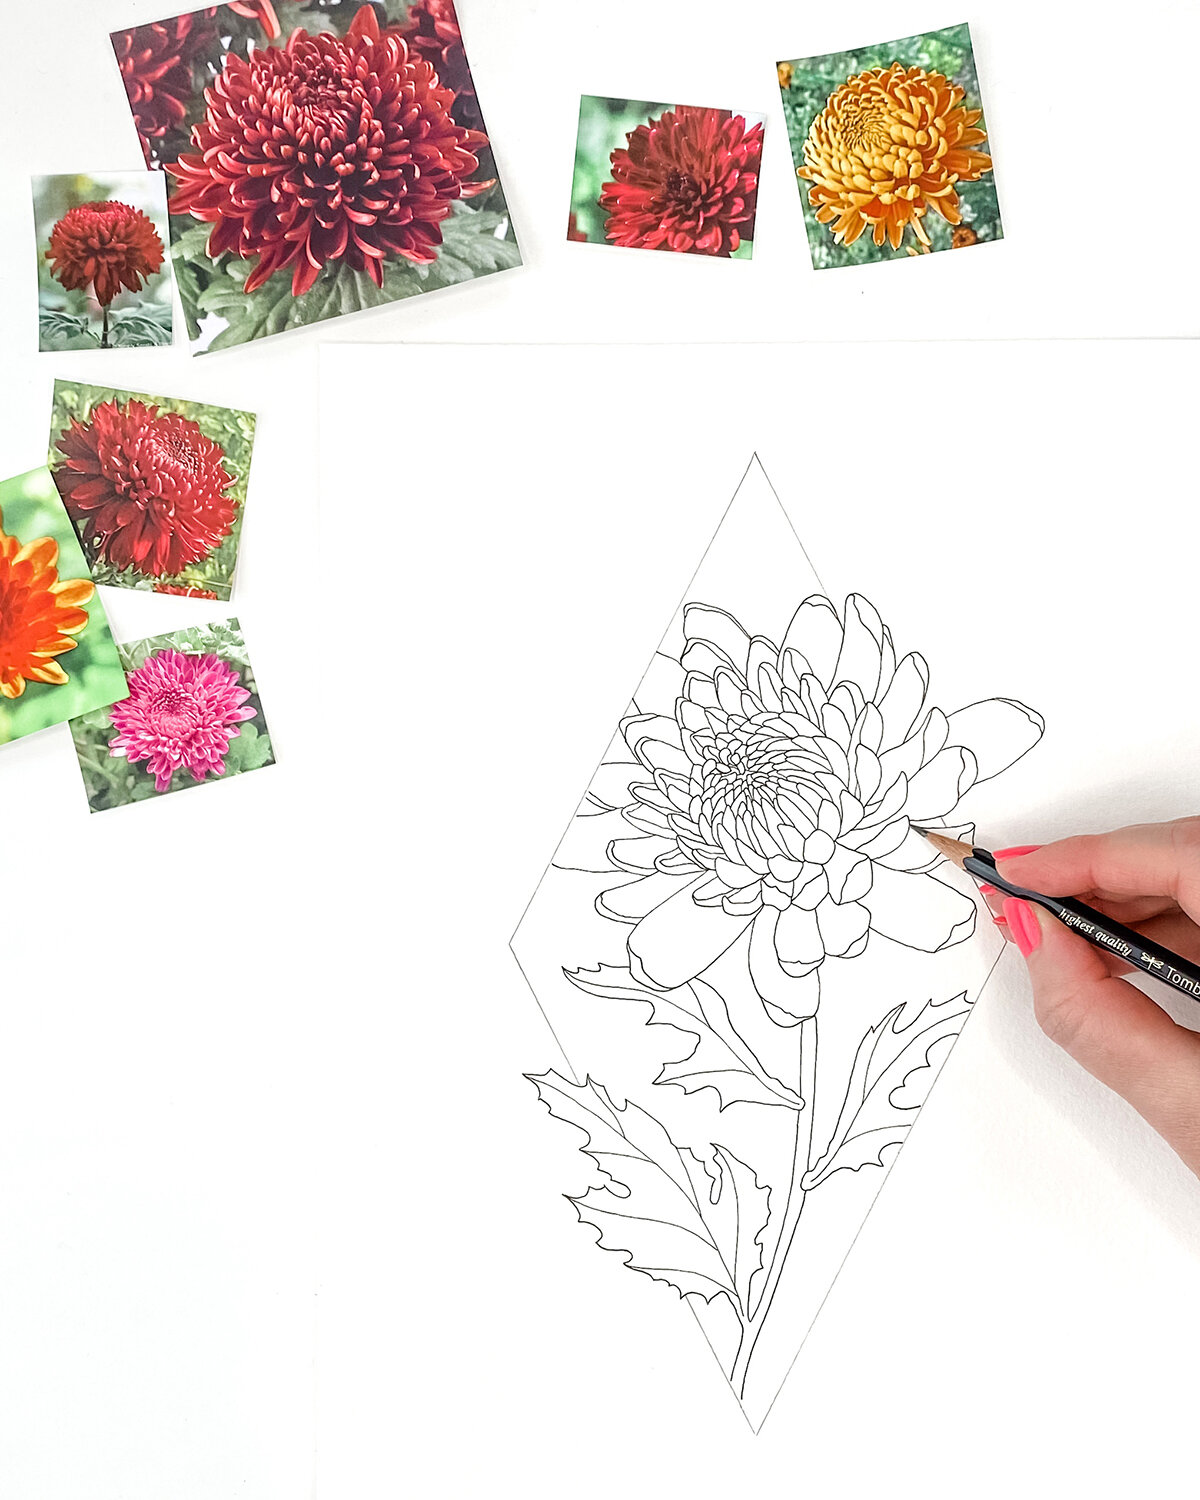
Choose a flower that your mom likes, or that reminds you of her. I've chosen chrysanthemums because we always grew them in the garden growing up and they would flower around Mother's Day (in Australia) and us kids would pick bunches of them for our mom.
Sketch your chosen flower onto your watercolor paper, using your MONO Drawing Pencil. I prefer to use the 4H for sketching because it's nice and light and easy to erase if you need to. You can draw your flower from memory or from reference photos.
Once you've drawn your flower, use your ruler to draw a shape around your flower. Depending on the size and layout of your drawing you might choose a triangle, square or some other shape that suits. You can even overlap the shape so that some of your flower is spilling out of the shape.
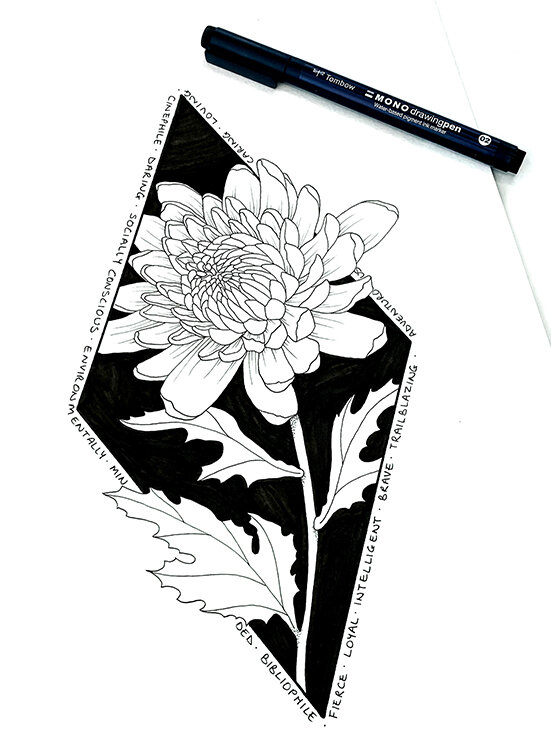
Step 2: Ink Your Drawing
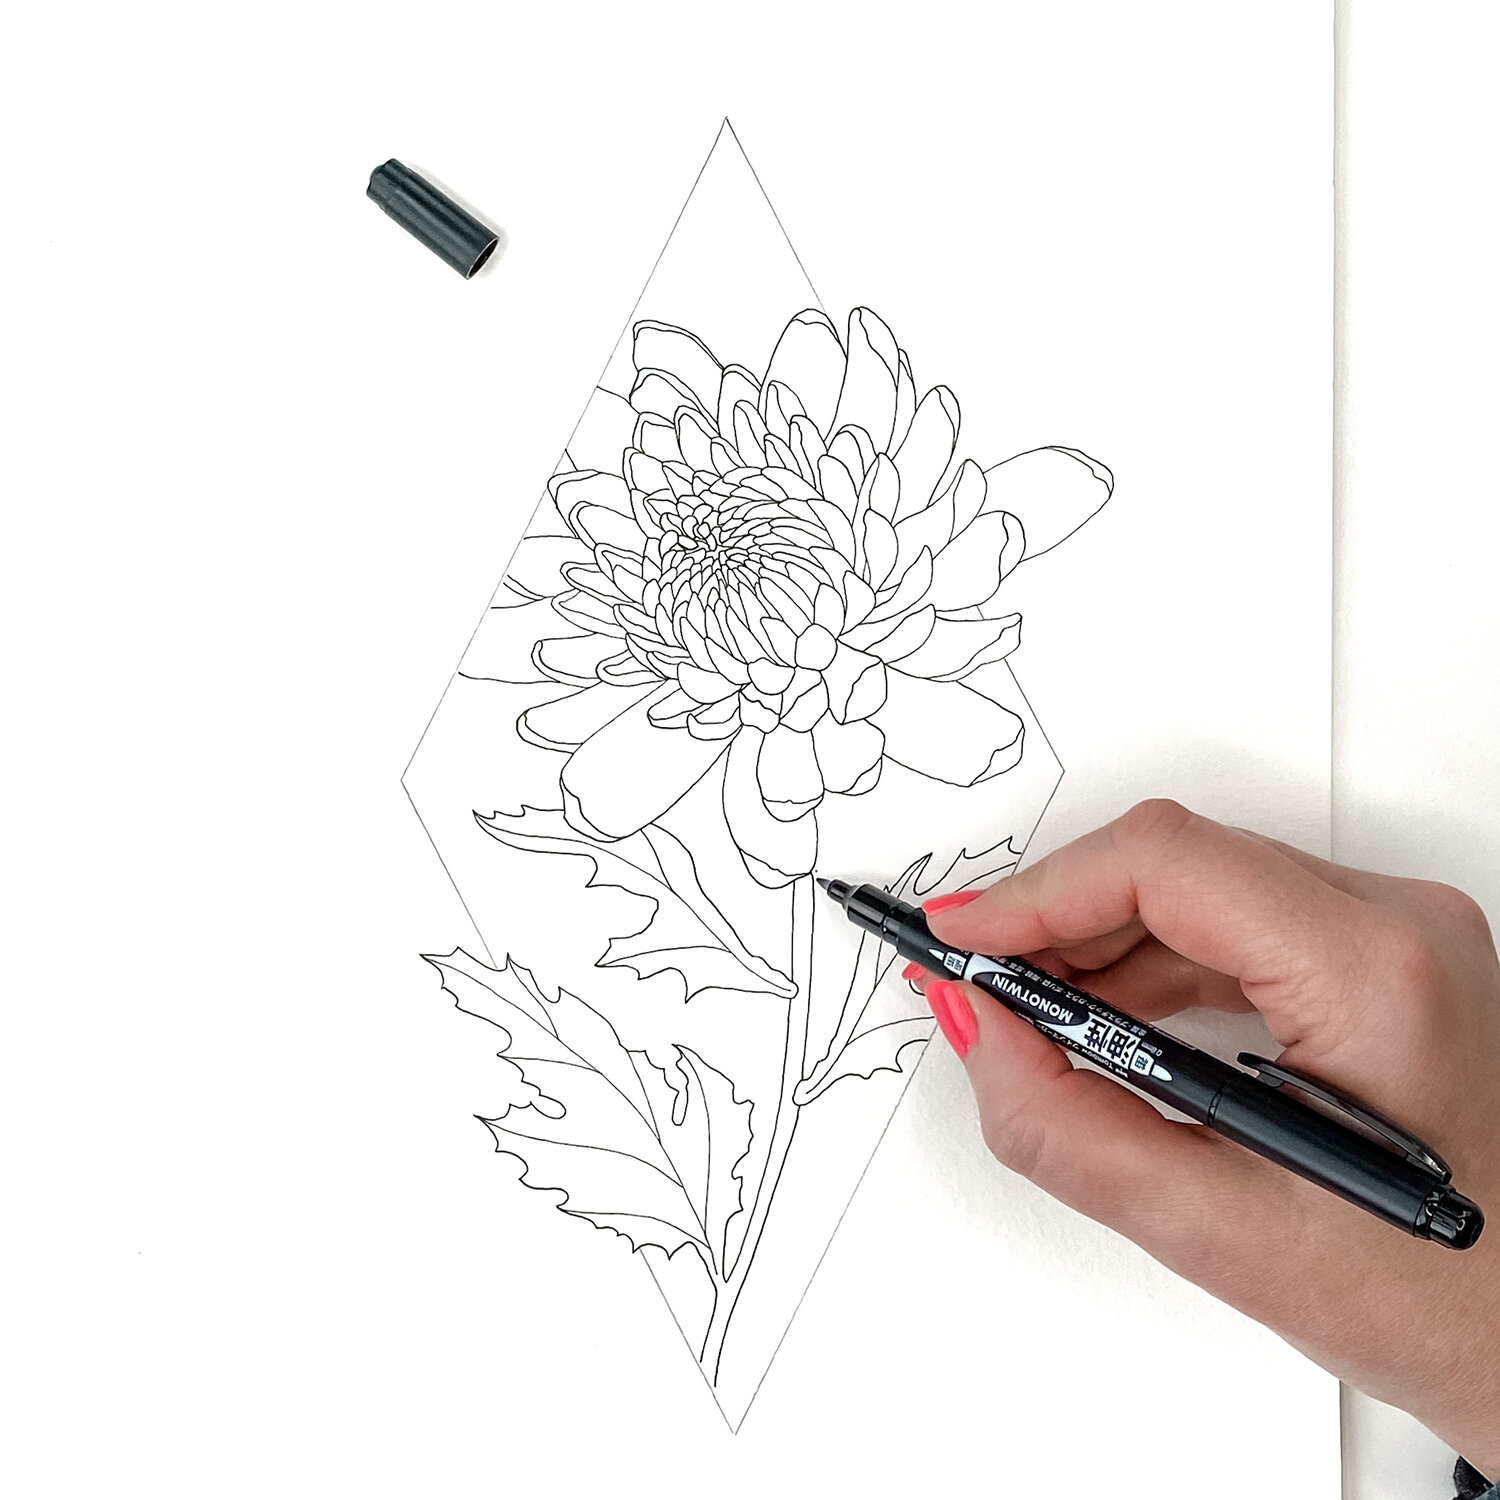
Once you're happy with your pencil sketch use your MONO Twin Permanent Marker to ink over the lines of your flower. I recommend using the fine, ball-point tip for this step. The reason we're using the MONO Twin Permanent Marker and not the MONO Drawing Pens at this stage is that we're going to use wet ink over the top of the lines and we don't want any of them to smudge or blend.
Step 3: Fill In Your Background
Using the thicker, bullet tip on your MONO Twin Permanent Marker apply ink to the border of your shape and then start to fill in the background around your flower and leaves.


Step 4: Personalize Your Drawing
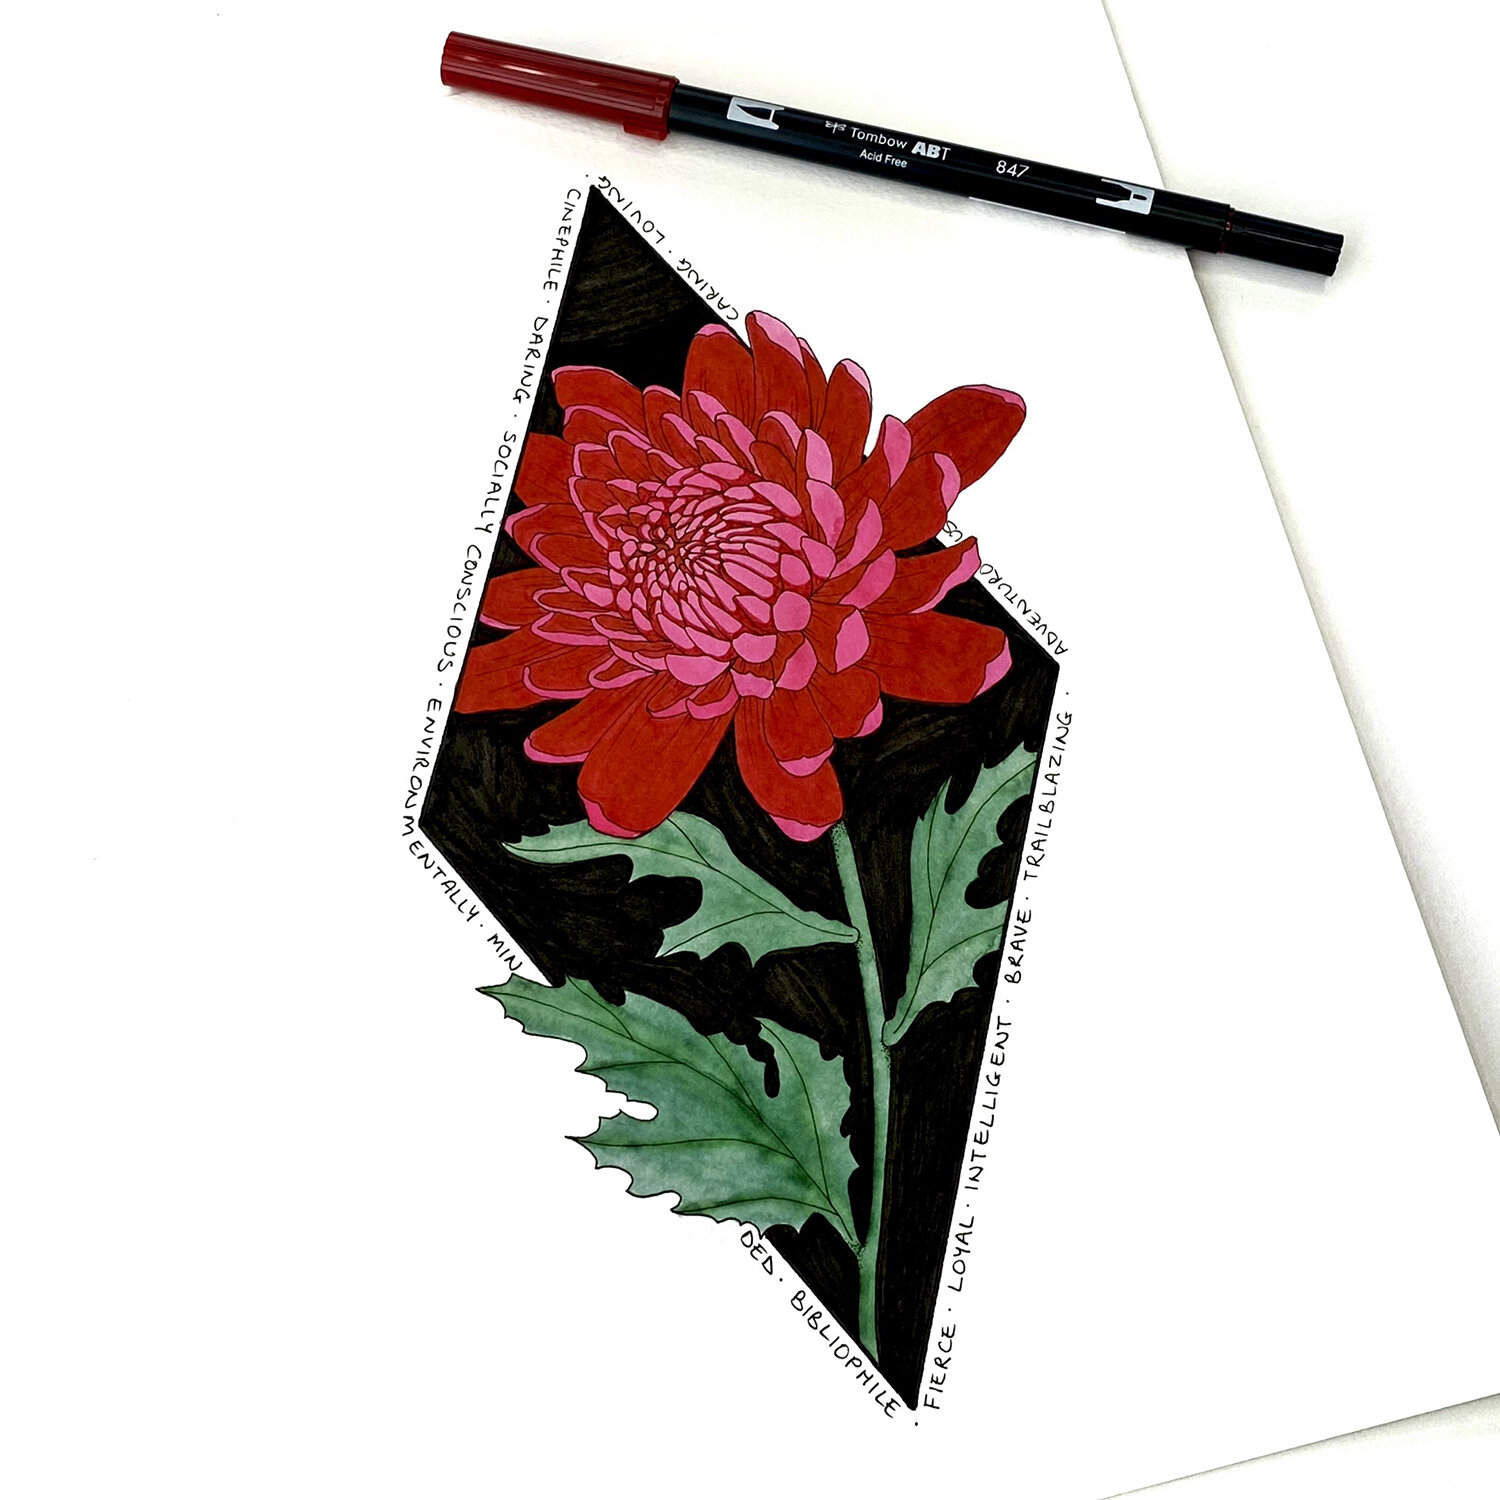
Now, using your MONO Drawing Pen, it's time to add a personal message or words that describe your mother in your eyes. You might choose to write them around the outside of the shape like I have, or fill in the entire white space of the paper!
Step 5: Add Color to Your Mother's Day Art
Next, you're going to color your drawing. Start by scribbling some ink from your Dual Brush Pens onto your Blending Palette. Next, use your Water Brush (filled with water) to transfer the ink from your Blending Palette to your paper. This first layer of color is designed to be fairly light because it will actually be the highlights or lightest areas of your finished artwork.
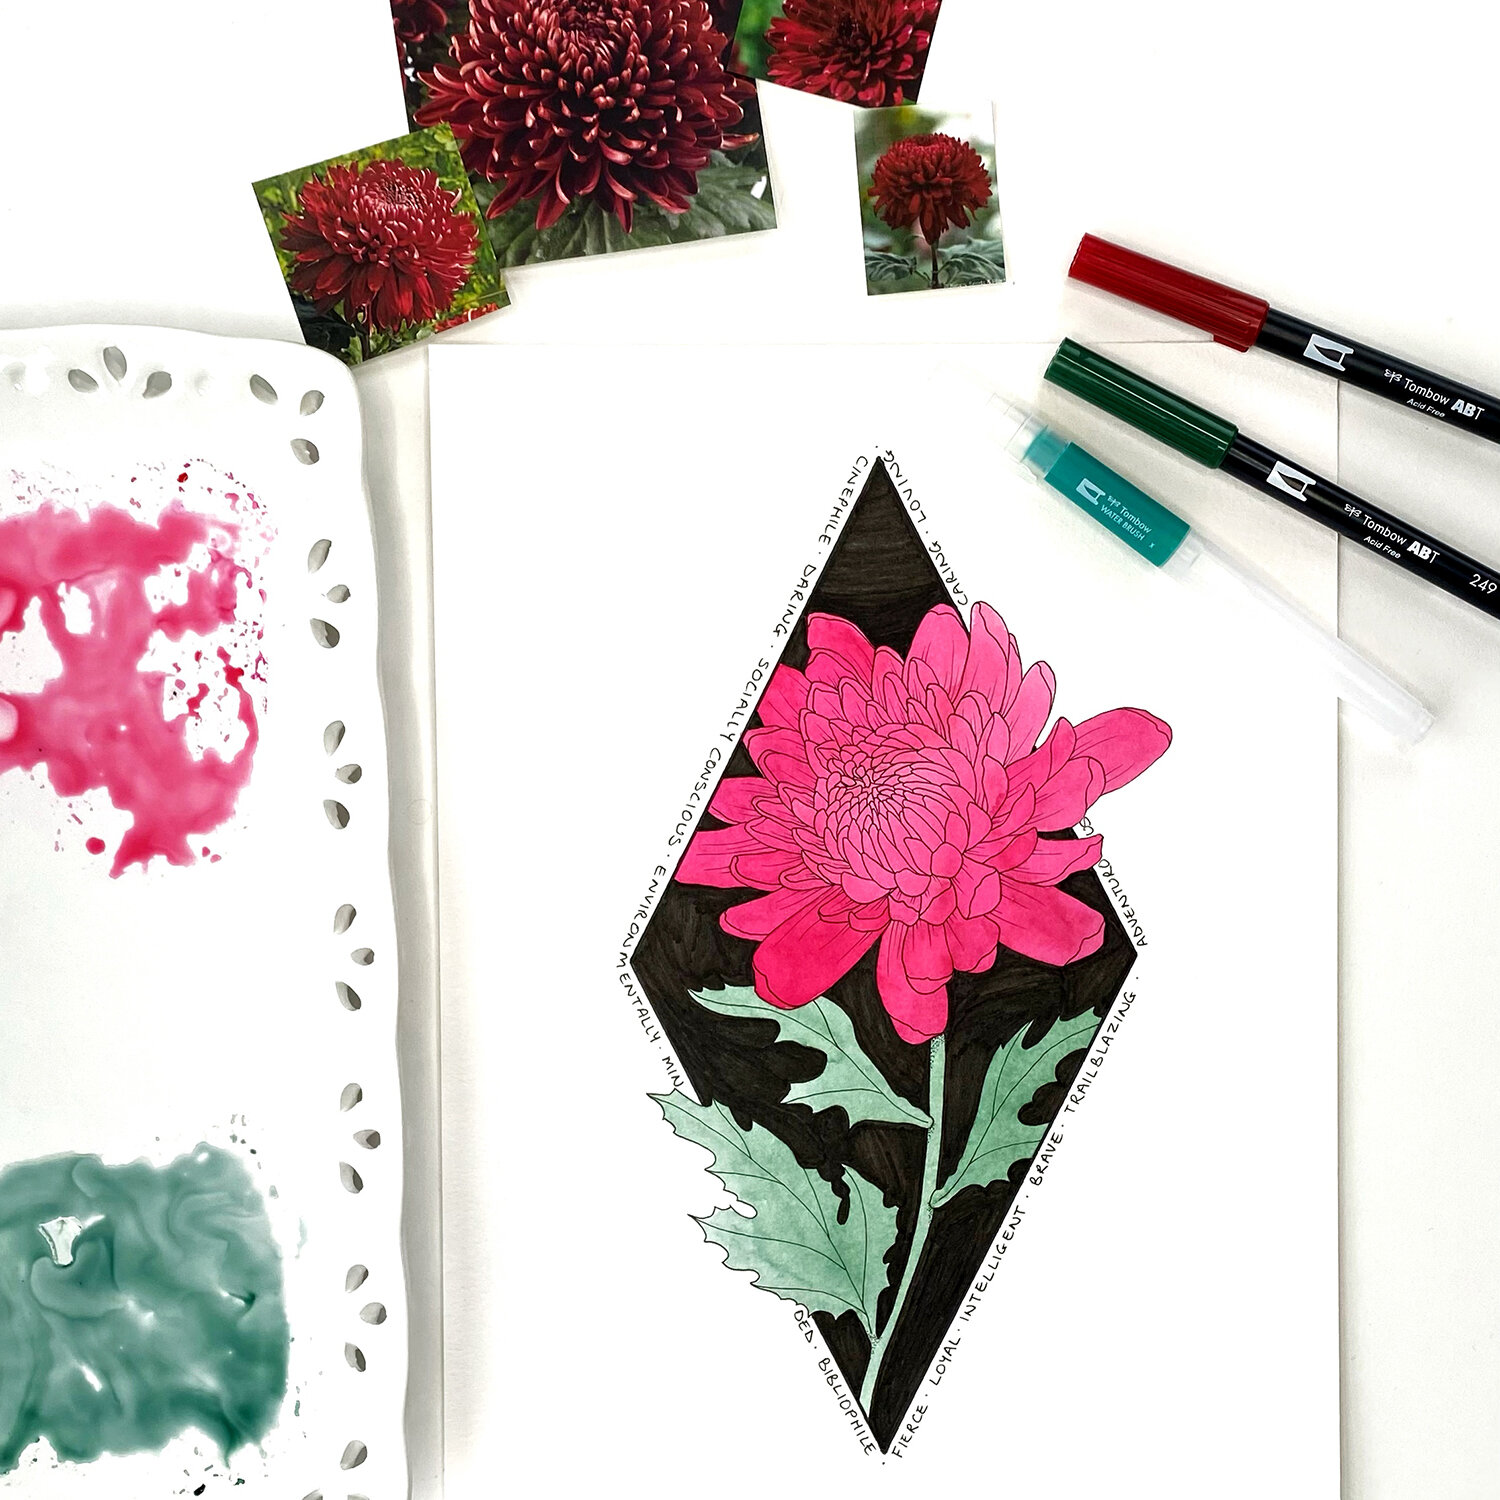
Step 6: Add the Final Layer of Color
Once your first layer of color is dry, use your Dual Brush Pens to add ink directly over the top to create the darker, more saturated areas. Think of these areas as anywhere that would have less light, so in between petals, areas of shadow etc.

Voila, you've got a personalized piece of Mother's Day art! I’d love to see what you create, so if you share it on social media tag @BrownPaperBunny. And if you're looking for more ideas, check out How to Paint Watercolor Flowers with Markers and Free Flower Coloring Pages.