Summer is a season of possibility, of swimming, sun, BBQs and fun, but it’s also the time of the dreaded Summer Slide (when kids lose the equivalent of 2-3 months of math and reading skills over the summer months). This doesn’t mean you have to chain them to their math workbooks all summer though, instead look for ways they can keep learning, that feel joyful and more like playtime than school work. The best summer activities for ages seven to ten blend creativity, curiosity, and confidence‑building, helping children grow academically and emotionally while having fun. Whether your child loves art, science, reading, or outdoor adventures, these ideas turn ordinary days into hands‑on learning experiences.
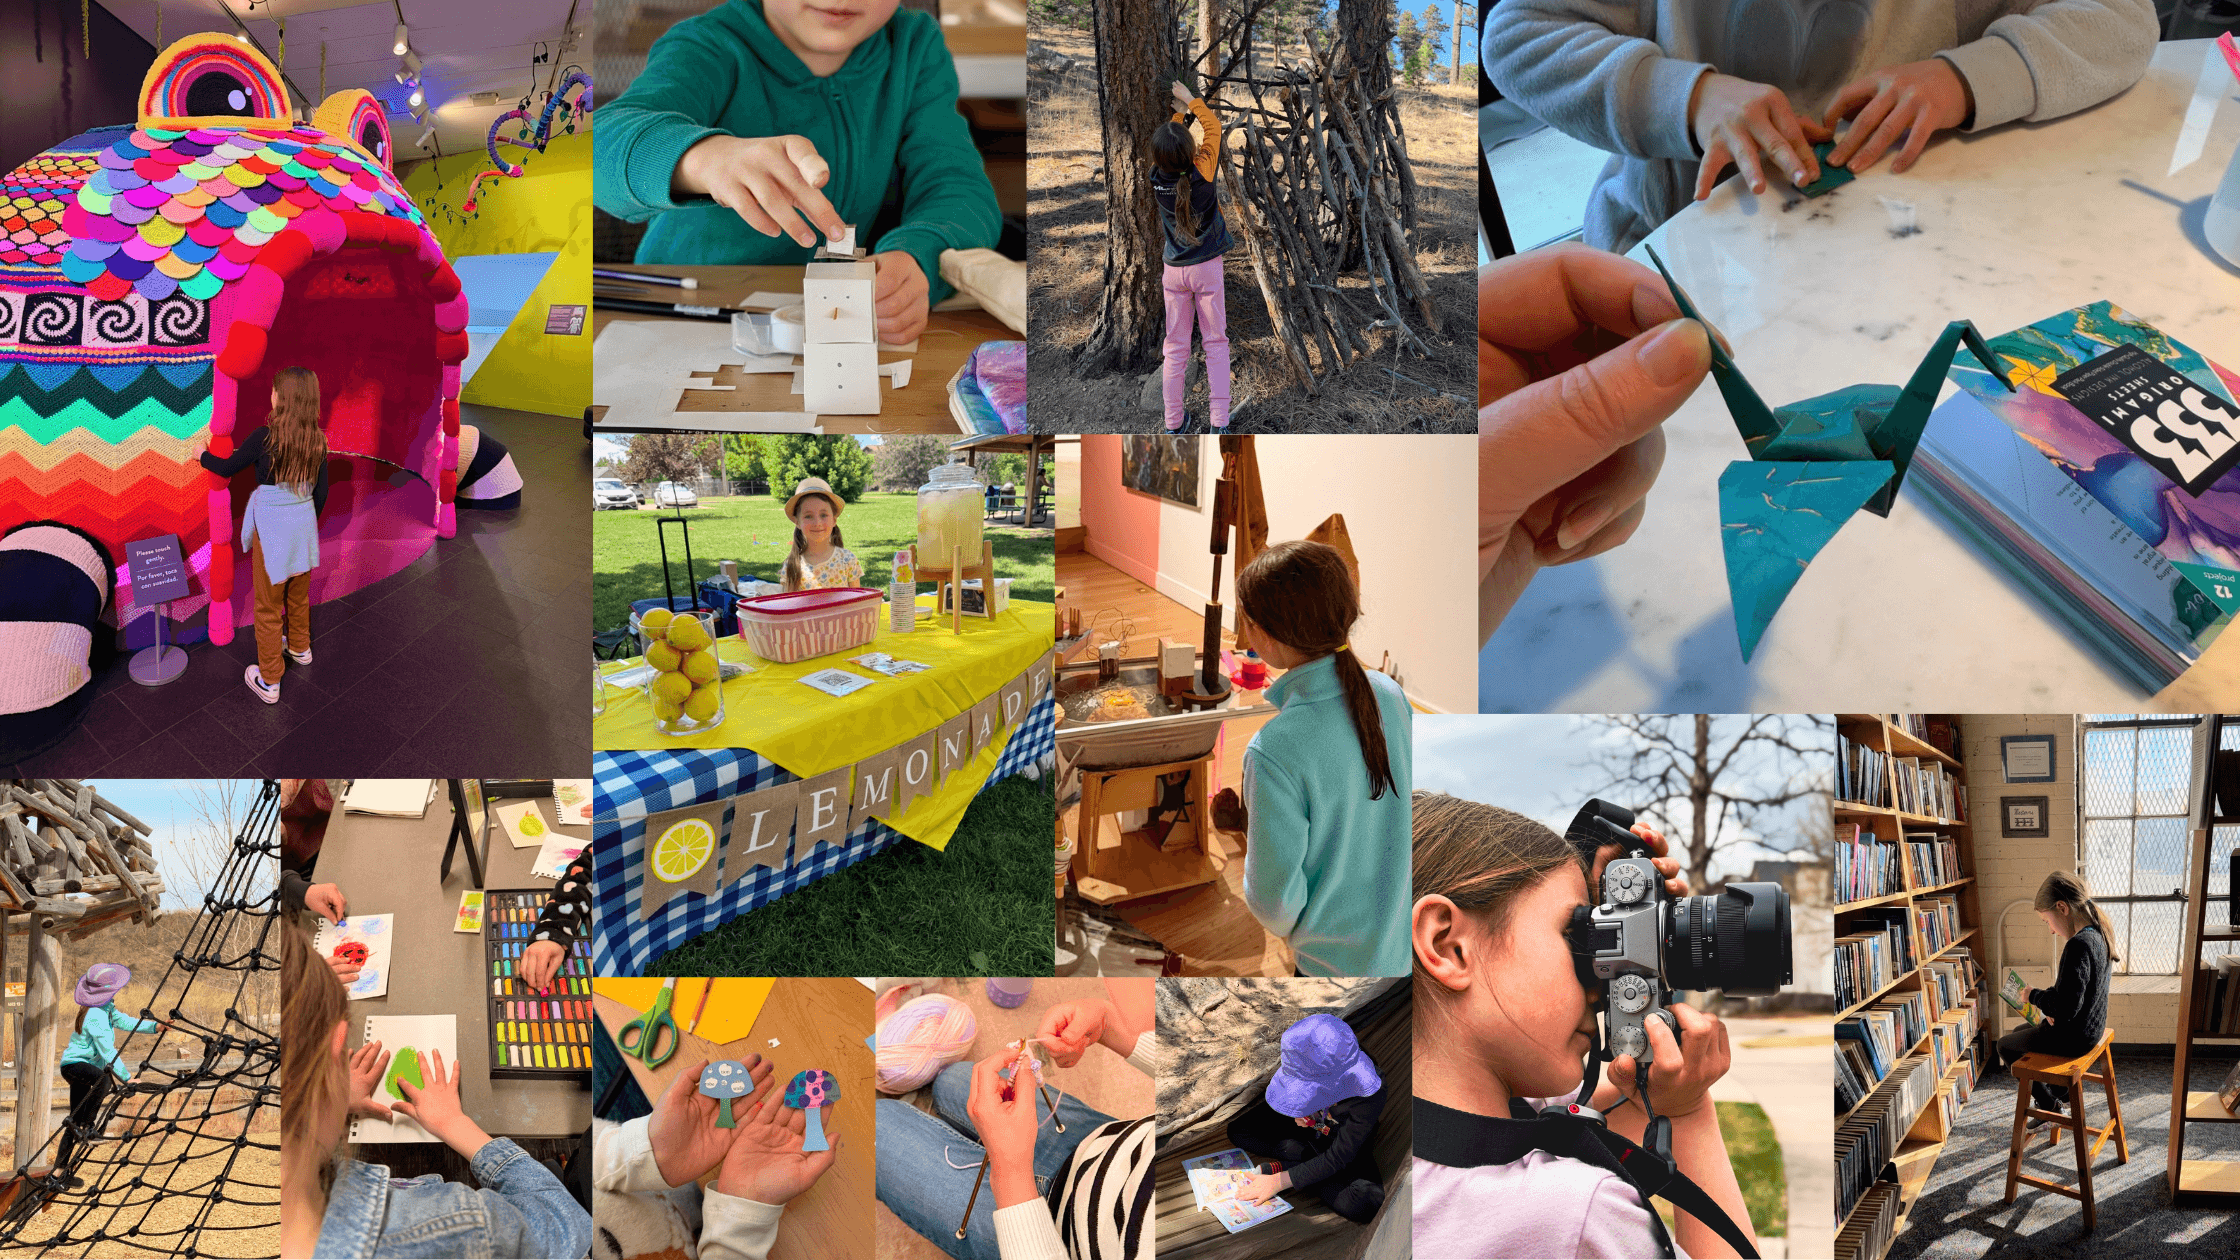
Creative Projects That Inspire Imagination
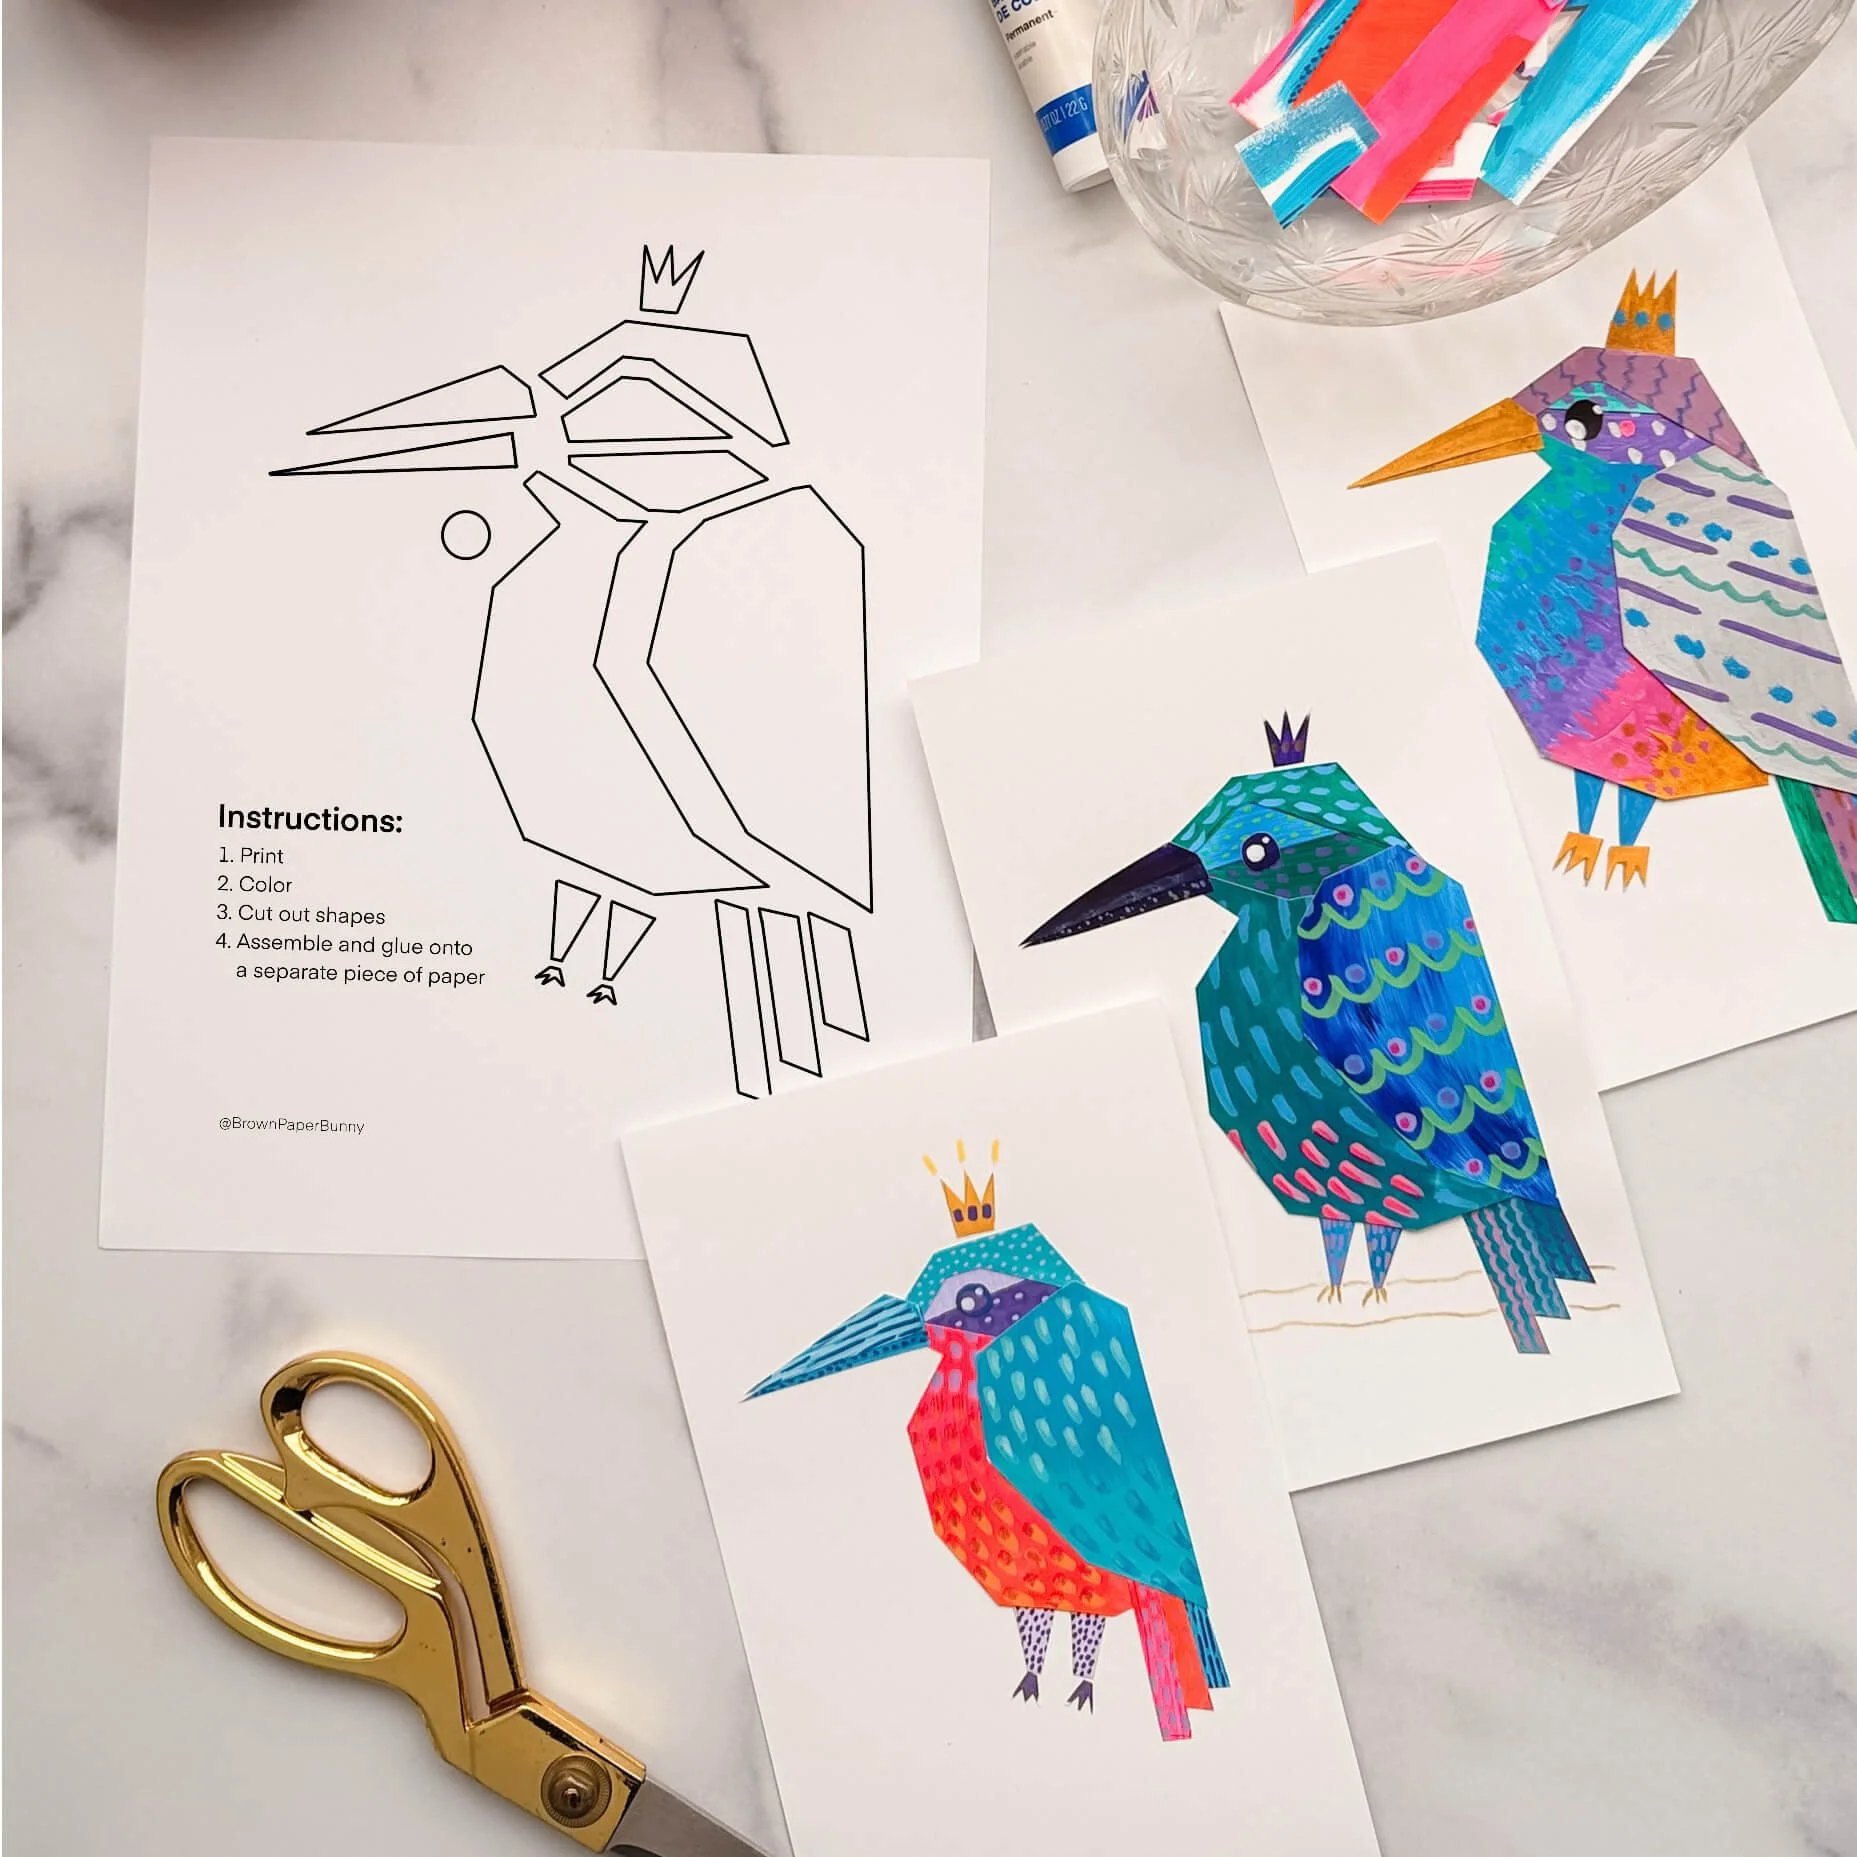
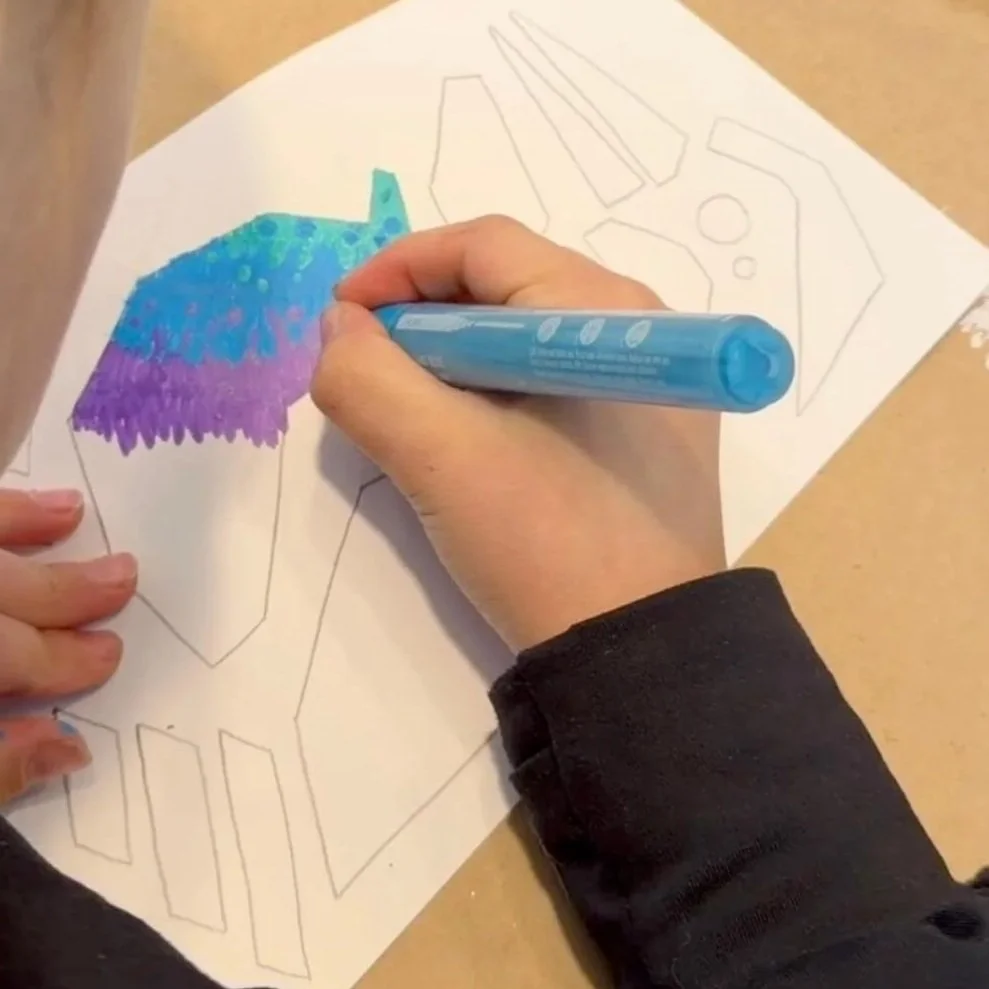
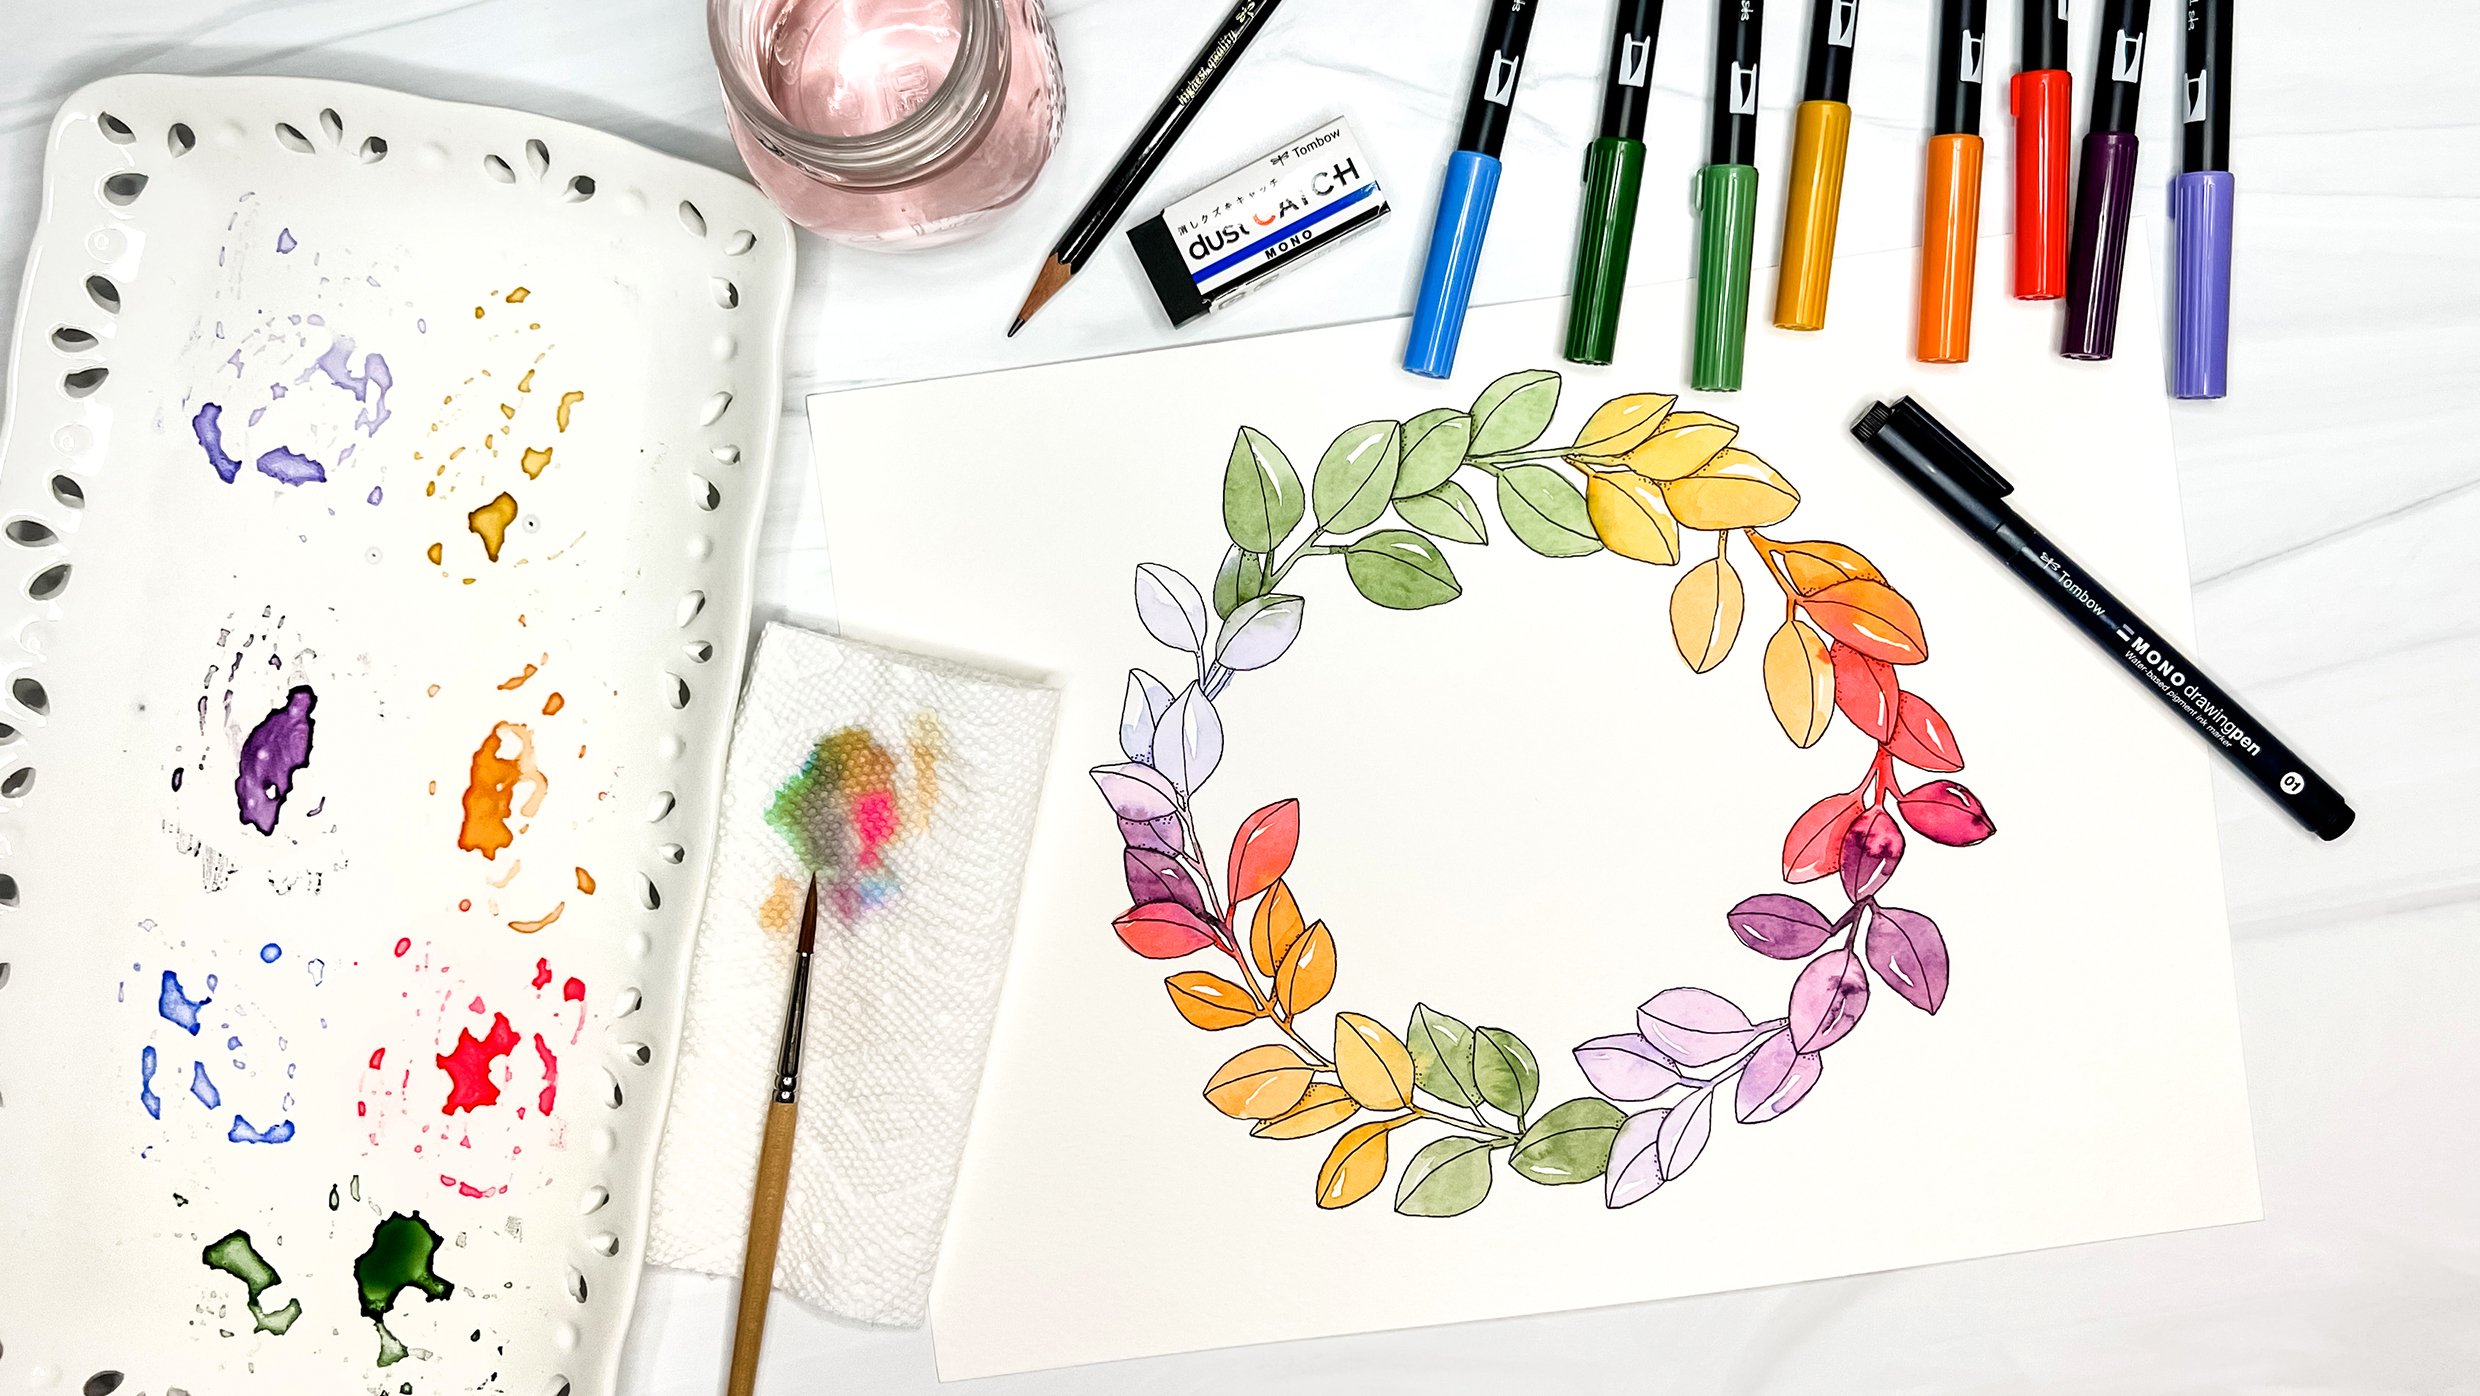
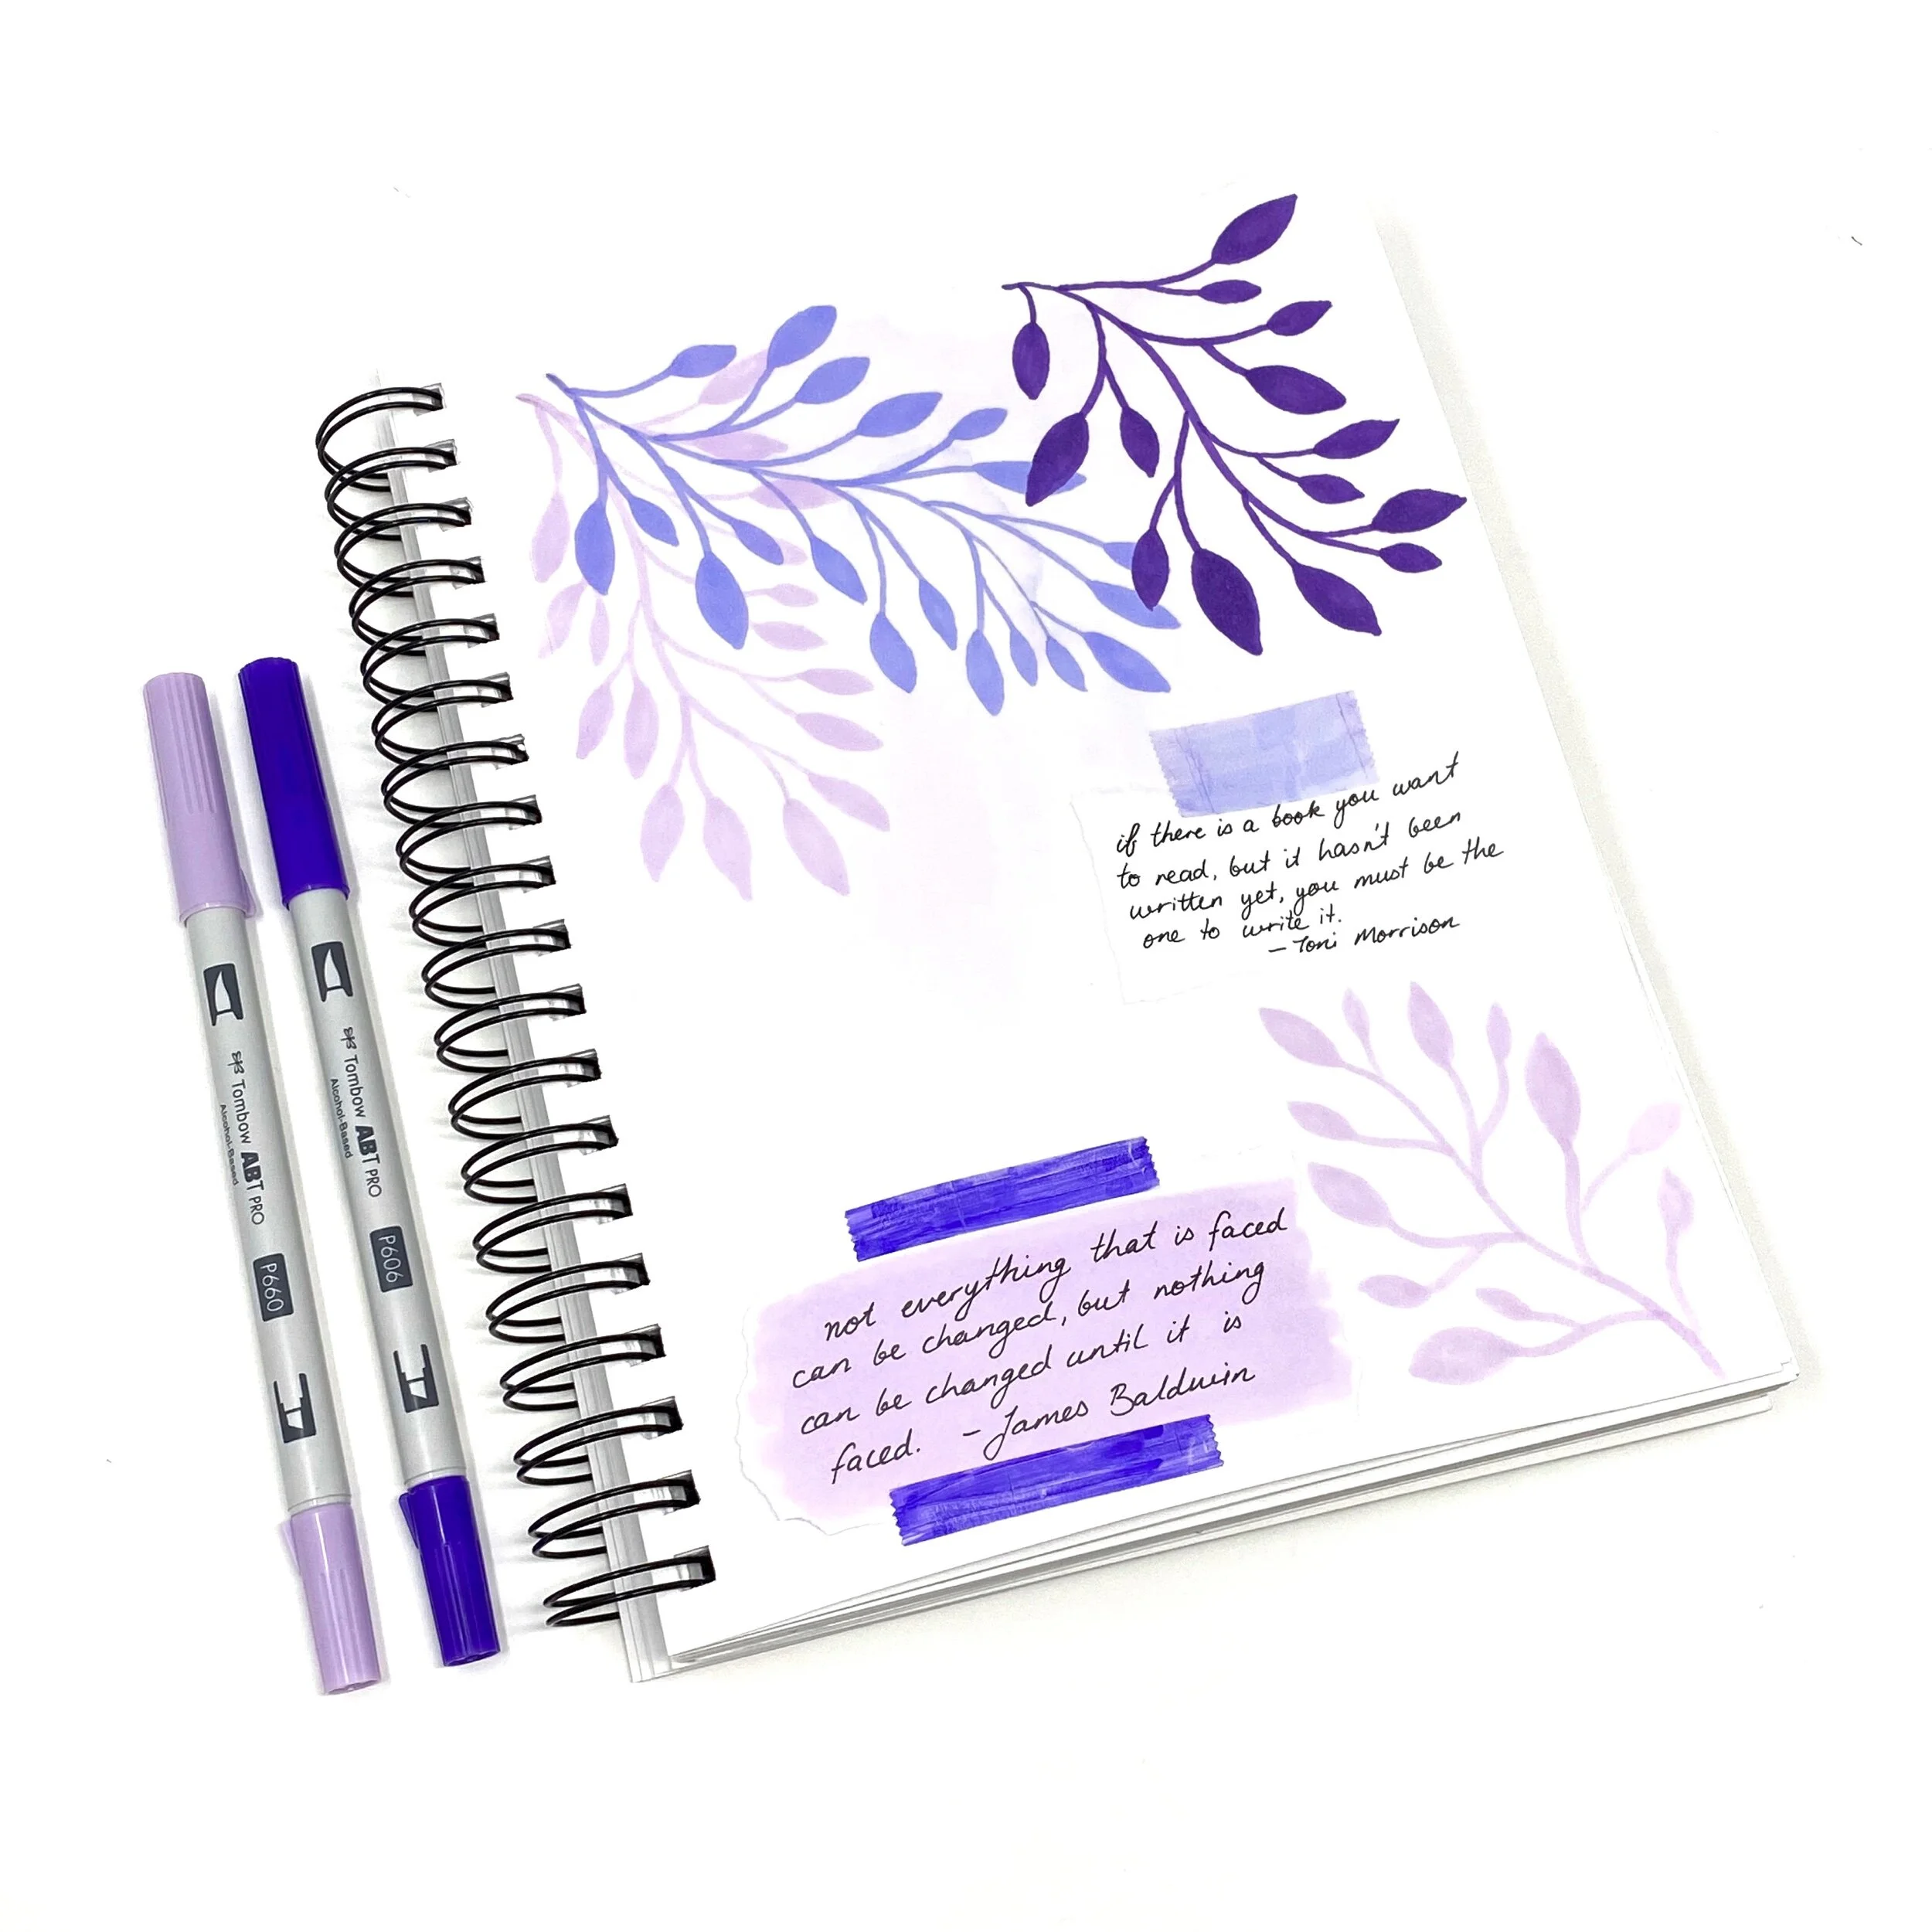
Kids love making things that feel uniquely theirs. Try an Invent‑a‑Creature drawing challenge or create a fantasy map by tracing around a pile of rice on a piece of paper, then adding rivers and mountains. Encourage storytelling with a mini‑comic book, or take a nature sketch walk to capture what they see outdoors.
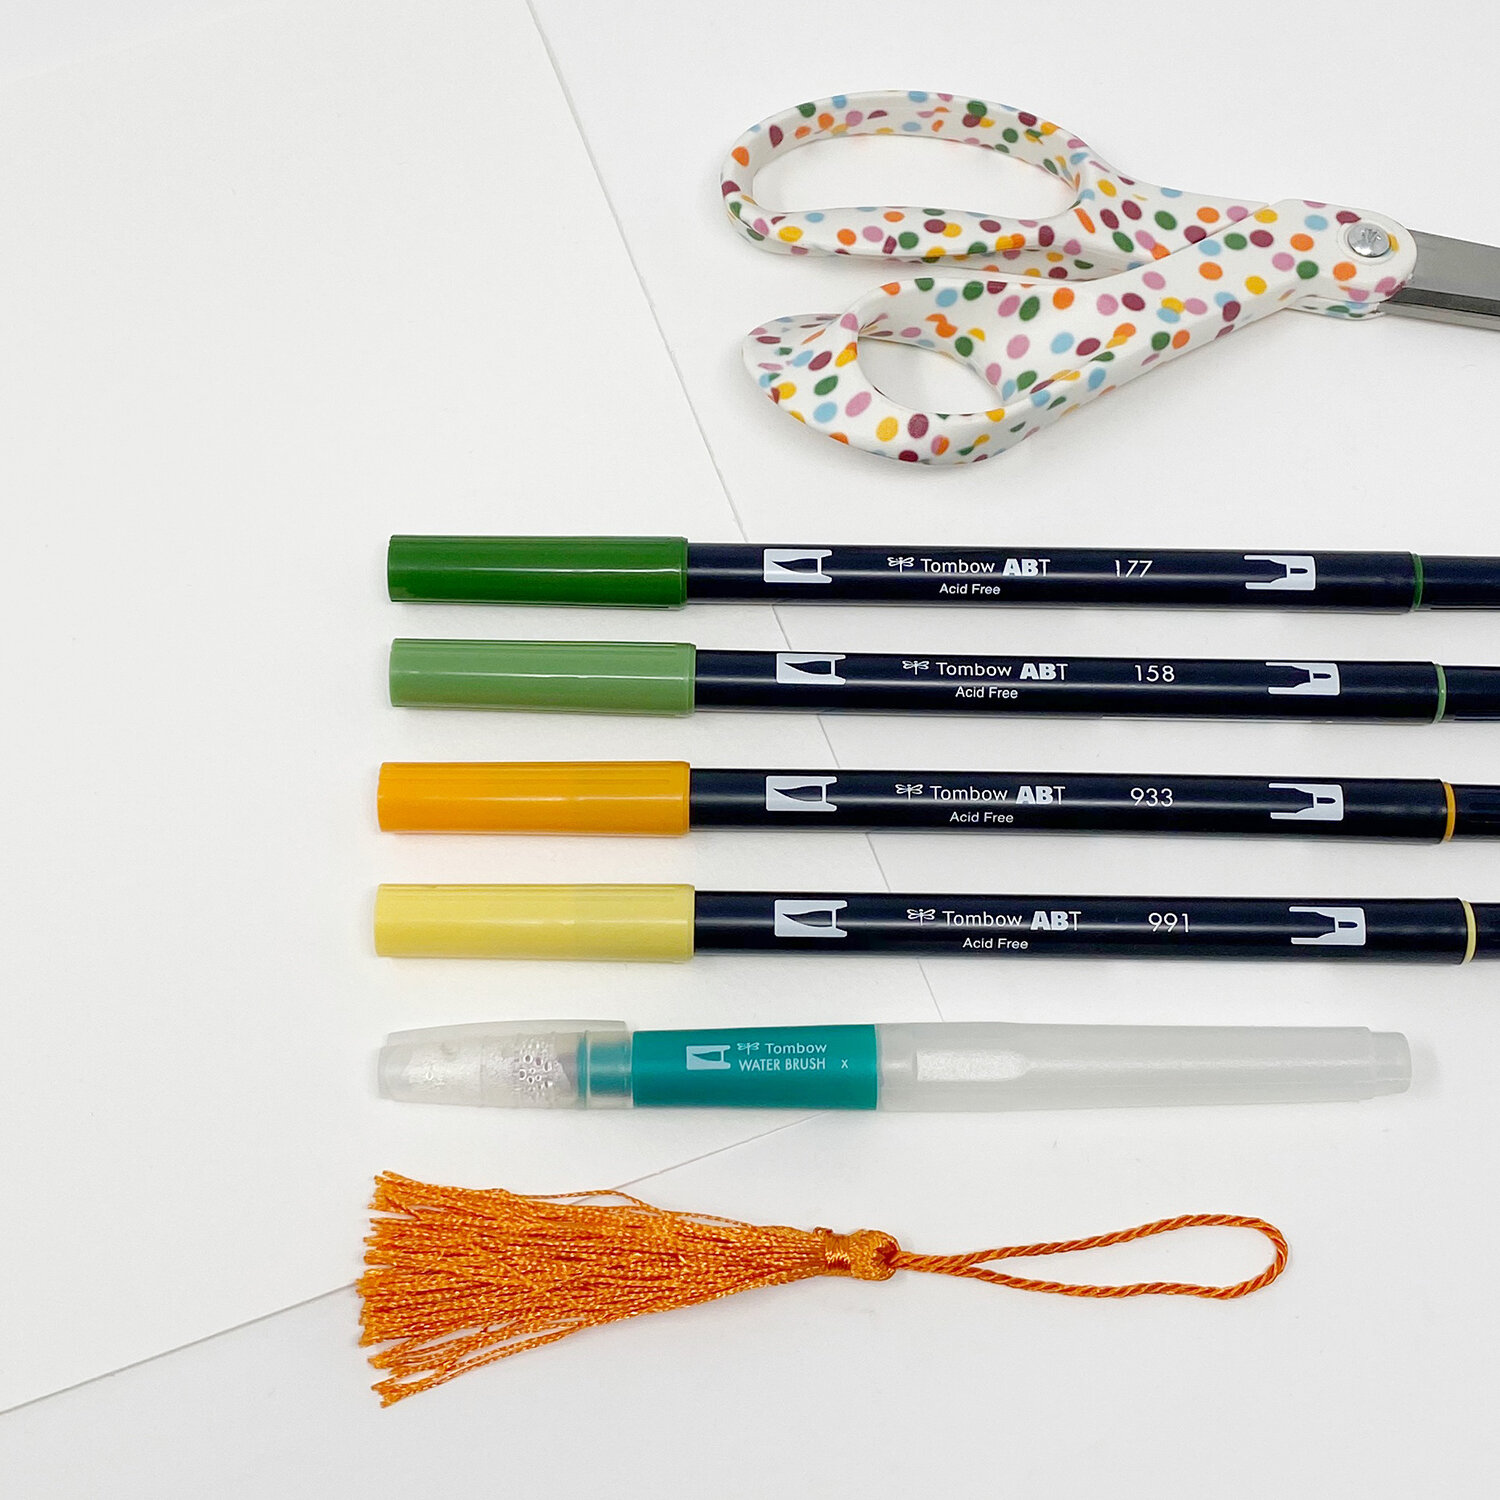
For tactile fun, stop‑motion animation and DIY museum exhibits made from household objects teach patience and planning. Bookmarks, friendship bracelets, and chalk art are perfect for quick creative bursts, while origami and cardboard inventions build fine motor skills and spatial awareness.
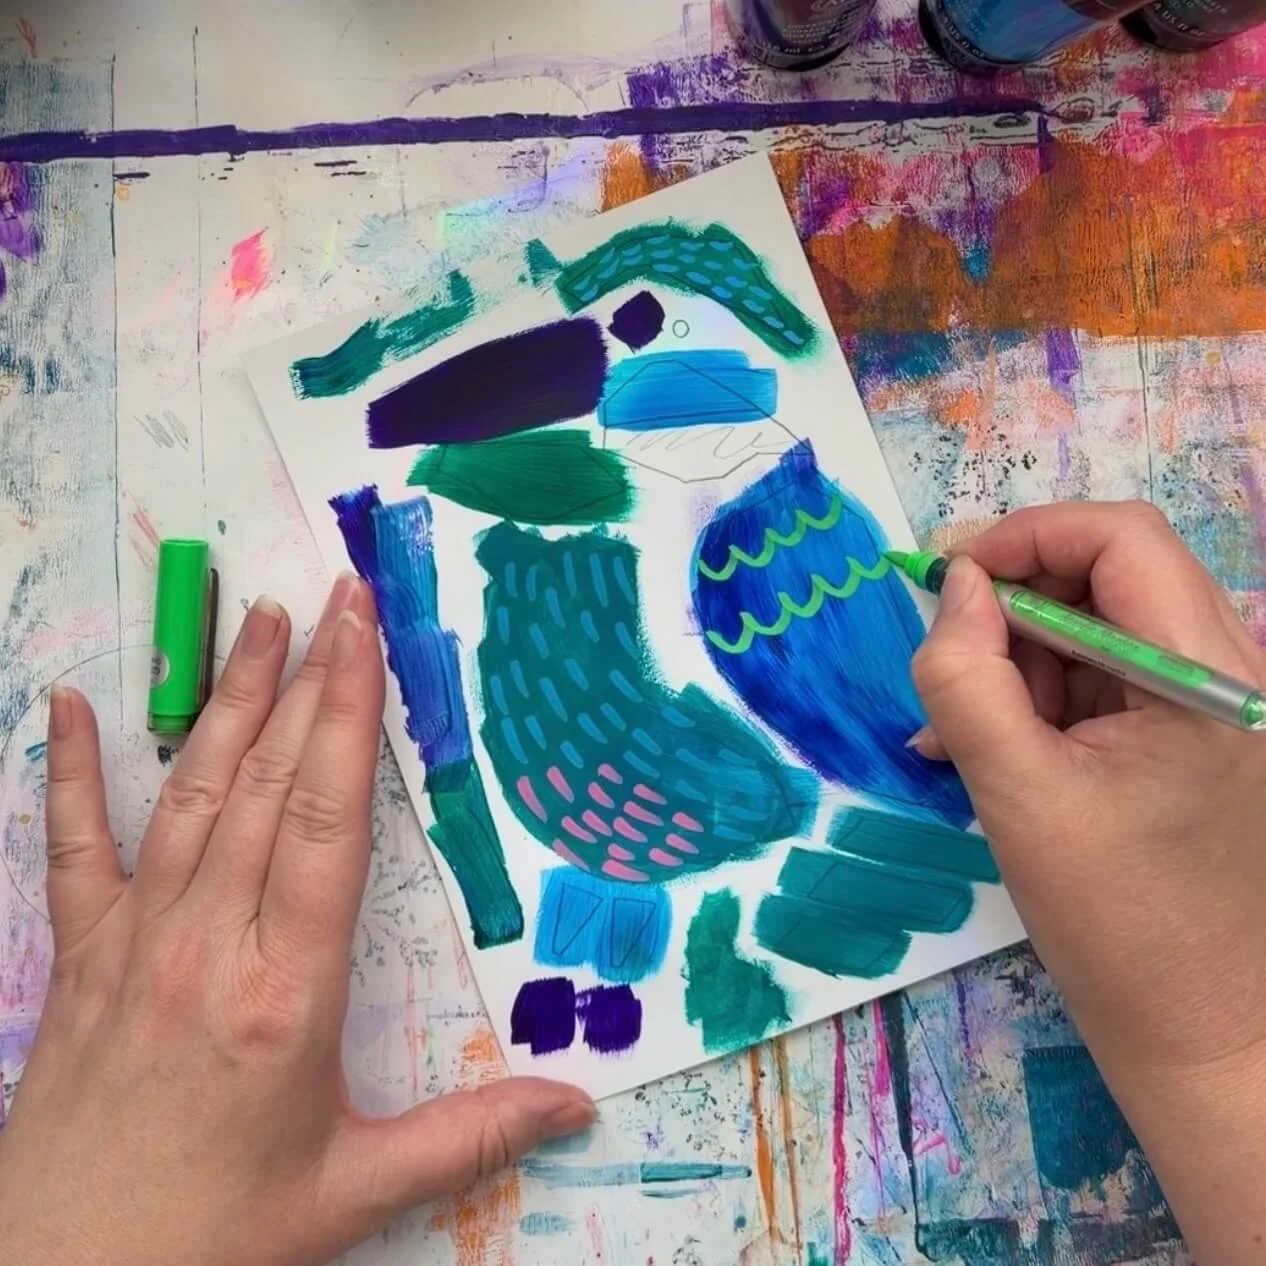
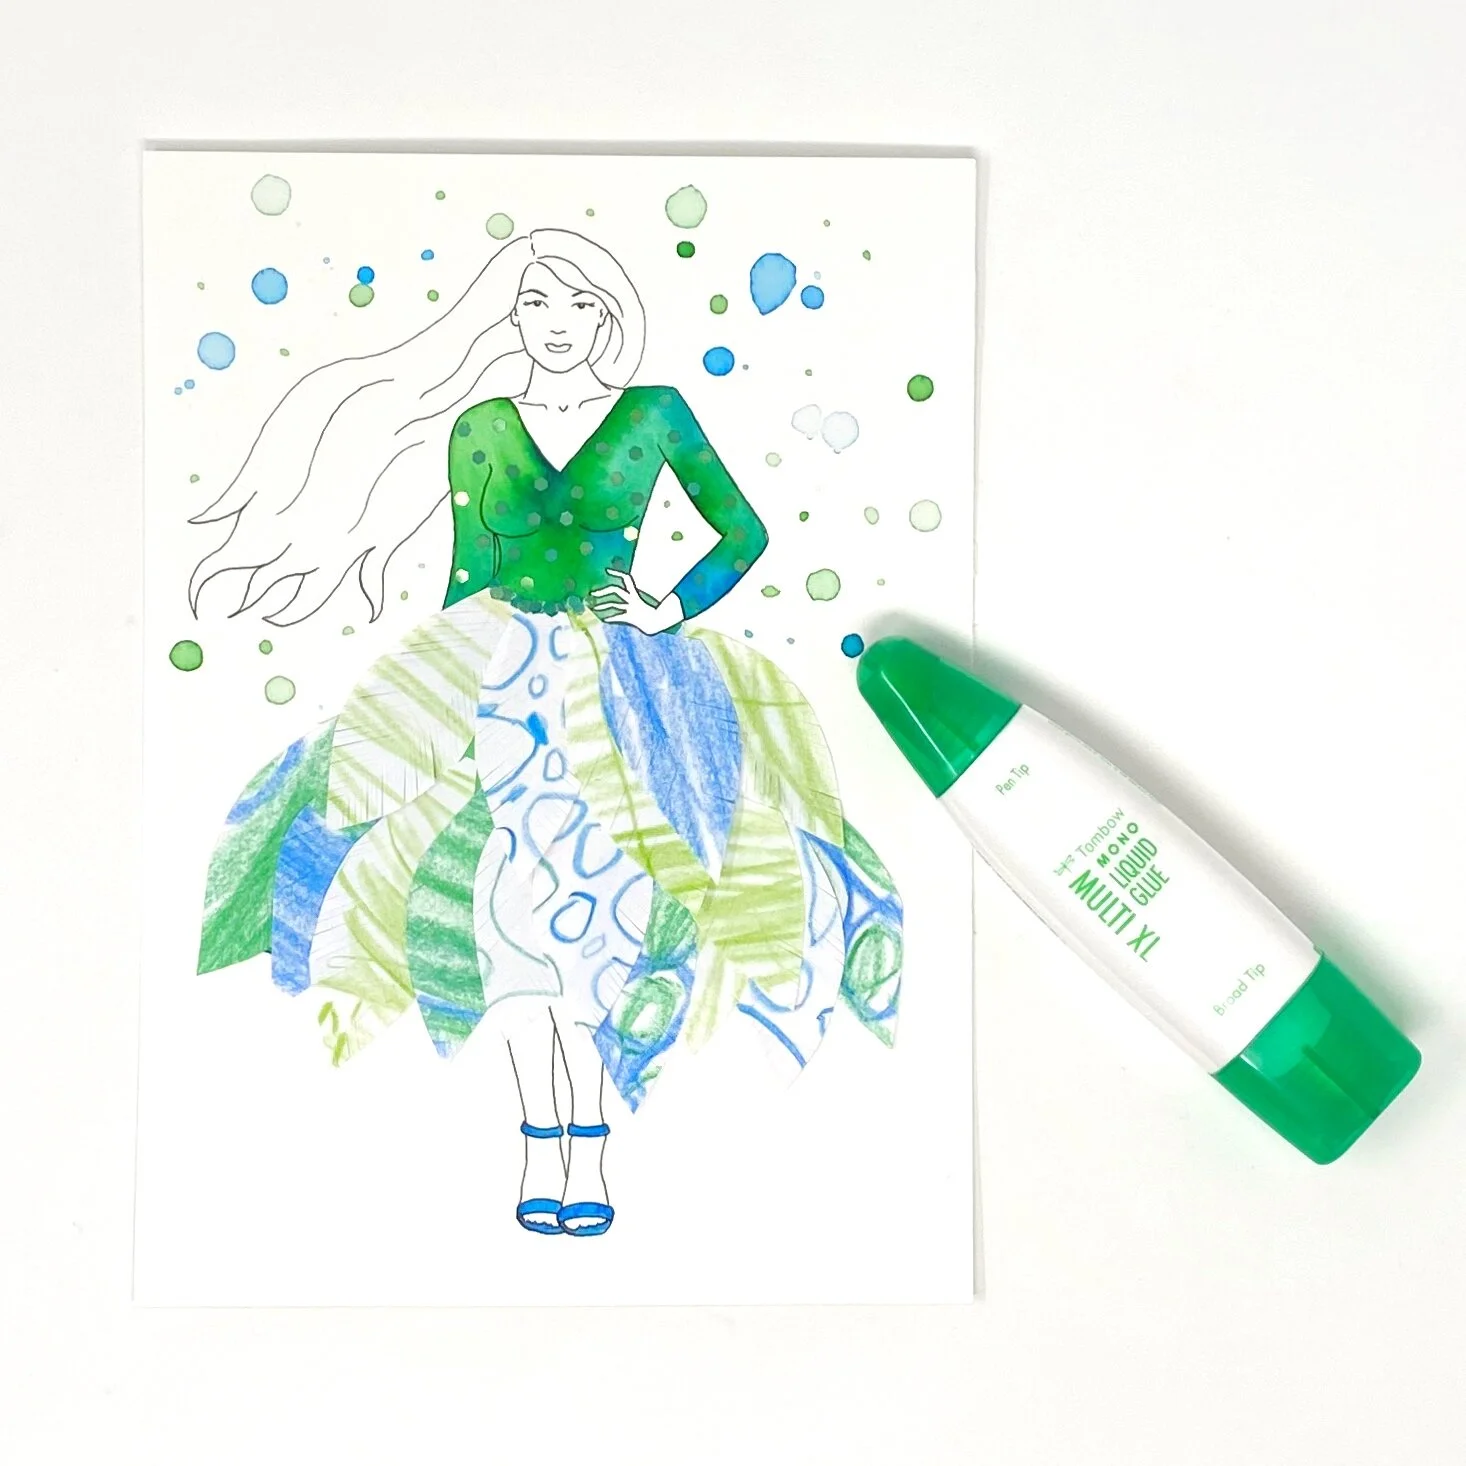
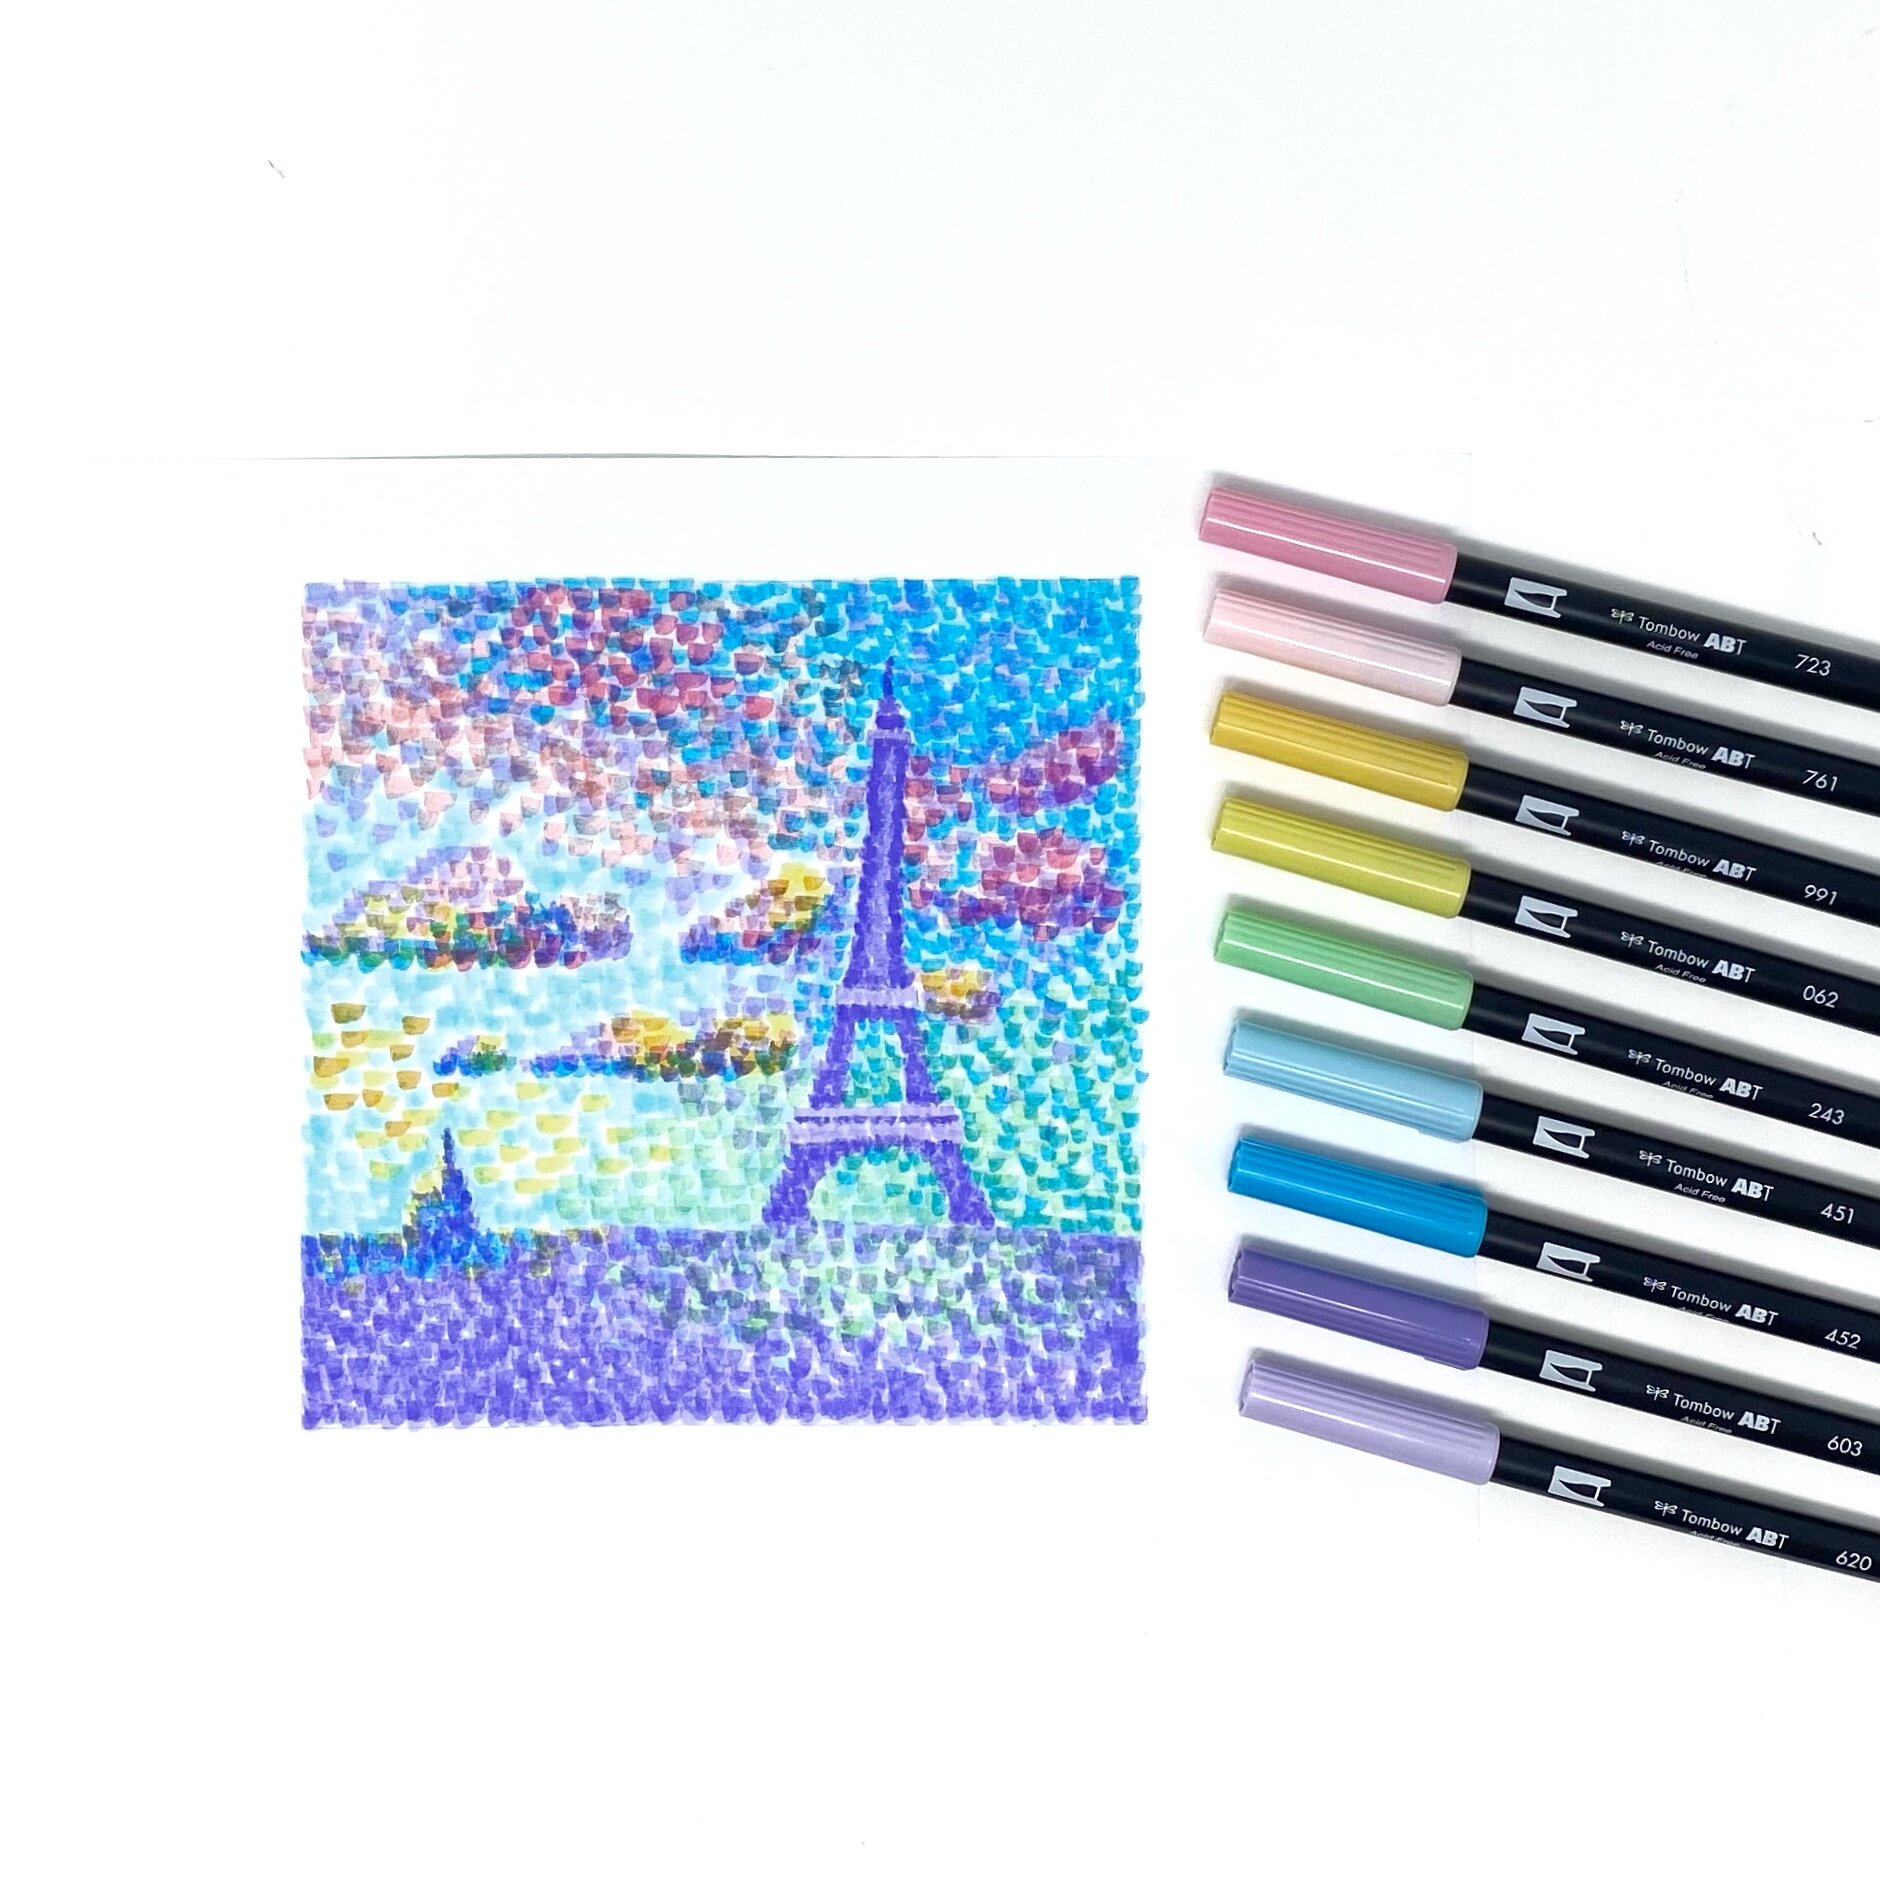
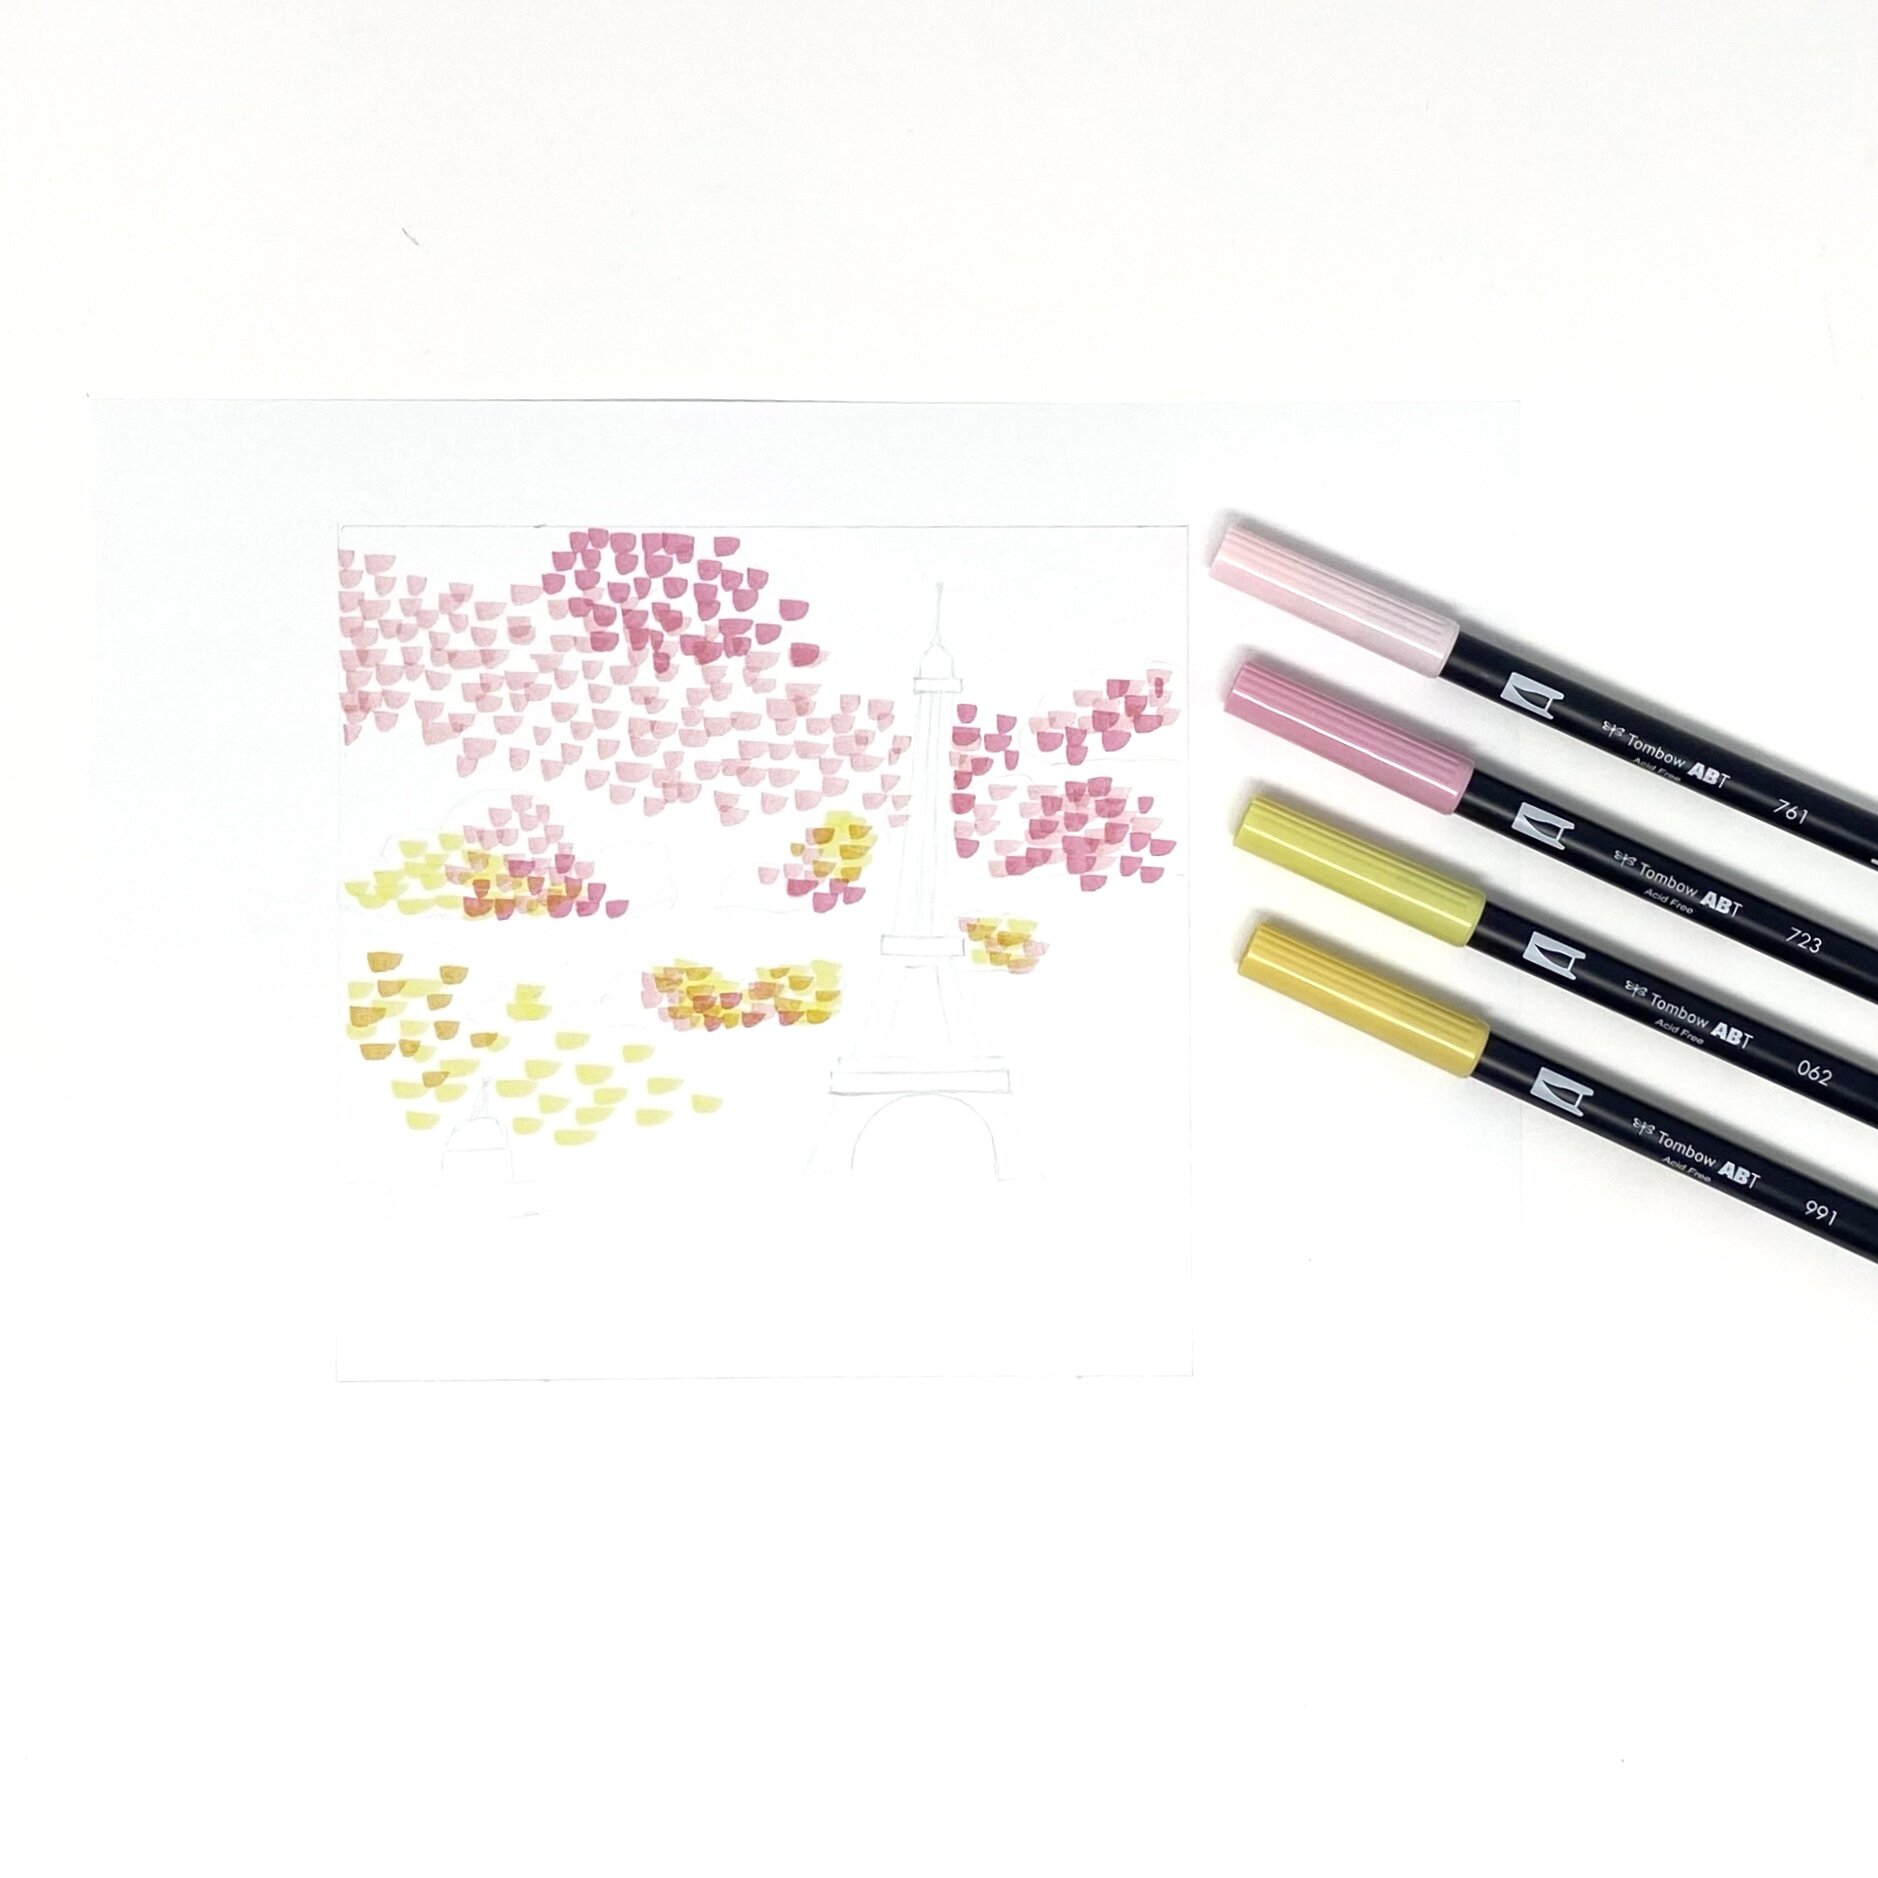
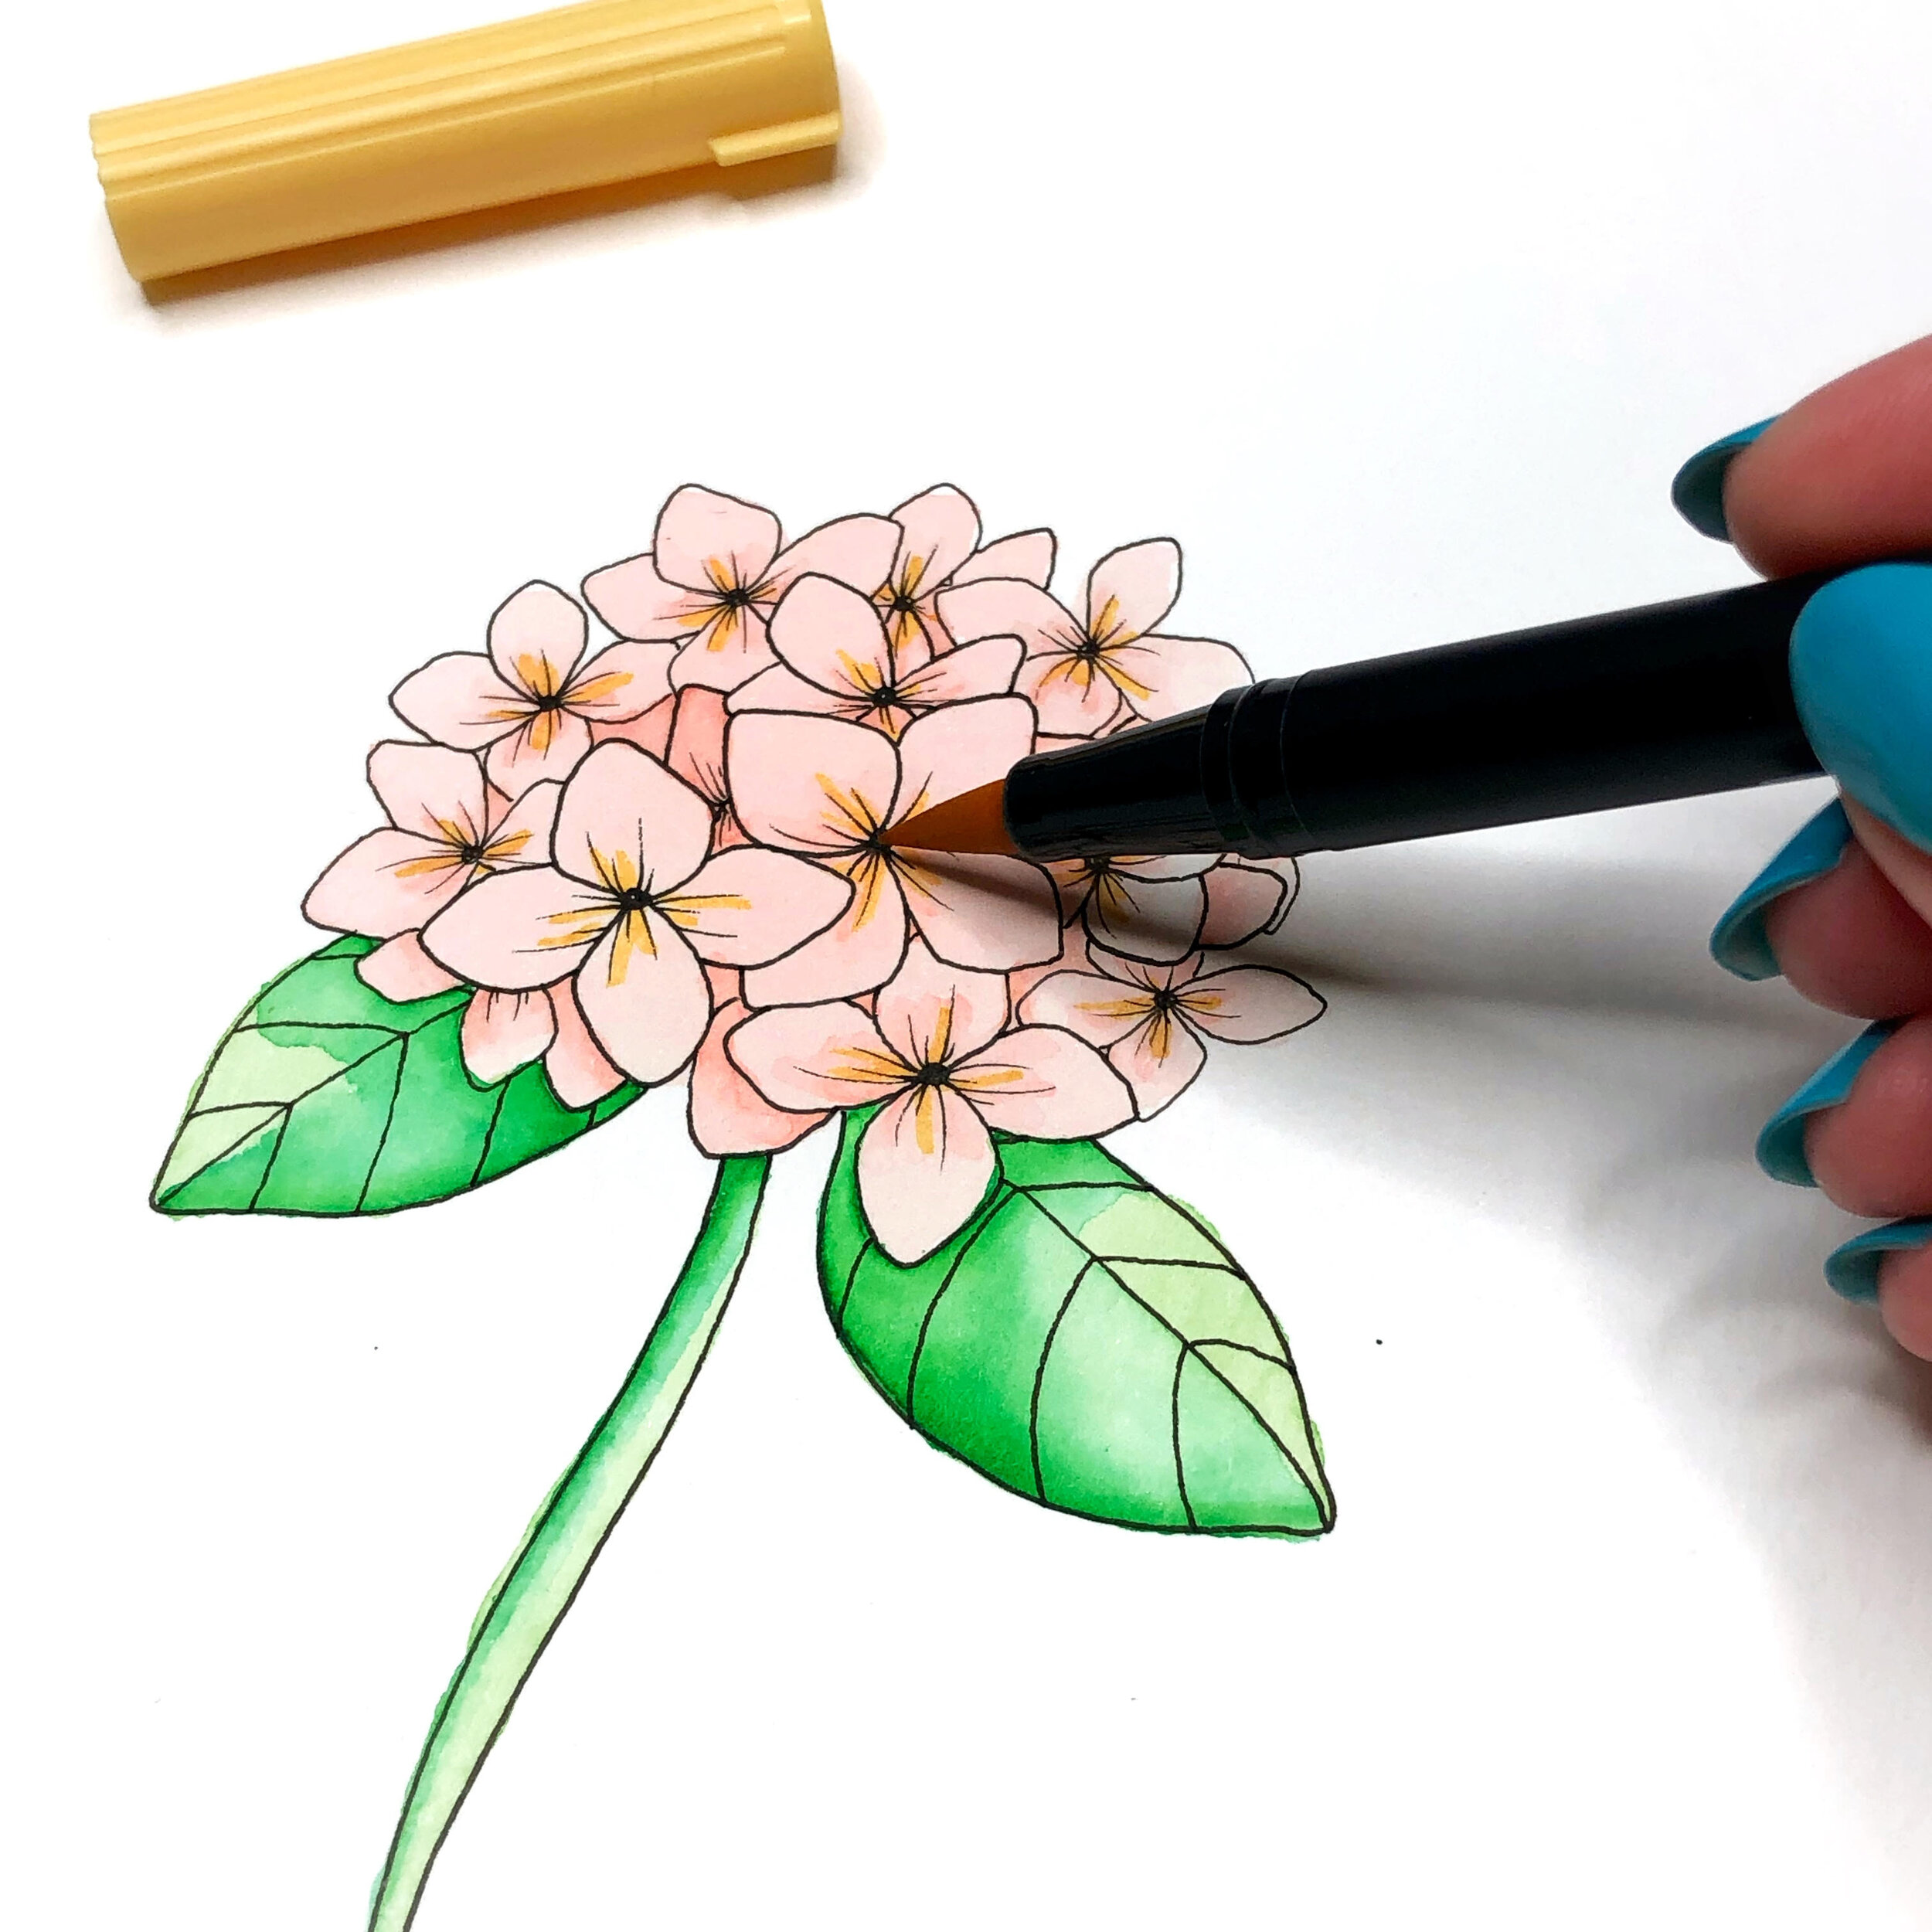
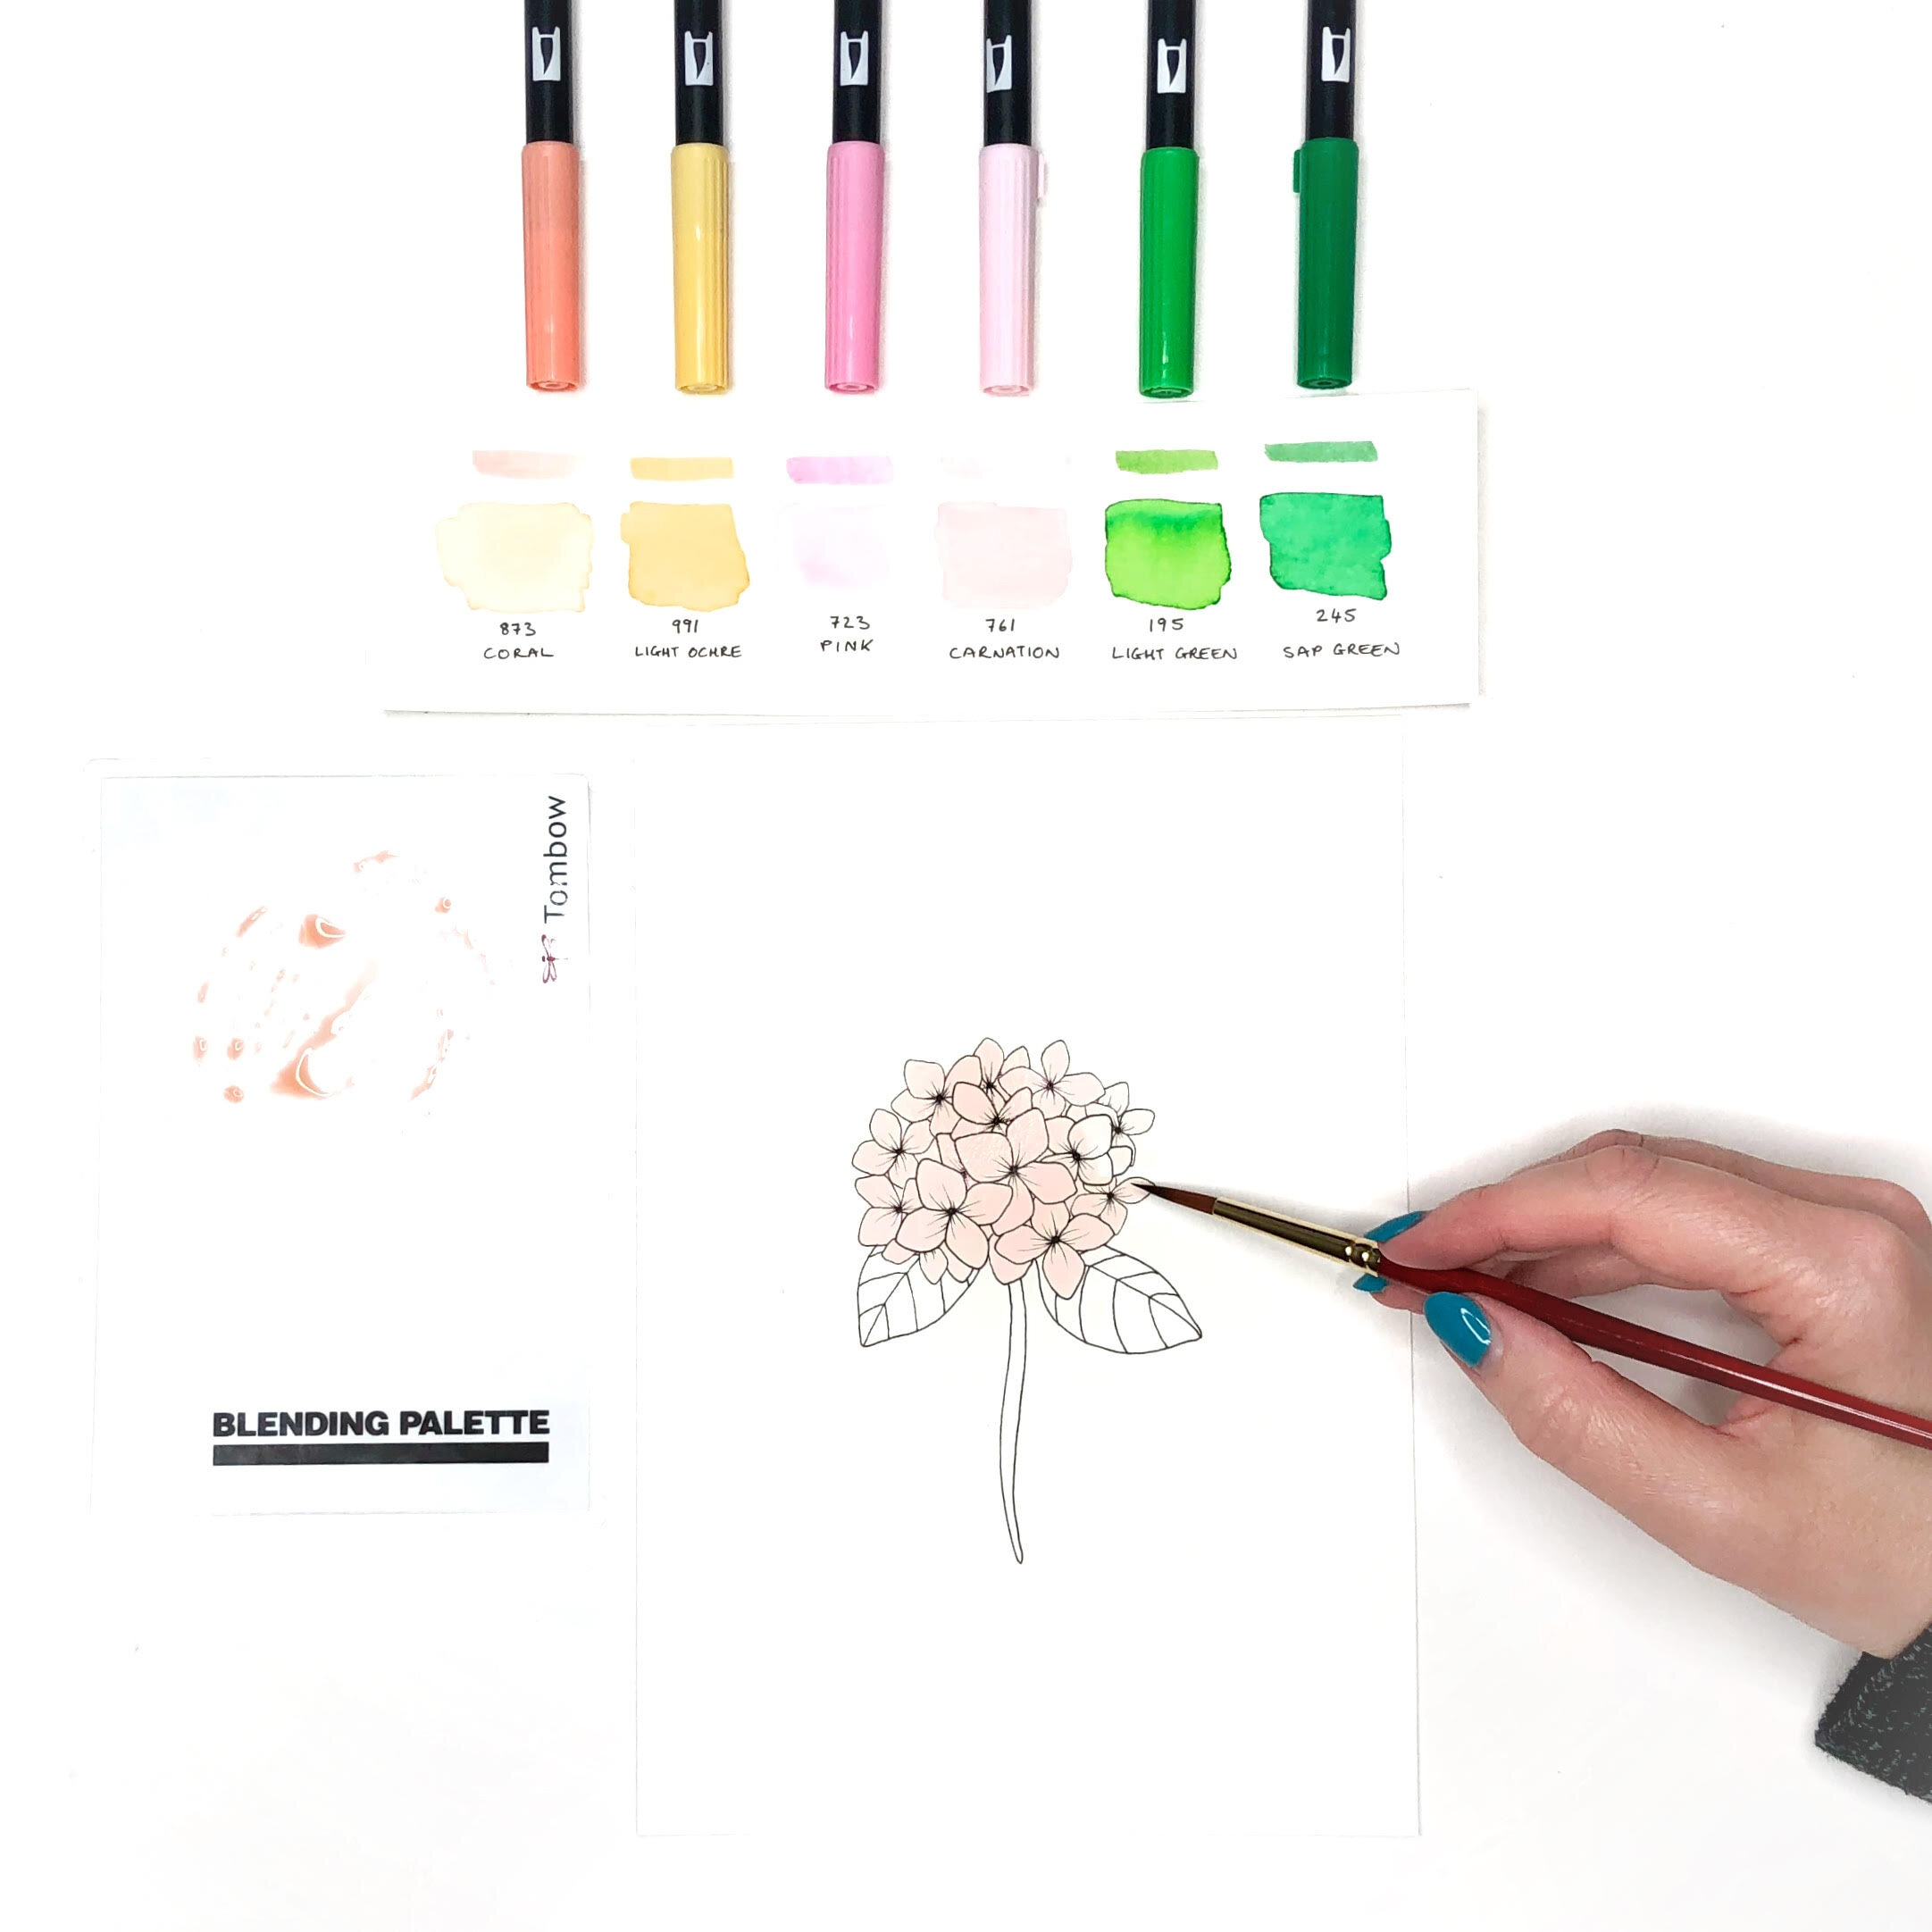
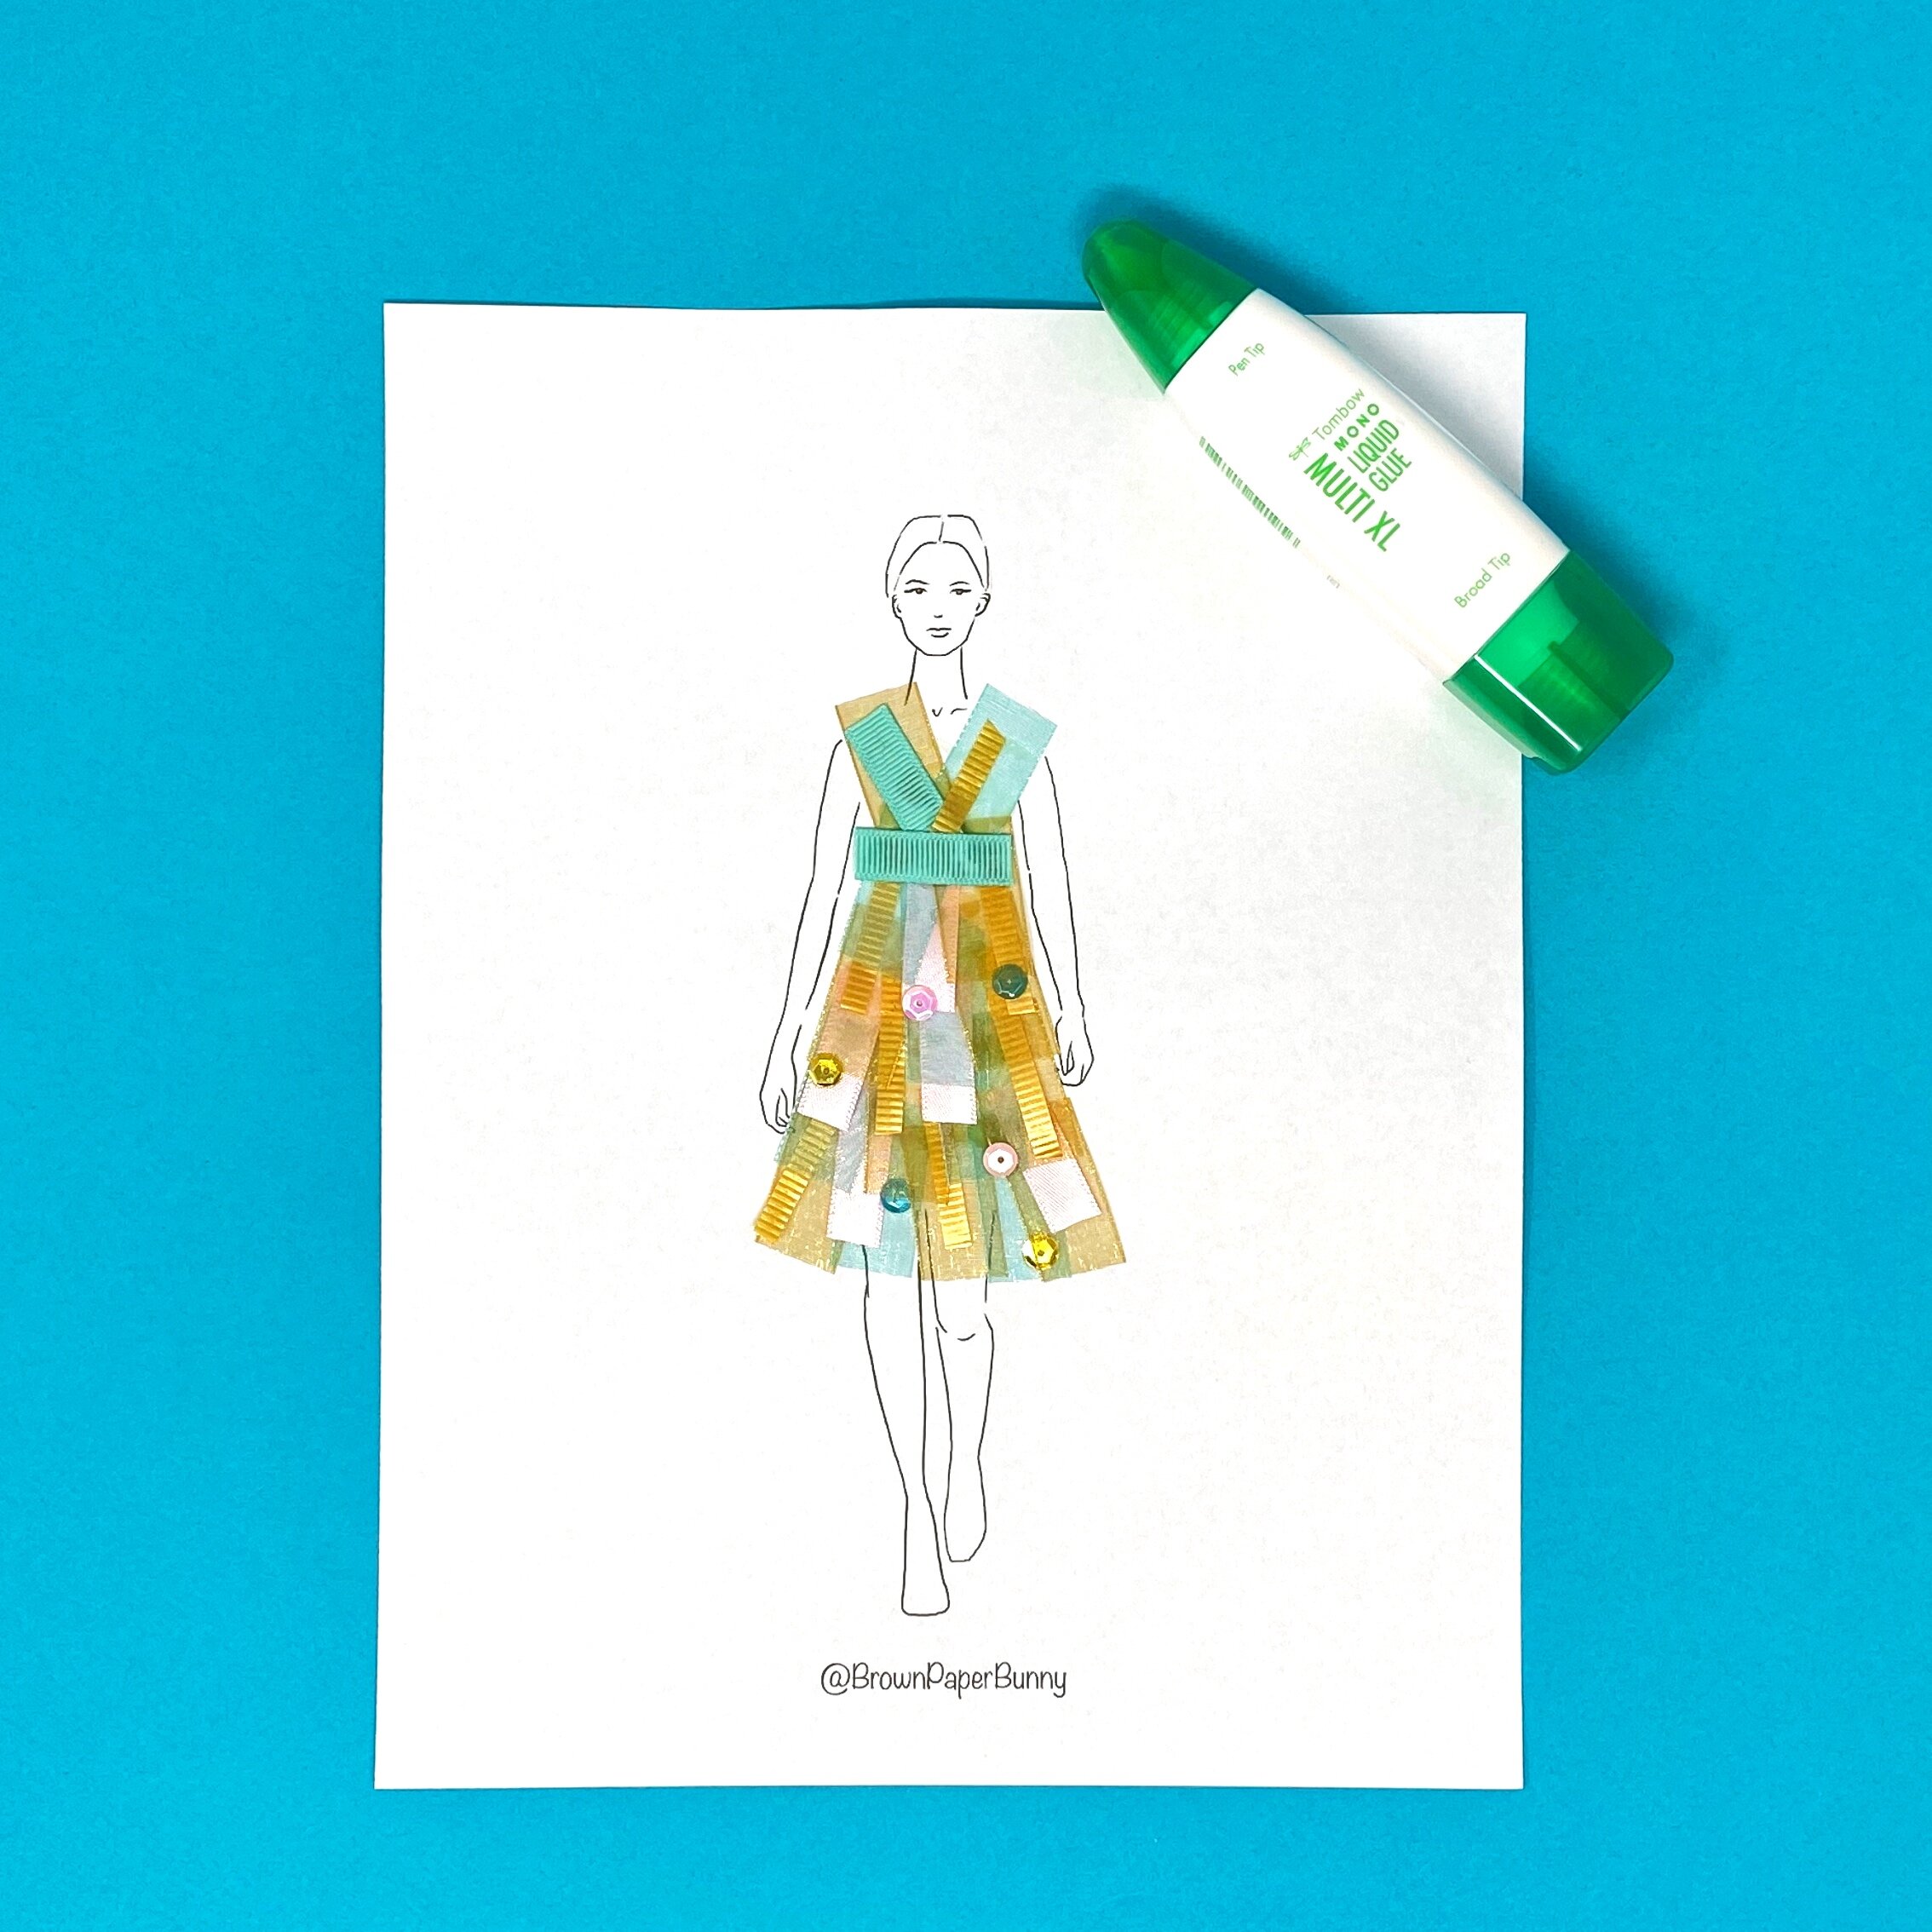
Add a touch of artistry with air‑dry clay creations, pet portraits, or collages and vision boards. Kids can even explore math through art by painting paper and cutting it into mosaic multiplication arrays, a colorful way to visualize patterns and numbers.
Invent‑a‑Creature drawing challenge
Create a fantasy map (rock push or rice trace)
Make a mini‑comic book
Nature sketch walk
Stop‑motion animation
Create a “museum exhibit” from household objects
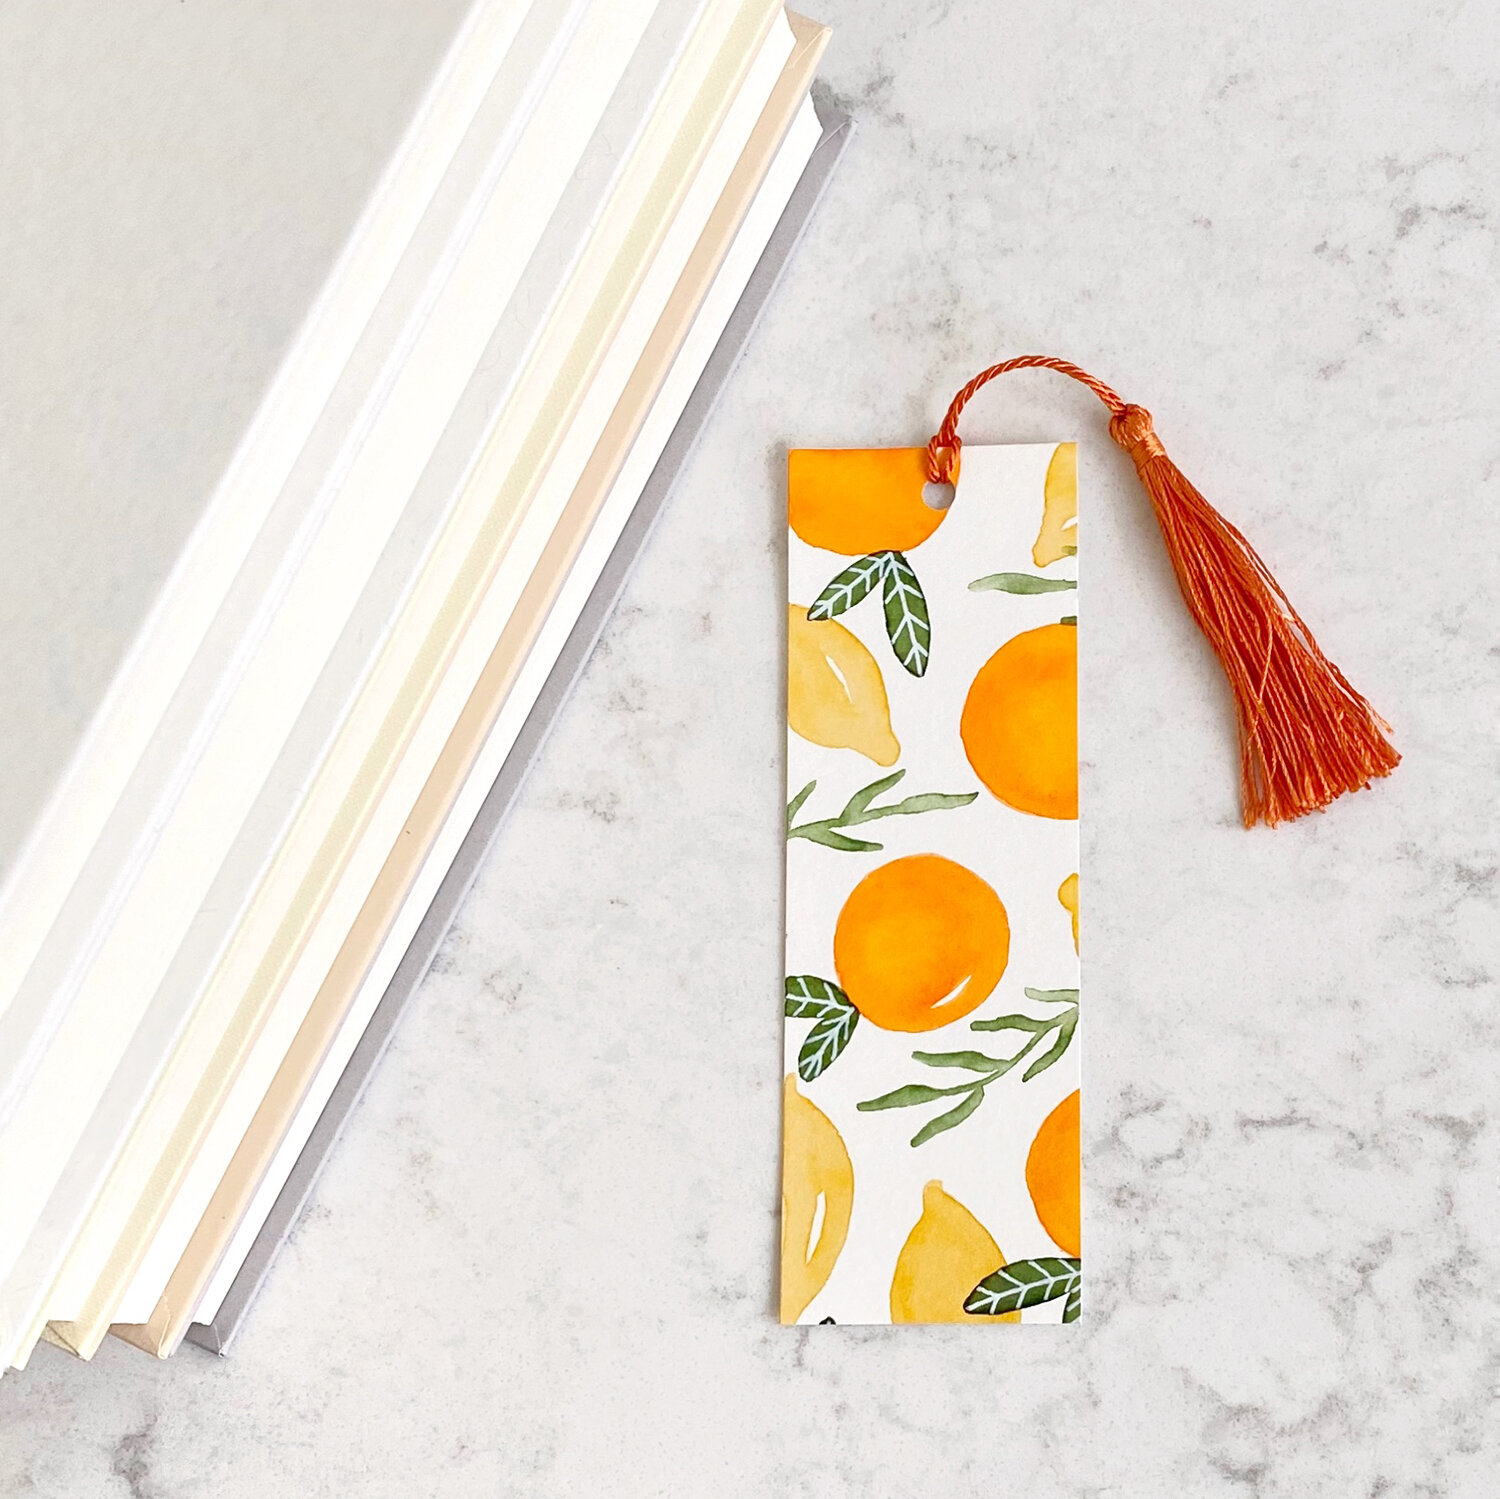
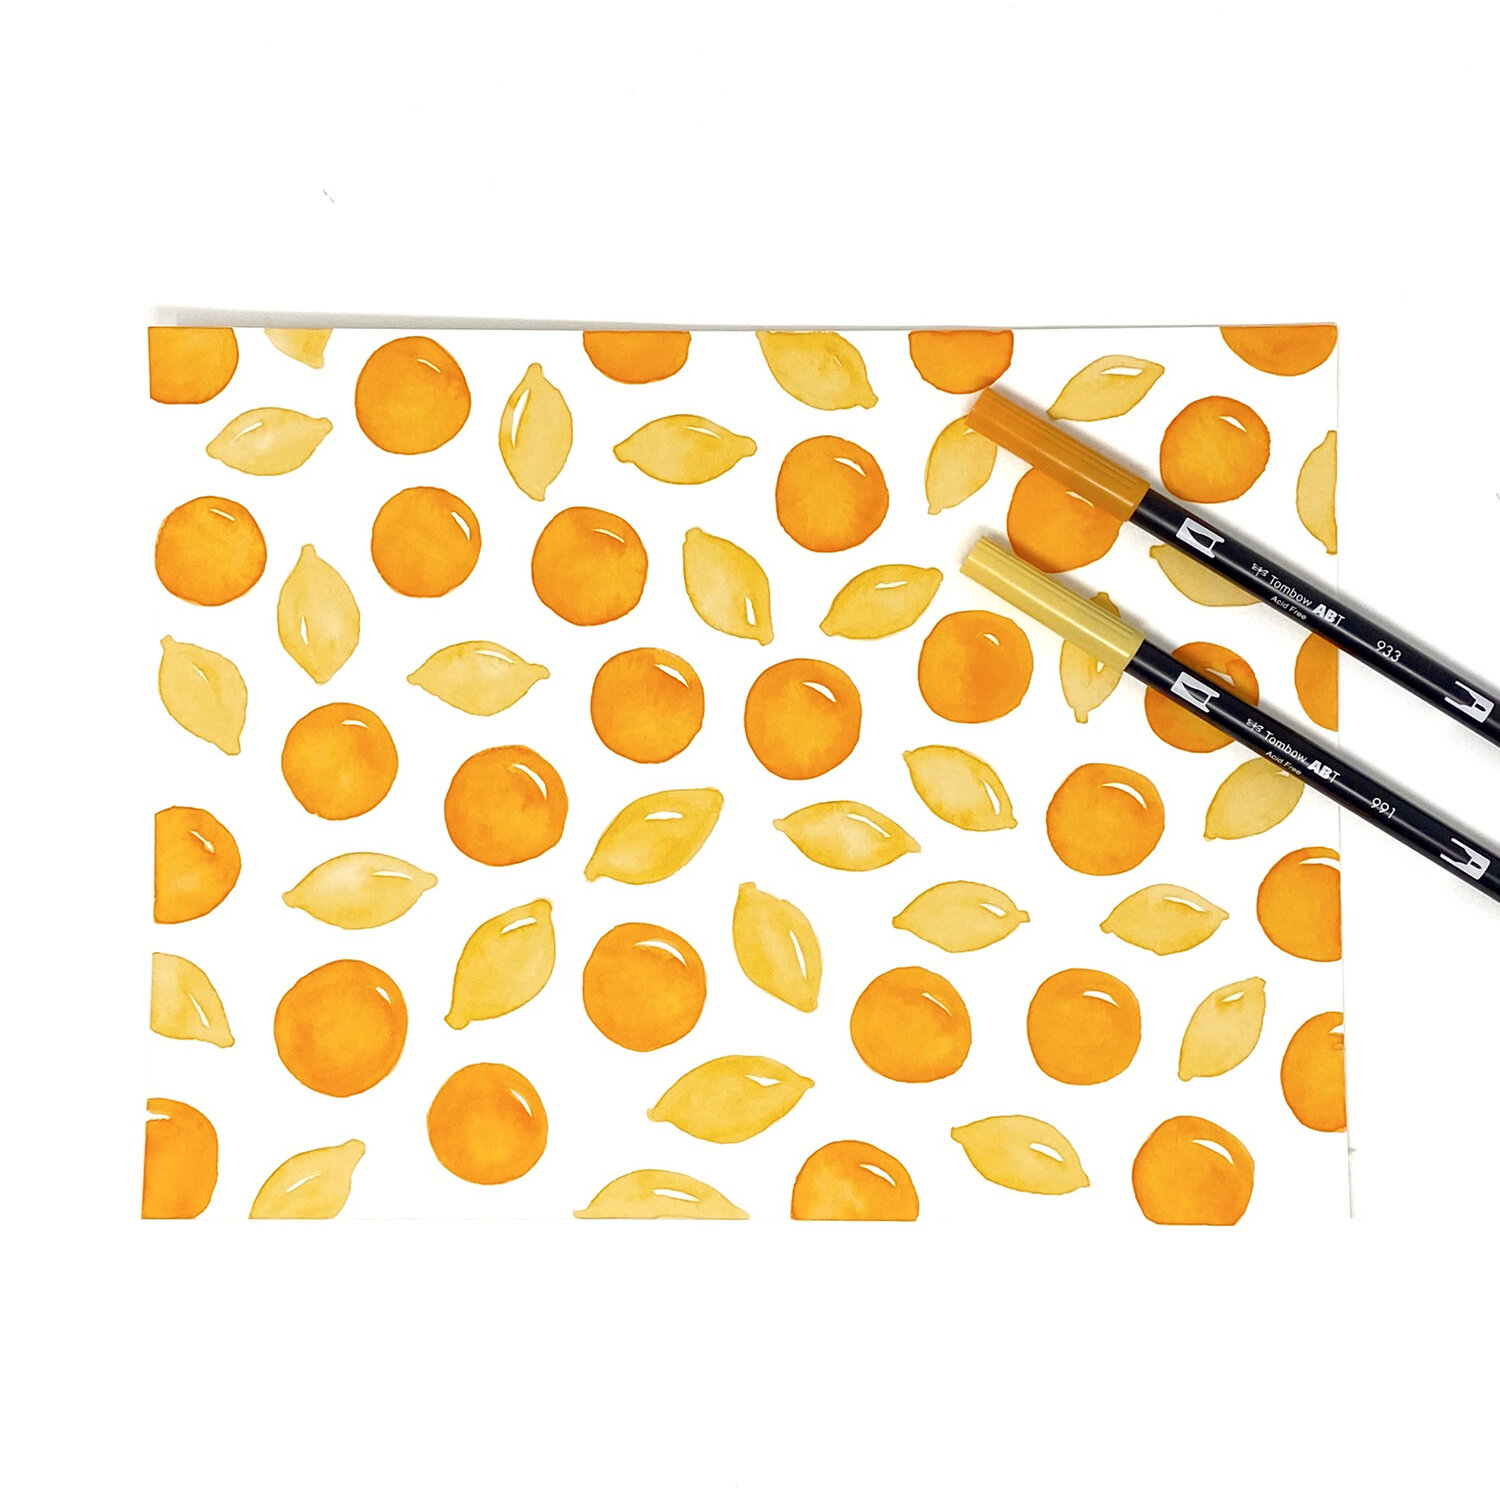
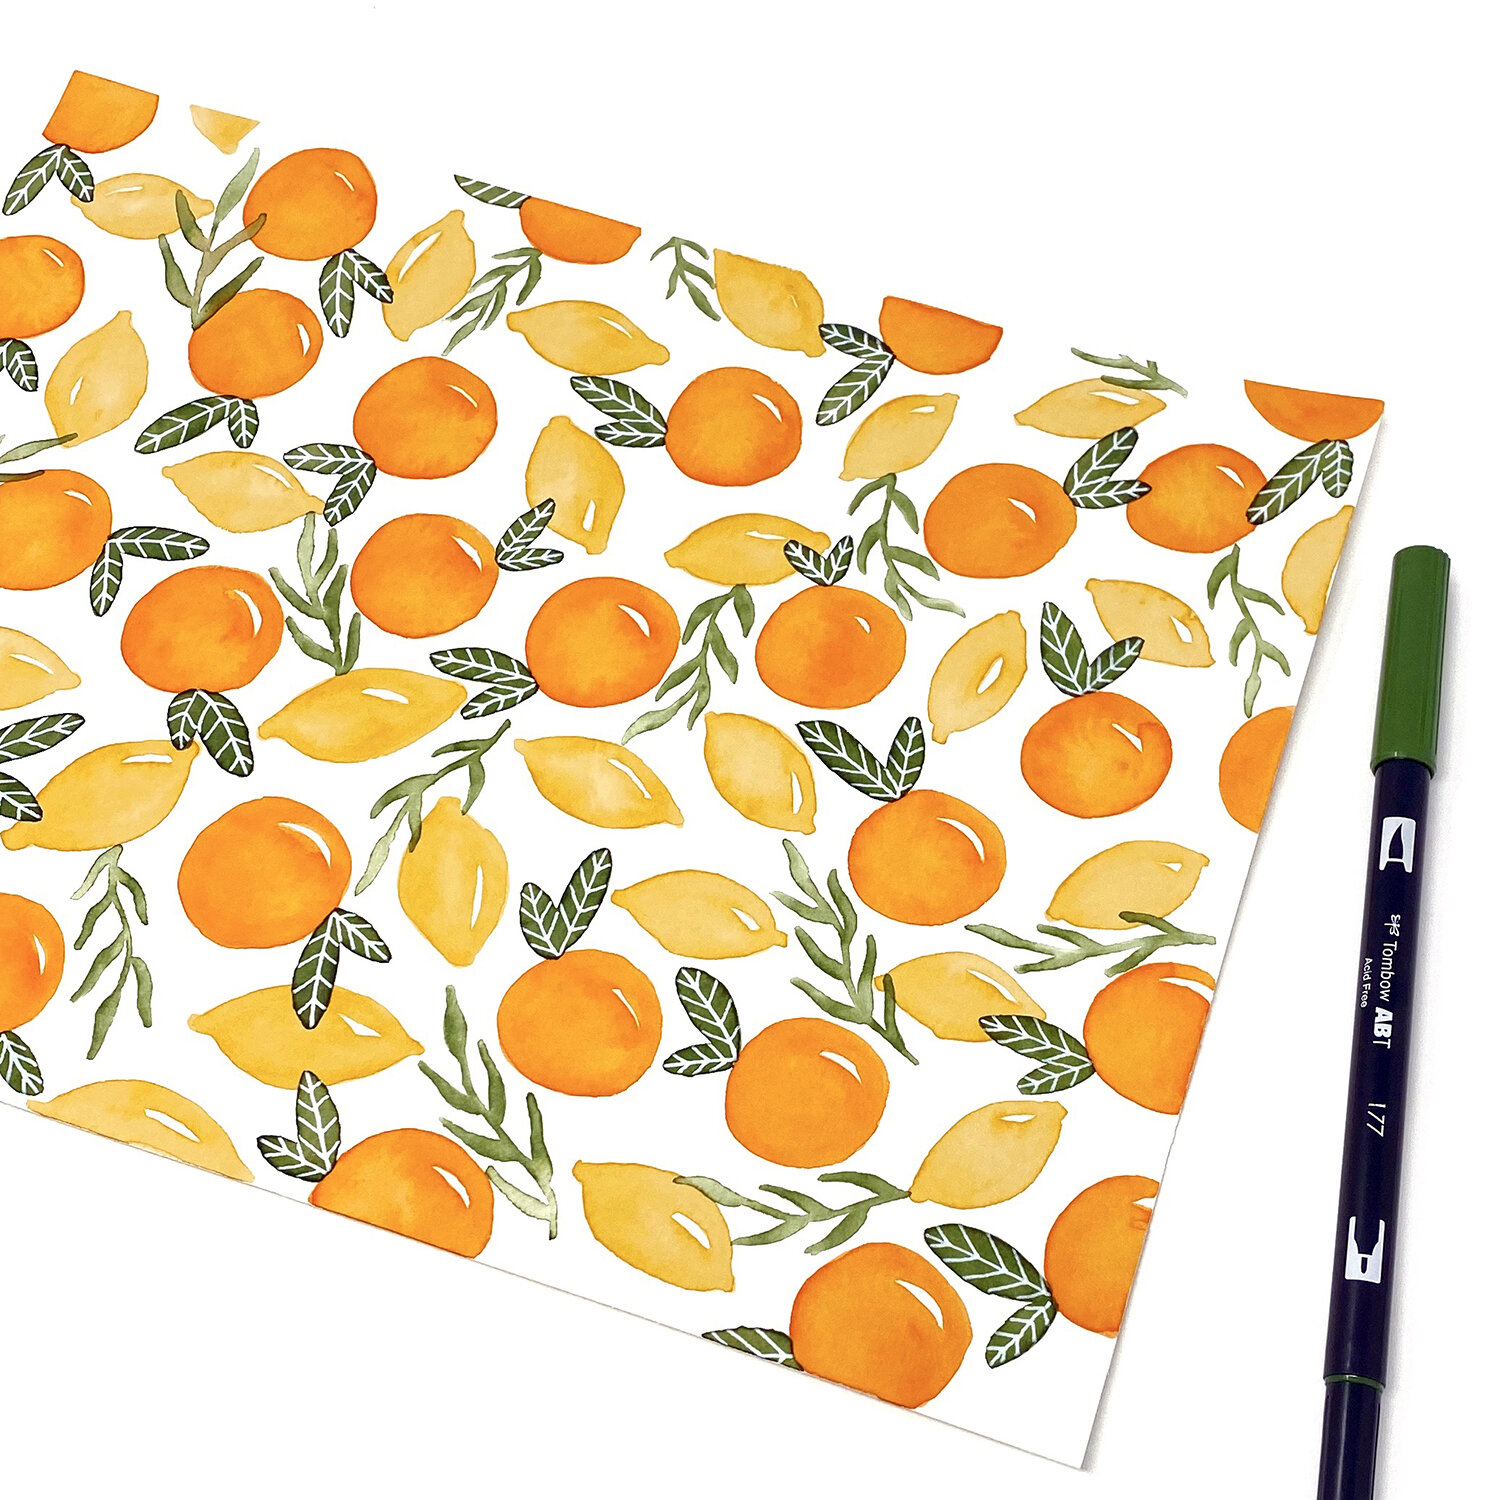
DIY bookmarks
Make friendship bracelets
Chalk art outside
Origami
Build a cardboard invention (robot, house, machine)
Knitting or crocheting
Make your own stationery (with stamps, markers etc)
Make a creation with air-dry clay
Paint or draw a pet portrait
Visit an art museum (take notes on what pieces you enjoyed the most and why)
Create a collage
Make a vision board
Learn a song
Write a song
Write a quote or motivational saying using cut-out letters, and hang it in your room
Paint or decorate a piece of paper, then cut it up and use it to make mosaics of multiplication arrays
Science and Curiosity Activities That Encourage Discovery
Turn your kitchen or backyard into a mini laboratory. A “What dissolves?” experiment introduces scientific observation, while shadow tracking and bug safaris teach kids to notice details in nature.
Building a weather station, paper boats and planes, or a homemade sundial stretches their engineering skills. Growing a bean, sunflower, or avocado seed in a jar encourages patience and data collection.
Finish with a library visit to research a topic they’re curious about, a perfect way to connect science and reading.
“What dissolves?” kitchen experiment (document the results)
Shadow tracking
Backyard bug safari
Build a mini weather station
Paper boat engineering challenge
Make a homemade sundial
Grow a bean, sunflower, or avocado seed in a jar (bonus: document the growth and changes each day)
Make several paper airplanes (test designs)
Visit a museum (take notes about your favorite things along the way)
Ice-melting race with salt vs. no salt
Pick a subject you’d like to learn about, then visit the library
Reading and Writing Adventures
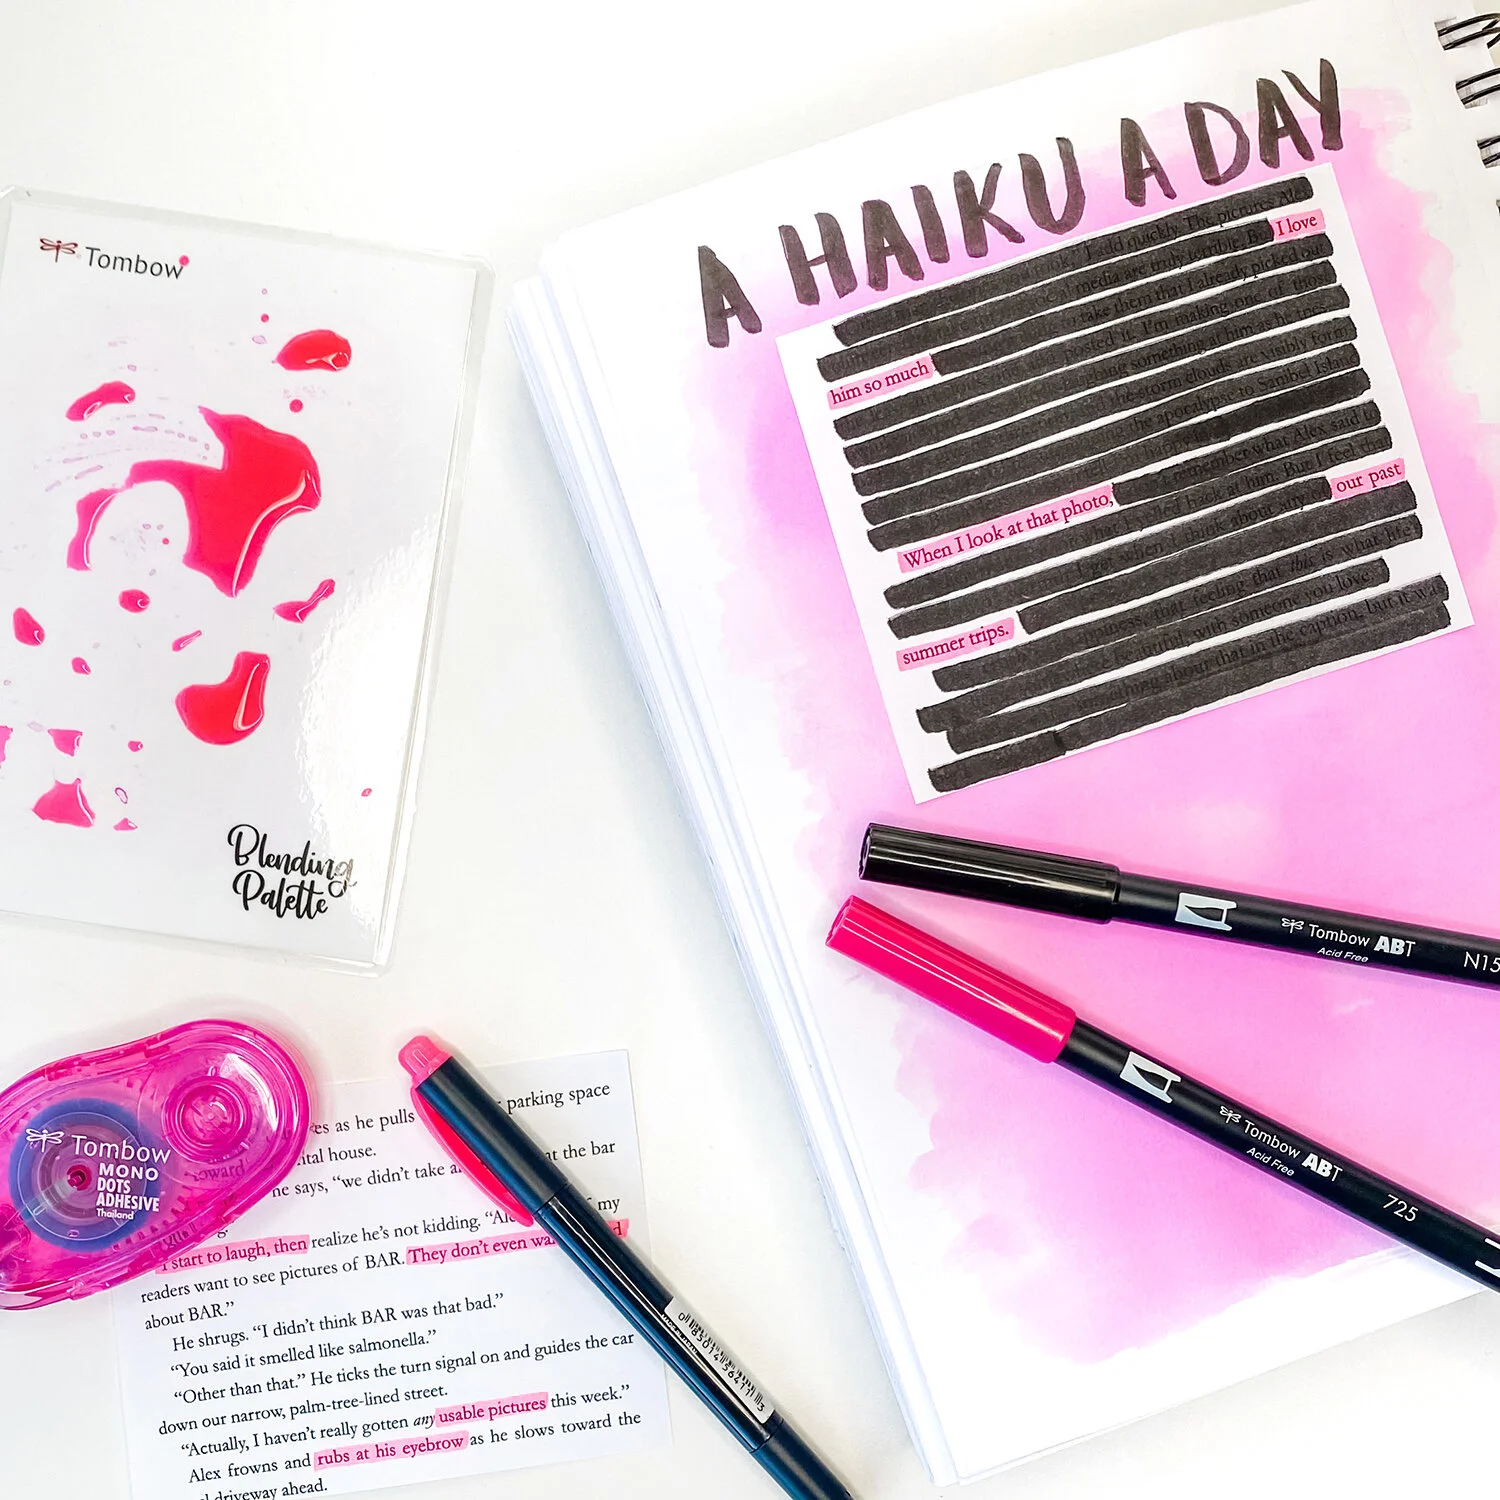
Summer reading doesn’t have to be quiet or solitary. Build a cozy reading fort, write a choose‑your‑own‑adventure story, or go on a vocabulary treasure hunt.
Kids can interview a favorite book character, start a tiny journal, or rewrite a fairy tale with a twist. Encourage reflection with a letter to their future self or a list of 100 things they love.
Creative writing projects like comic strips, book reviews, and recommendation cards help them think critically while expressing themselves.
Make sure to ask if your local library is hosting a summer reading challenge too!
Build a cozy reading fort (and read by flashlight)
Write a choose‑your‑own‑adventure story
Vocabulary treasure hunt
Write an interview with a character from your favorite book
Start a “tiny journal” (3 sentences/day)
Rewrite a fairy tale with a twist
Make a list of “100 things I love”
Create a comic strip from a book scene
Write a letter to your future self
Write a letter to a family member
Write your own short story
Make a book recommendation card for a friend
Read a poem and talk about what it means
Go to the library and check out a book
Write a book review
Participate in a library-hosted summer reading challenge, or create your own
Logic, Math, and Problem‑Solving Challenges
Math, pattern recognition, and problem-solving become exciting when they’re hands‑on. Host a puzzle race, try a LEGO symmetry challenge, or invent a board game that uses multiplication or probability.
Kids can explore geometry with tangram puzzles, domino chain reactions, and household maps drawn to scale. Skip‑counting ball tosses and bike‑route distance calculations sneak in math and measurement practice.
For extra creativity, let them build marble runs or decode secret messages, both of which strengthen logical thinking.
Have a puzzle race
LEGO math or symmetry challenge
“Fix This” repair/repurpose challenge
Invent a board game
Tangram or pattern block puzzles
Build a domino chain reaction
Create a secret code and decode messages
Play “20 Questions” with categories
Build a marble run from recyclables
Map the house and create a treasure map (try for accurate scale and geometry)
Skip counting ball toss (each toss count by 3/4/5/6 etc)
Calculate the distance of various bike ride routes (bonus: convert to metric)
Movement, Outdoors, and Mindfulness
The only summer slide you want your kids on is the one at the playground. (I heard how cheesy that sounded as soon as I wrote it, but it’s true so I’m leaving it in). Physical play helps kids focus and recharge. Set up a playground obstacle course, mini-golf course, or jump rope challenge.
To encourage mindfulness, try cloud‑watching and sketching, or five‑minute breathing exercises.
Outdoor adventures like scavenger hunts, camping, or kayaking combine movement and exploration. Even a simple chalk hopscotch can become a math game when you practice multiplication facts as you hop.
Playground obstacle course
Kid yoga
Scavenger hunt (colors, shapes, nature items. Write them down or draw them in a sketchbook and compare when you get home)
Dance party
Jump rope challenge
Cloud-watching + sketching
Walk and collect “tiny treasures”
Balloon keep‑up game
Five-minute meditation or breathing
Create a mini sports challenge (throwing, balance, speed)
Picnic in the park
Kayaking, canoeing, paddle-boating
Swimming (bonus if you work in some math games)
Go mini golfing, or DIY mini golf in the backyard using boxes, tubes, etc.
Go camping (even if it’s just in the back yard or living room)
Draw a chalk hopscotch in the driveway and use it to practice multiplication as you hop
In the Kitchen
Cooking teaches math, science, and independence. Bake a cake, make chocolate‑covered gummy worms, or design a weekly menu with drawings of each meal. Let kids plan and cook breakfast or lunch, and they’ll learn sequencing, measuring, and teamwork.
Bake a cake
Make your own chocolate-covered gummy worms / bears
Make a menu for the week (bonus: write it out nicely and decorate it / draw pictures of the meals)
Plan and cook breakfast / lunch / dinner
Money and Financial Literacy
Summer is a great time to introduce real‑world math. Help kids run a lemonade stand, sell cookies, or set up Save, Spend, and Donate jars.
Talk about (and demonstrate) compound interest and challenge them with a grocery store budget game to plan a healthy meal under a set amount.
Plan and run a lemonade stand
Bake and sell cookies
Set up Save / Spend / Donation jars
Learn about compounding interest
Grocery store budget challenge. Each person gets $X and has to plan a healthy meal under budget
Each of these summer projects and activities builds confidence, creativity, and curiosity. They help children practice reading, writing, math, and science in ways that feel natural and joyful, while helping to keep the Summer Slide at bay. The learning doesn’t stop when school does, it just changes shape.
Do you have any additional fun summer learning activities? Drop them in the comments.