

Please note: This blog post contains affiliate links, which help pay for the upkeep of this site. That being said, I will never, ever promote anything I am not 100% in love with!
----------
Craft month is coming up, and I’m getting right into card making, so today I’m going to show you how to make this collage plant card.
Supplies:
Scissors
Mixed media paper
Pencil
Blank card

Step 1: Color
The first step in creating your collage plant card is to scribble some Dual Brush Pen ink onto your blending palette then paint it onto mixed media paper with a wet paintbrush. Note: Mixed media paper is great for this because it can withstand a light ink and water wash but isn’t too thick to cut easily.
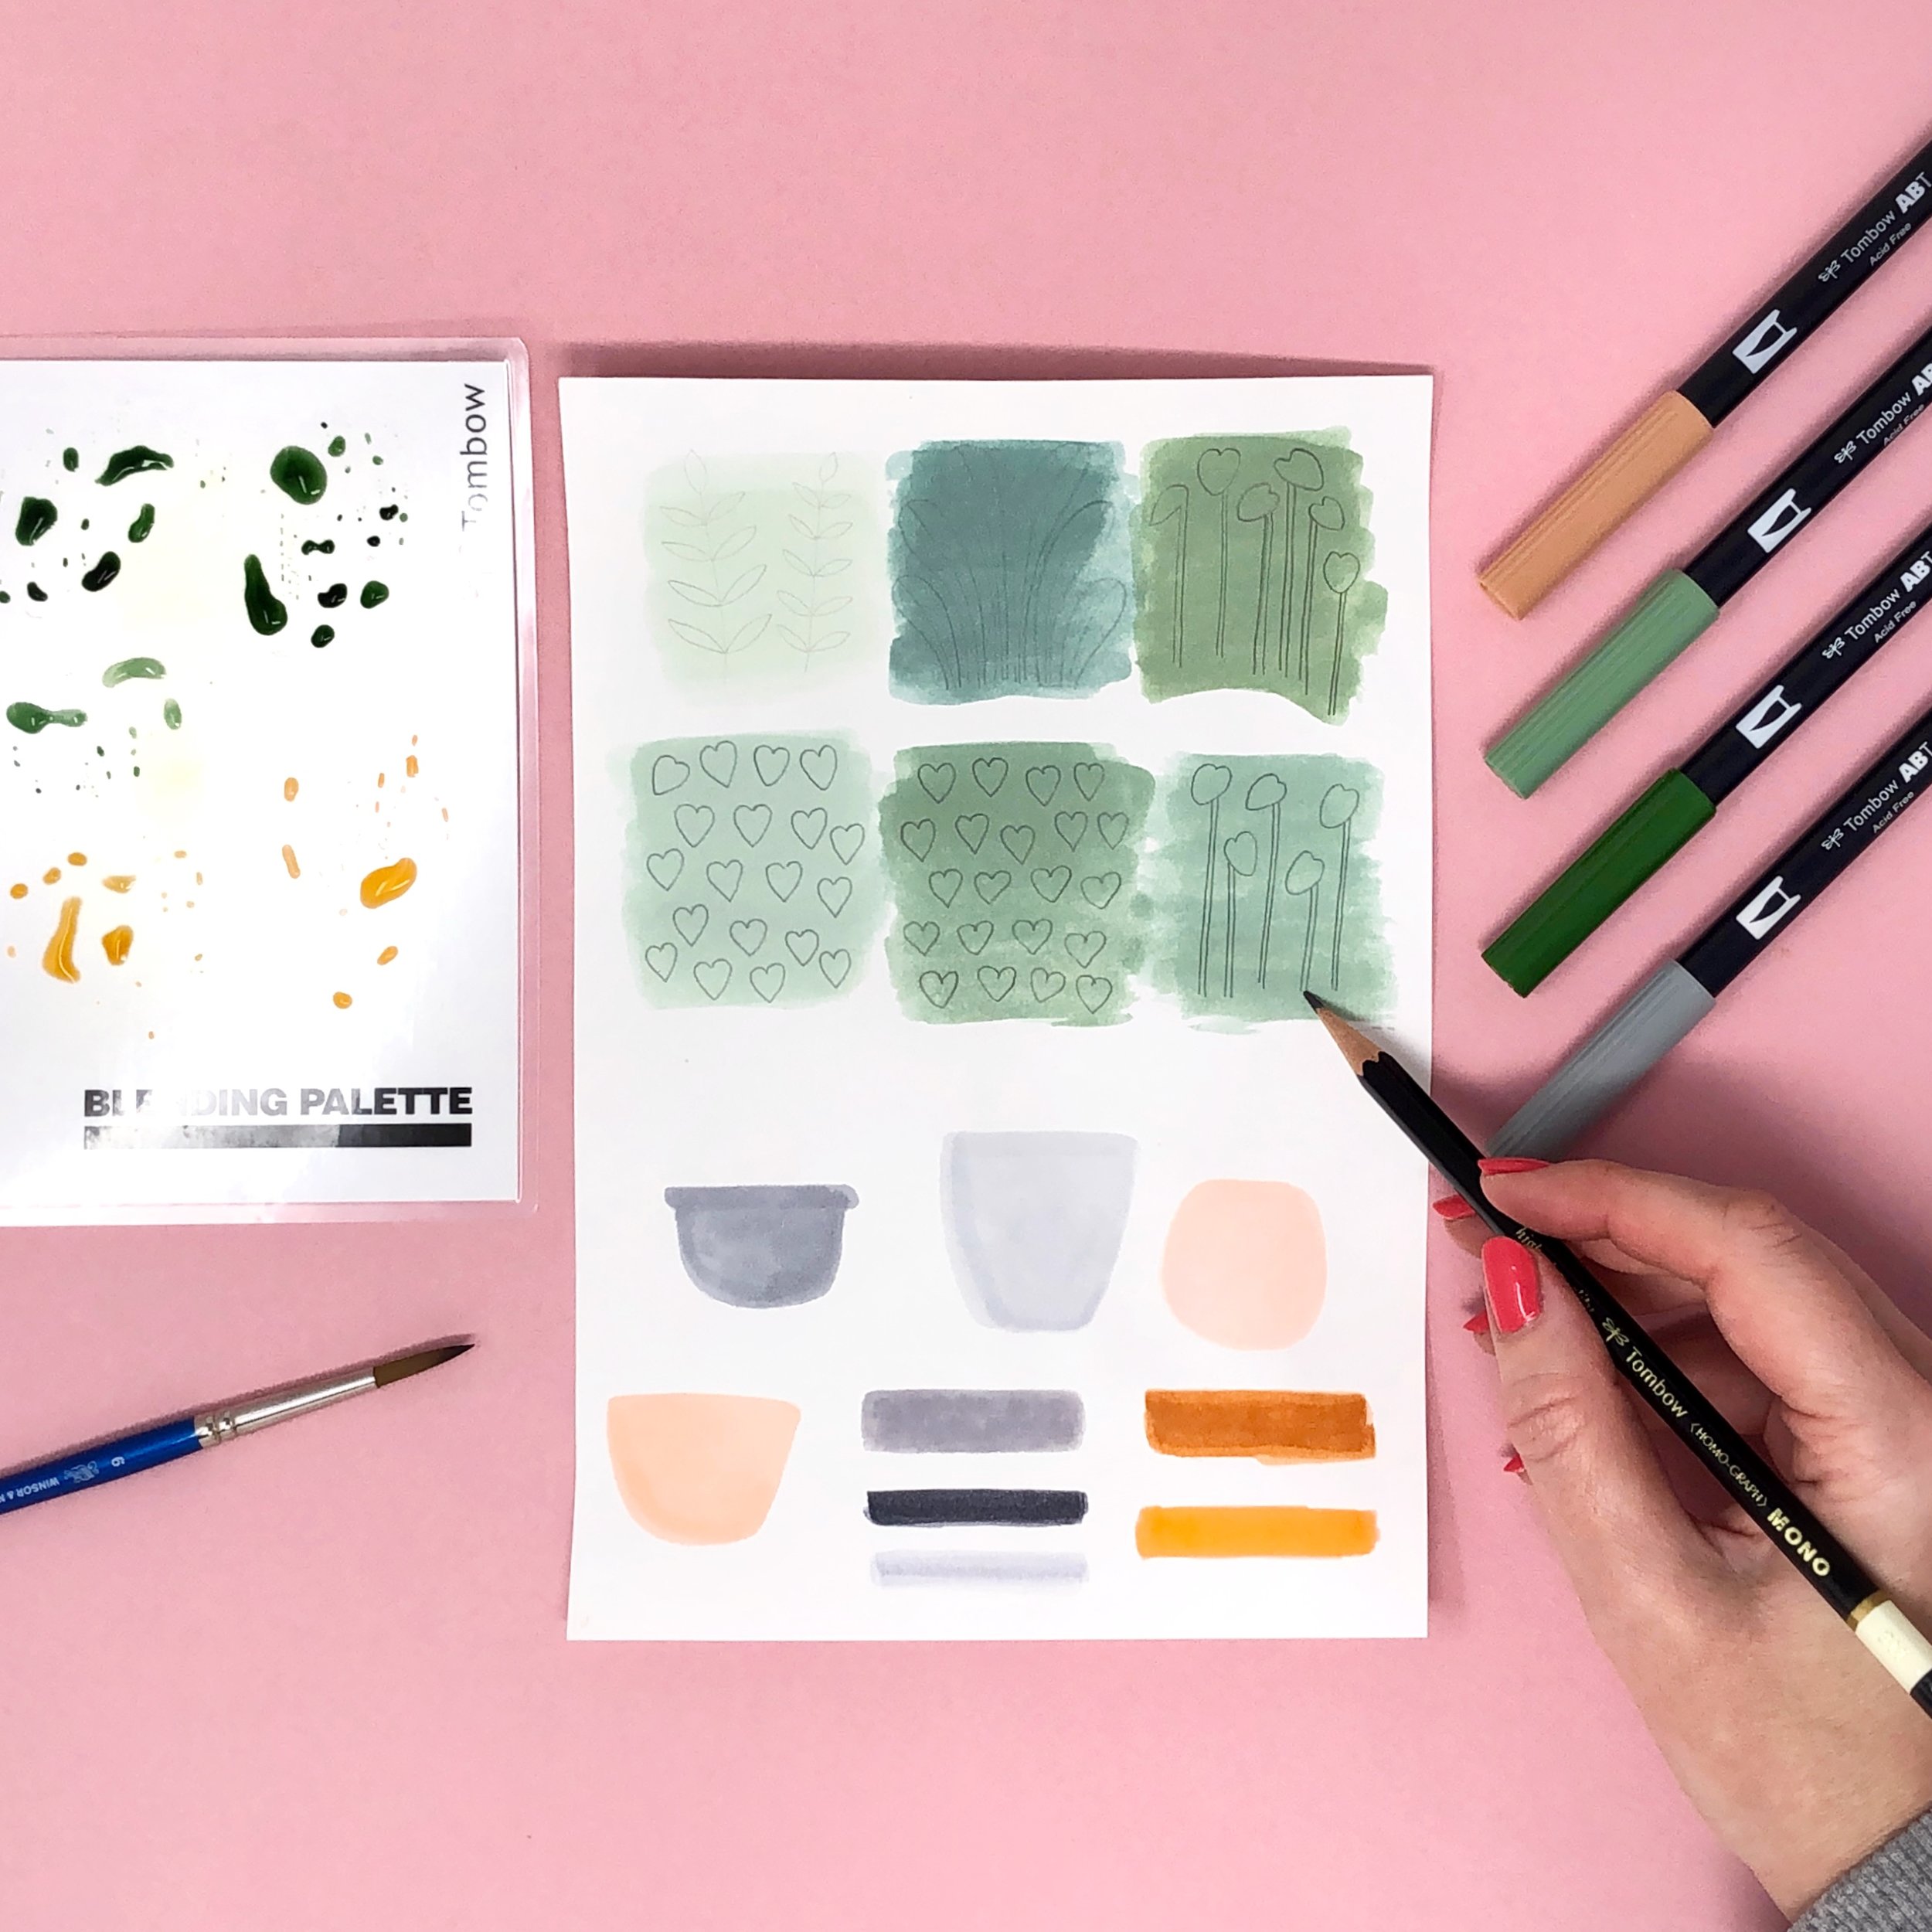
Step 2: Draw Your Shapes
Once the ink is dry, draw some leaf and pot shapes over the color, in pencil.

Step 3: Cut Everything Out
Next, cut out all your leaf and pot shapes. You can also cut out some details to add extra dimension to the pots.

Step 4: Glue Time
The final step is to use MONO Aqua Liquid Glue to stick each piece down onto your blank card. Overlap some of the leaves and pots for a little extra depth, and voila, you’re ready to send it to the plant-lover in your life!

Do you have a favorite plant? Let me know in the comments.