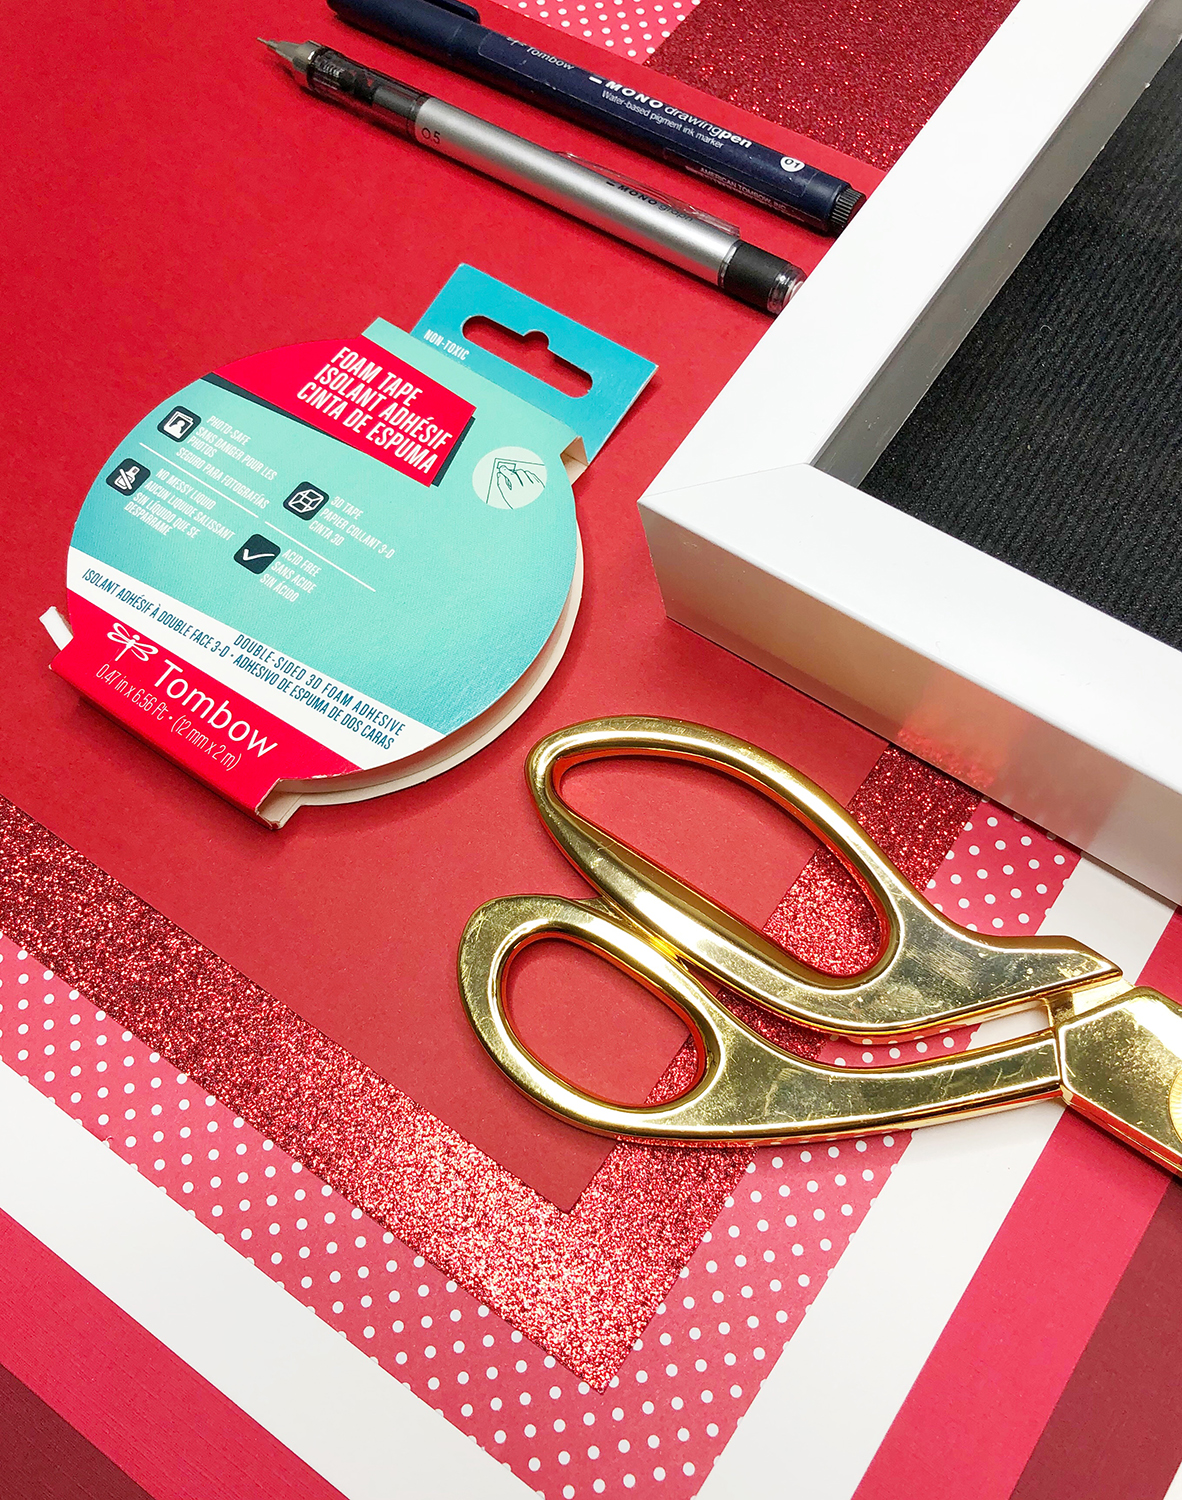
Howdy! Today I want to show you how to make a floral shadow box out of paper. You can personalize these for friends or family as a really fun gift. Here's what you'll need to get started.
Supplies:
Small Shadow Box Frame
Scissors
Red Paper and Card
Tombow MONO Drawing Pen (for optional details)
Step 1: Cut Out Your Main Shape
Use your pencil to draw the shape you want for the very front of your frame. This shape will go right up against the glass, and be the 'window' you look through to see all the other layers. I used a girl's profile, but you could use a flower, heart, or any other shape you like. Once you're happy with the shape you've drawn, cut it out (making sure you leave enough of a border for it to fit nicely into the frame).
Step 2: Cut Out Your Floral Shapes
Next, start cutting flower and leaf shapes out of your paper or card, and arrange them behind your main cut-out shape until you like the way they look together.
Step 3: Stick Everything Down
The last step is to cut little squares of your Tombow Foam Tape and start sticking all your layers into the shadow box frame. Build extra space between the layers by stacking two or three pieces of foam on top of each other. The whole thing will look a bit messy from the back, but if you're careful about where you stick your foam tape you won't see any of that from the front. If your frame is particularly deep you might need to add extra foam tape layers in the corners to make sure your first shape stays flat against the glass when you close it all up. Once you're finished, close up your frame and it's ready to be displayed!
I’d love to see your creations! Tag @BrownPaperBunny on social media so we can see!


