
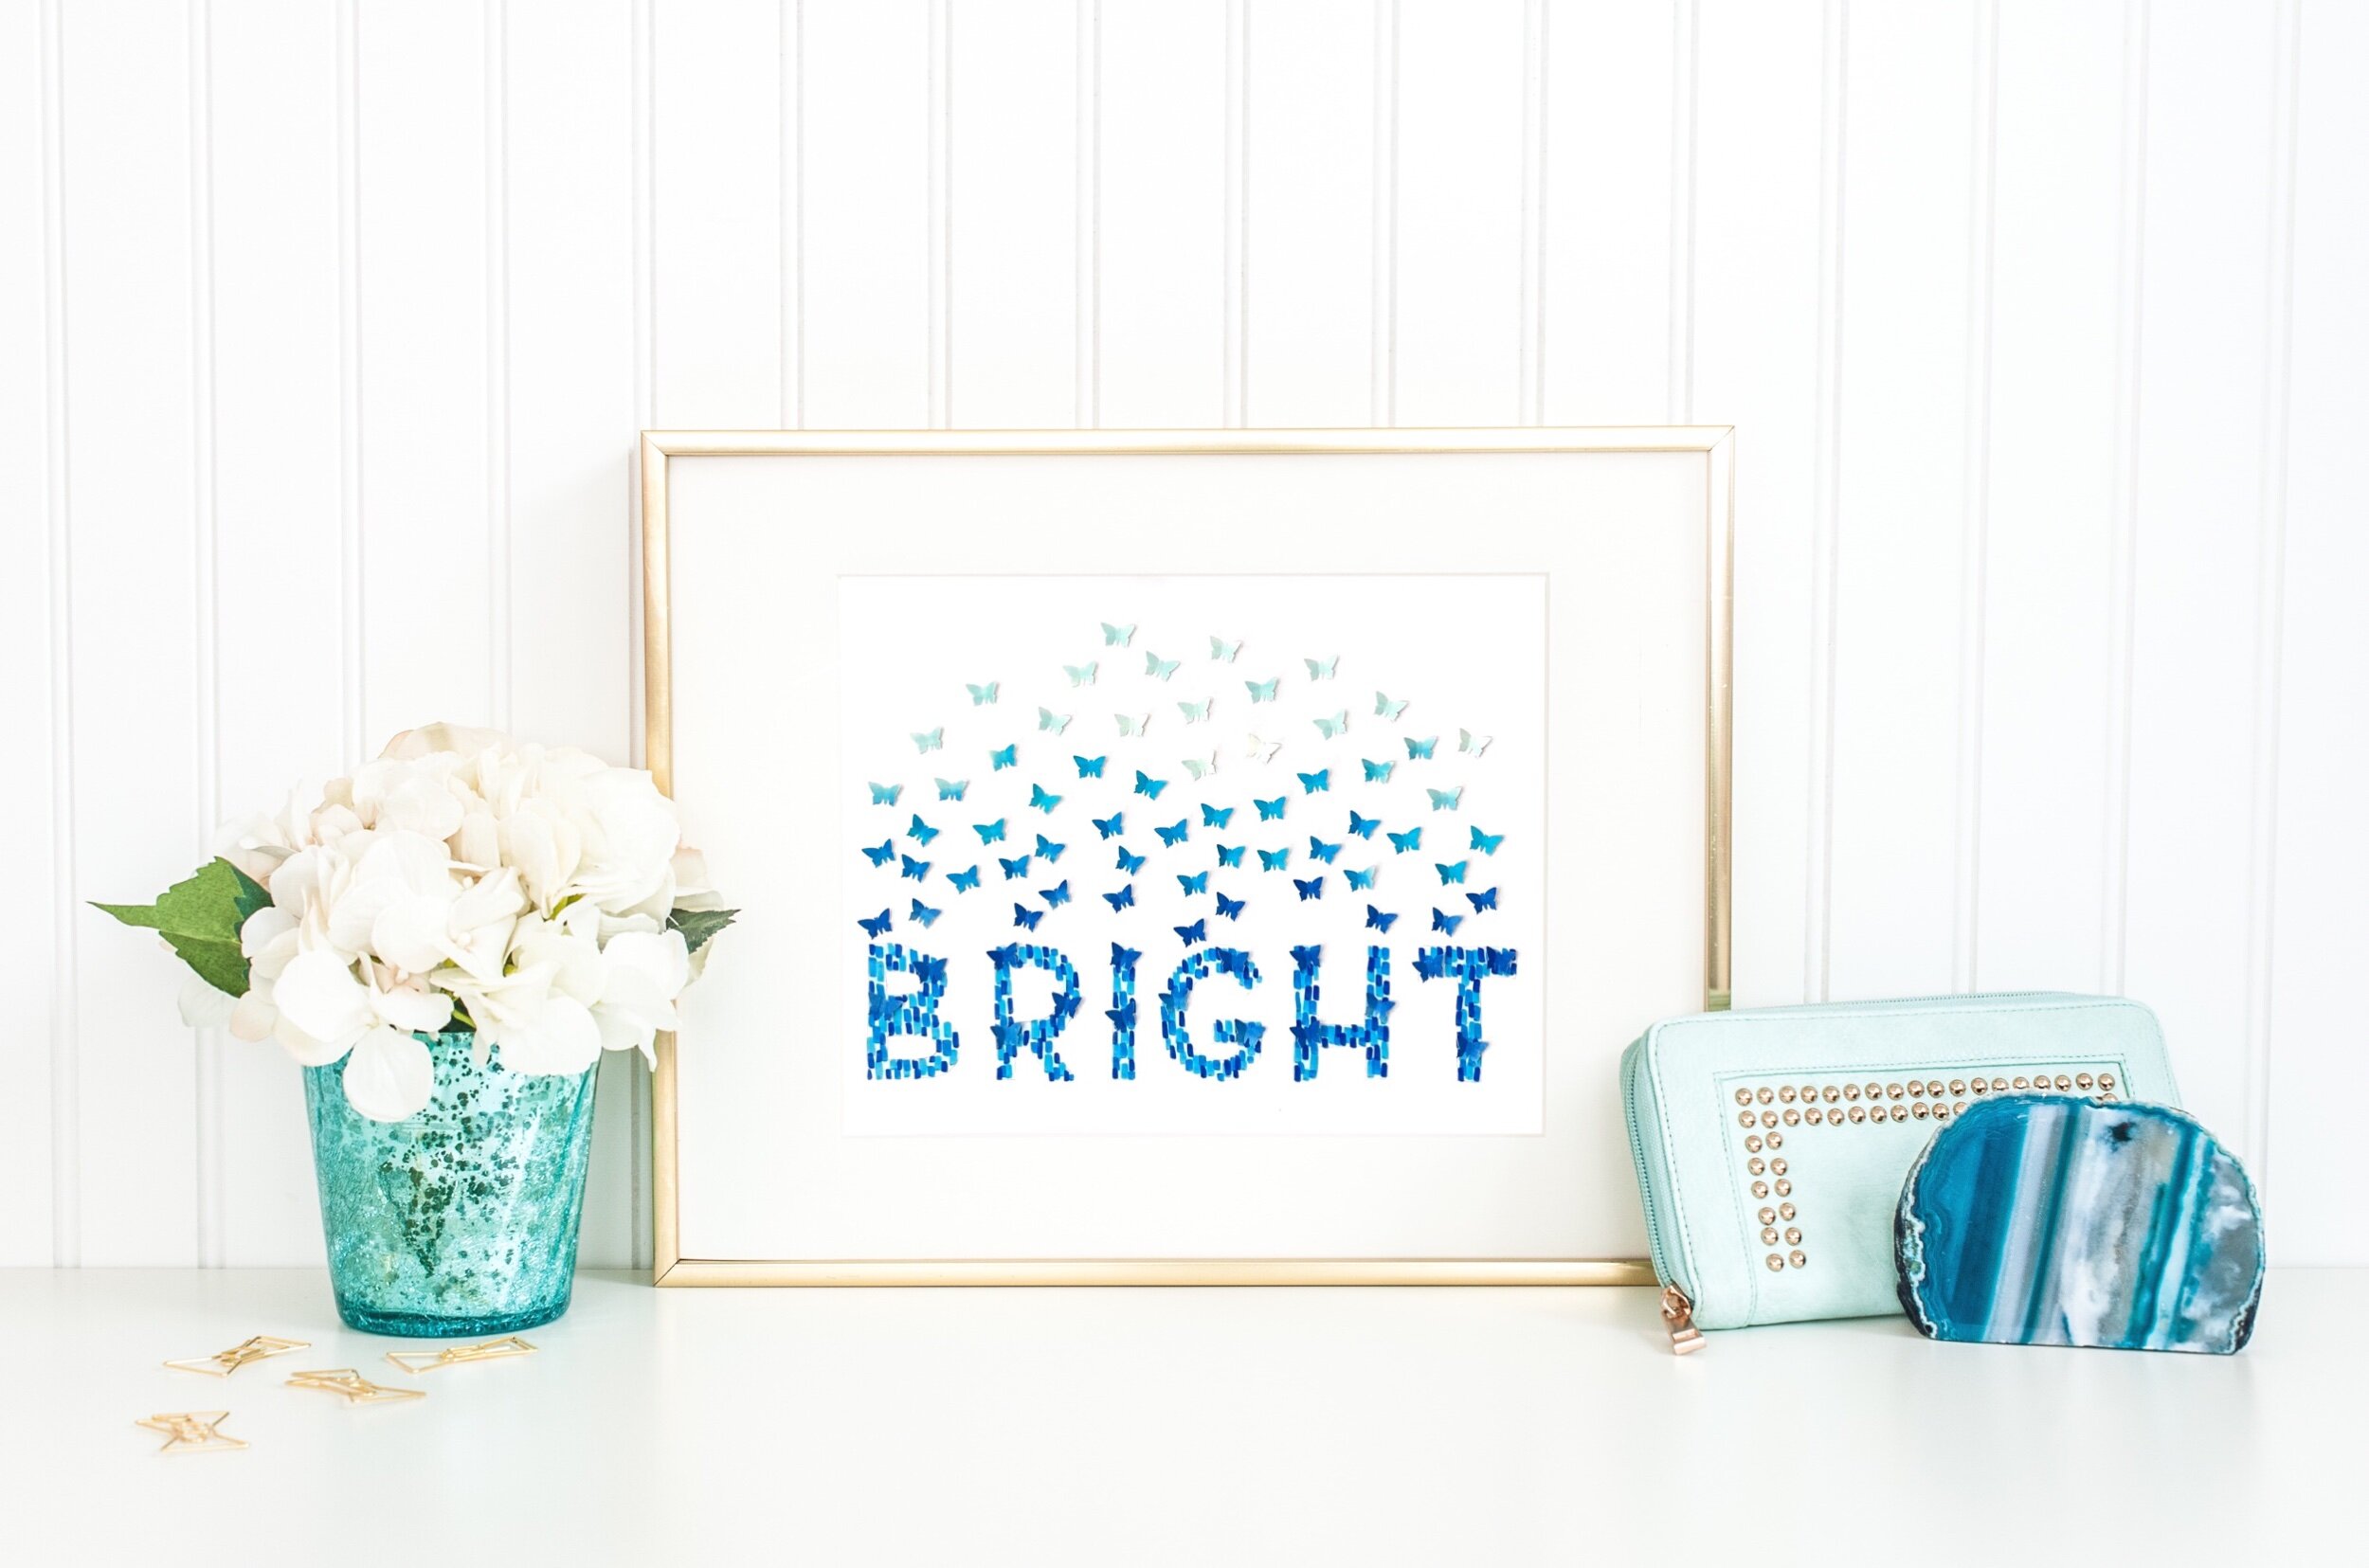
Today I want to talk about making word of the year artwork. These days I rarely set New Year's resolutions, but I do choose one word to be my word of the year, and then I like to turn it into an art piece I can display somewhere prominent as a reminder. In case you are wondering how I choose my word of the year, I start by thinking about the overall feeling I want my life and year to have. It's part mood, part ambition, part commitment. I brainstorm words that come to me, then narrow them down into a shortlist and sit with the list for a few days to see which feels right for me that year. And voila, my word of the year is Bright. I'm going to walk you through how I turned the word into a piece of artwork. Here's what you'll need to get started.
Supplies:
Tombow Dual Brush Pens (in a range of shades of the same color)
Mixed Media paper (Two sheets)
Pencil

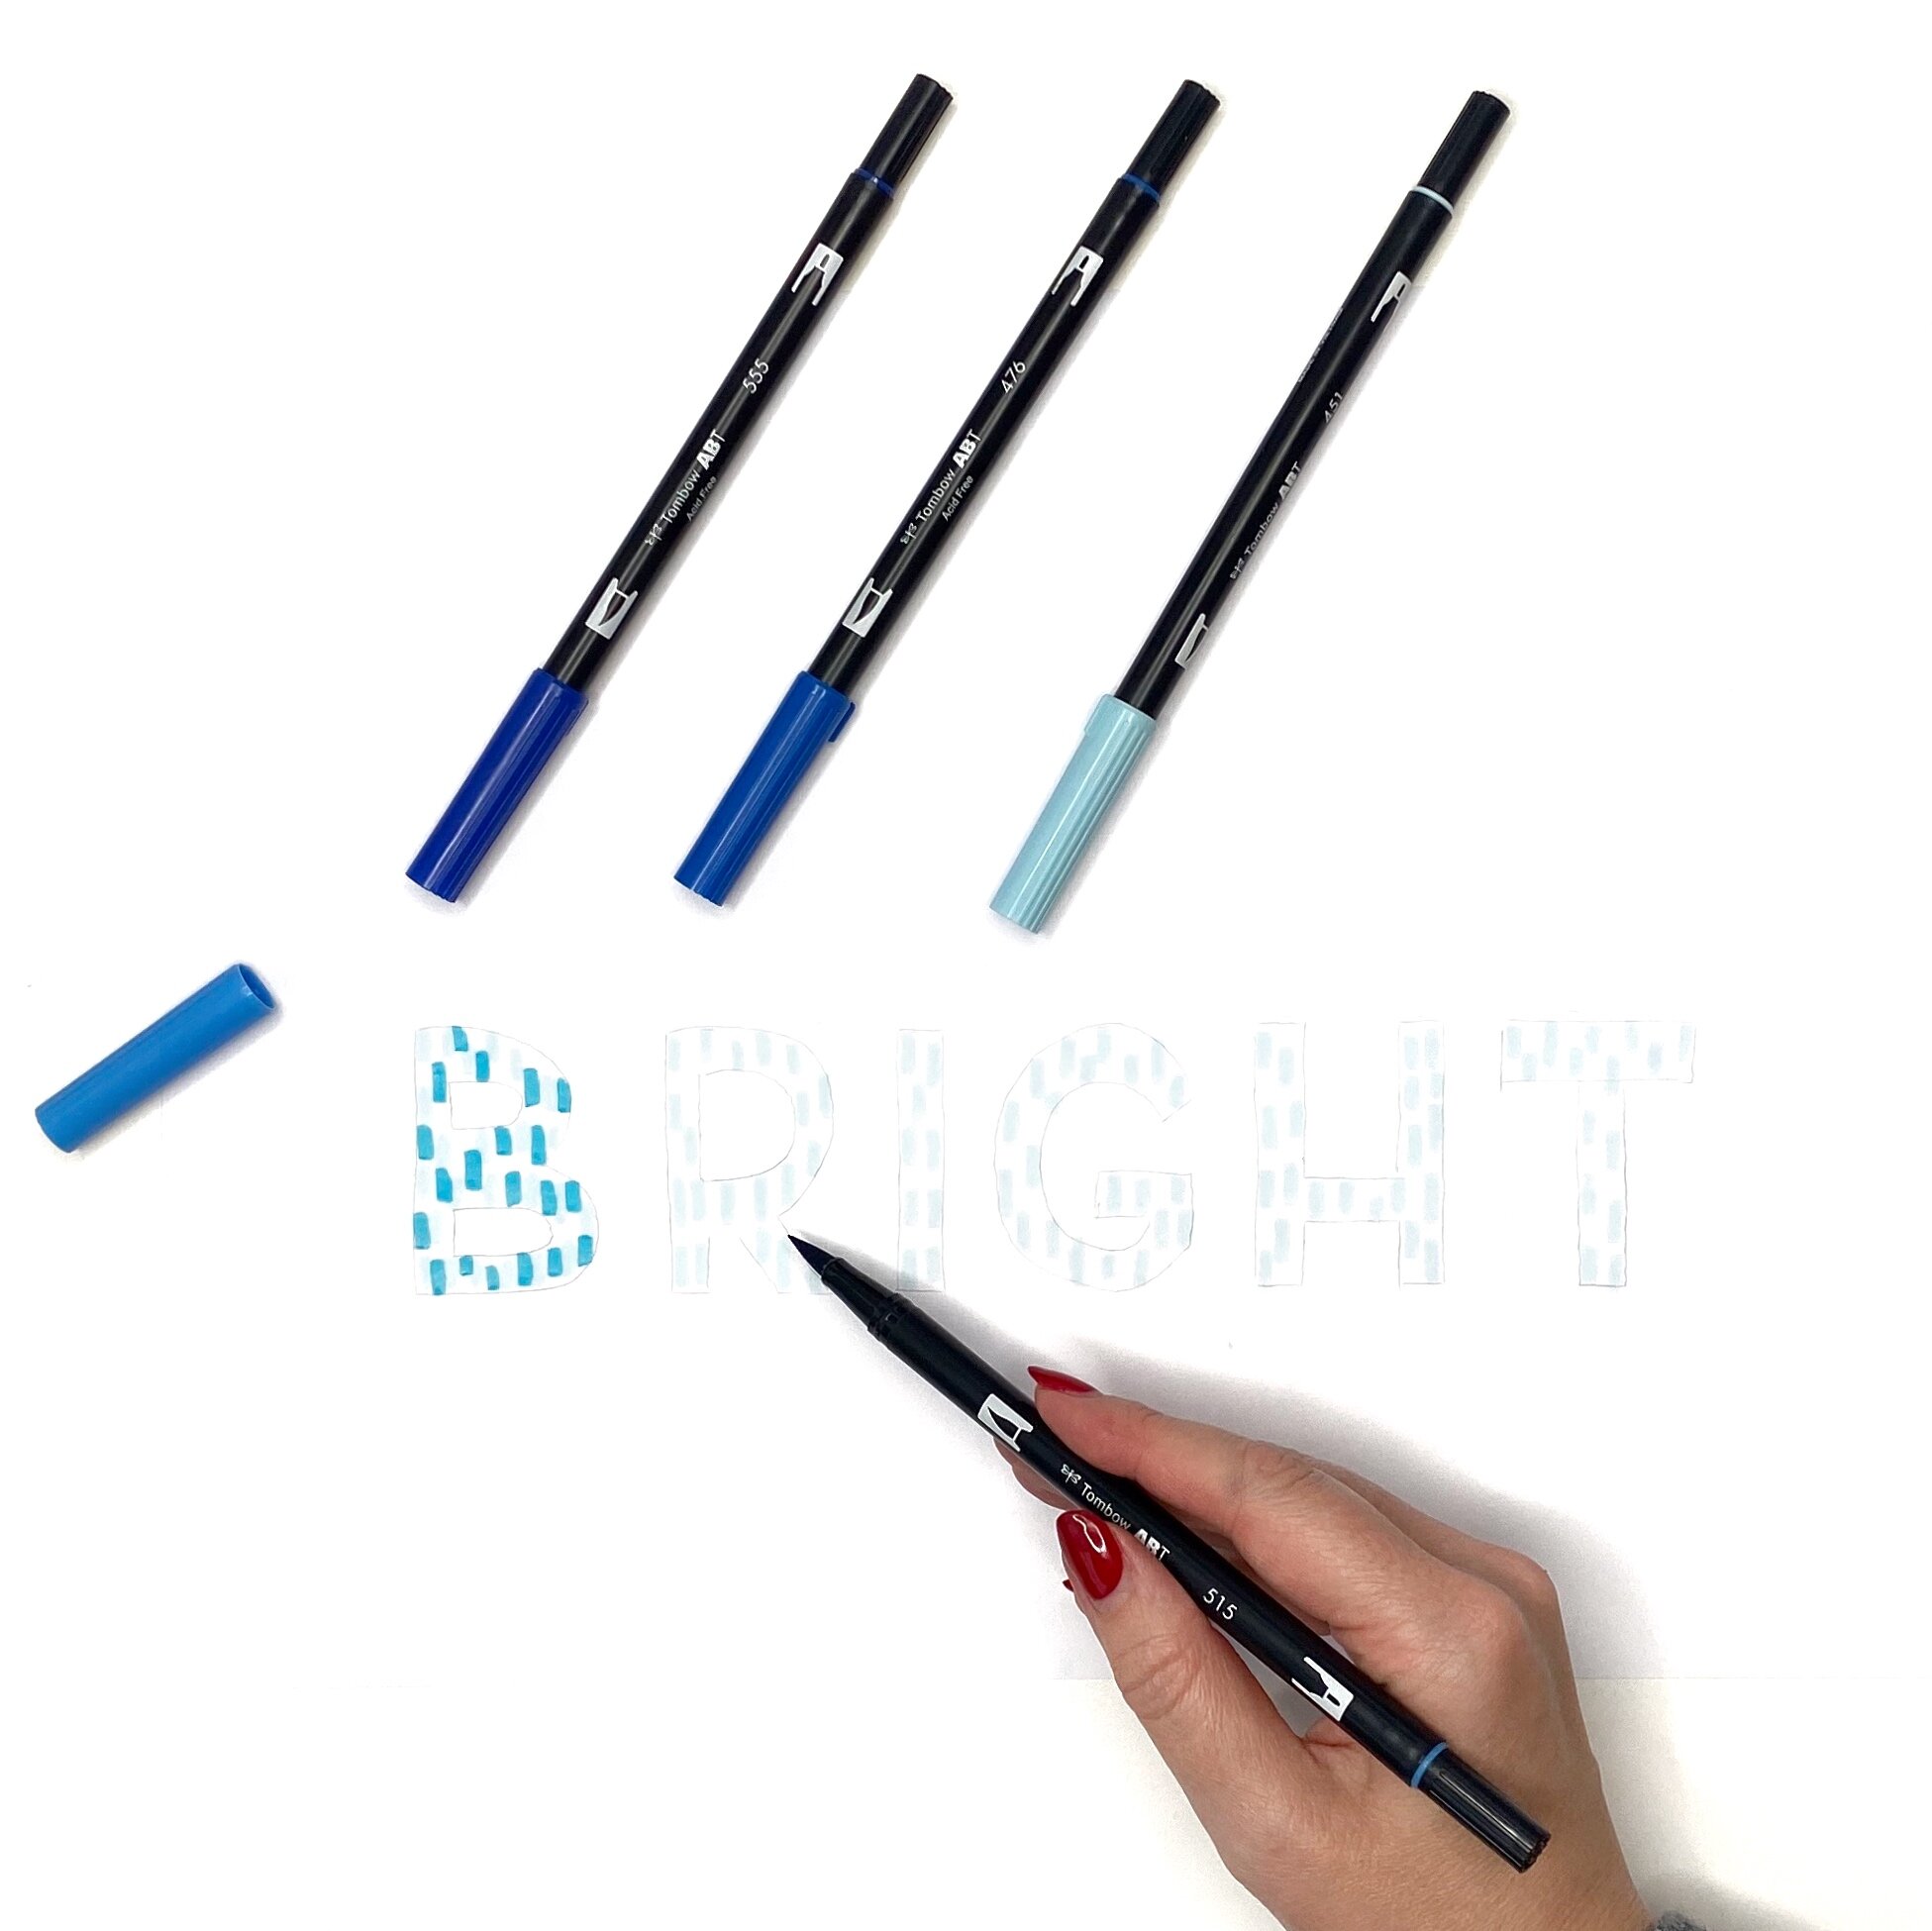
Step 1: Sketch Your Word of the Year
Use your pencil to sketch out your word of the year, onto one of the sheets of multimedia paper.

Step 2: Fill Your Letters
Working from lightest to darkest, fill your letters using your Dual Brush Pens to make little dabs or dots of color.
Keep working until you have multiple layers of color and the letters are mostly filled in. You want to be able to read the letters easily, so make sure you have enough dabs of color along the edges to help with legibility.

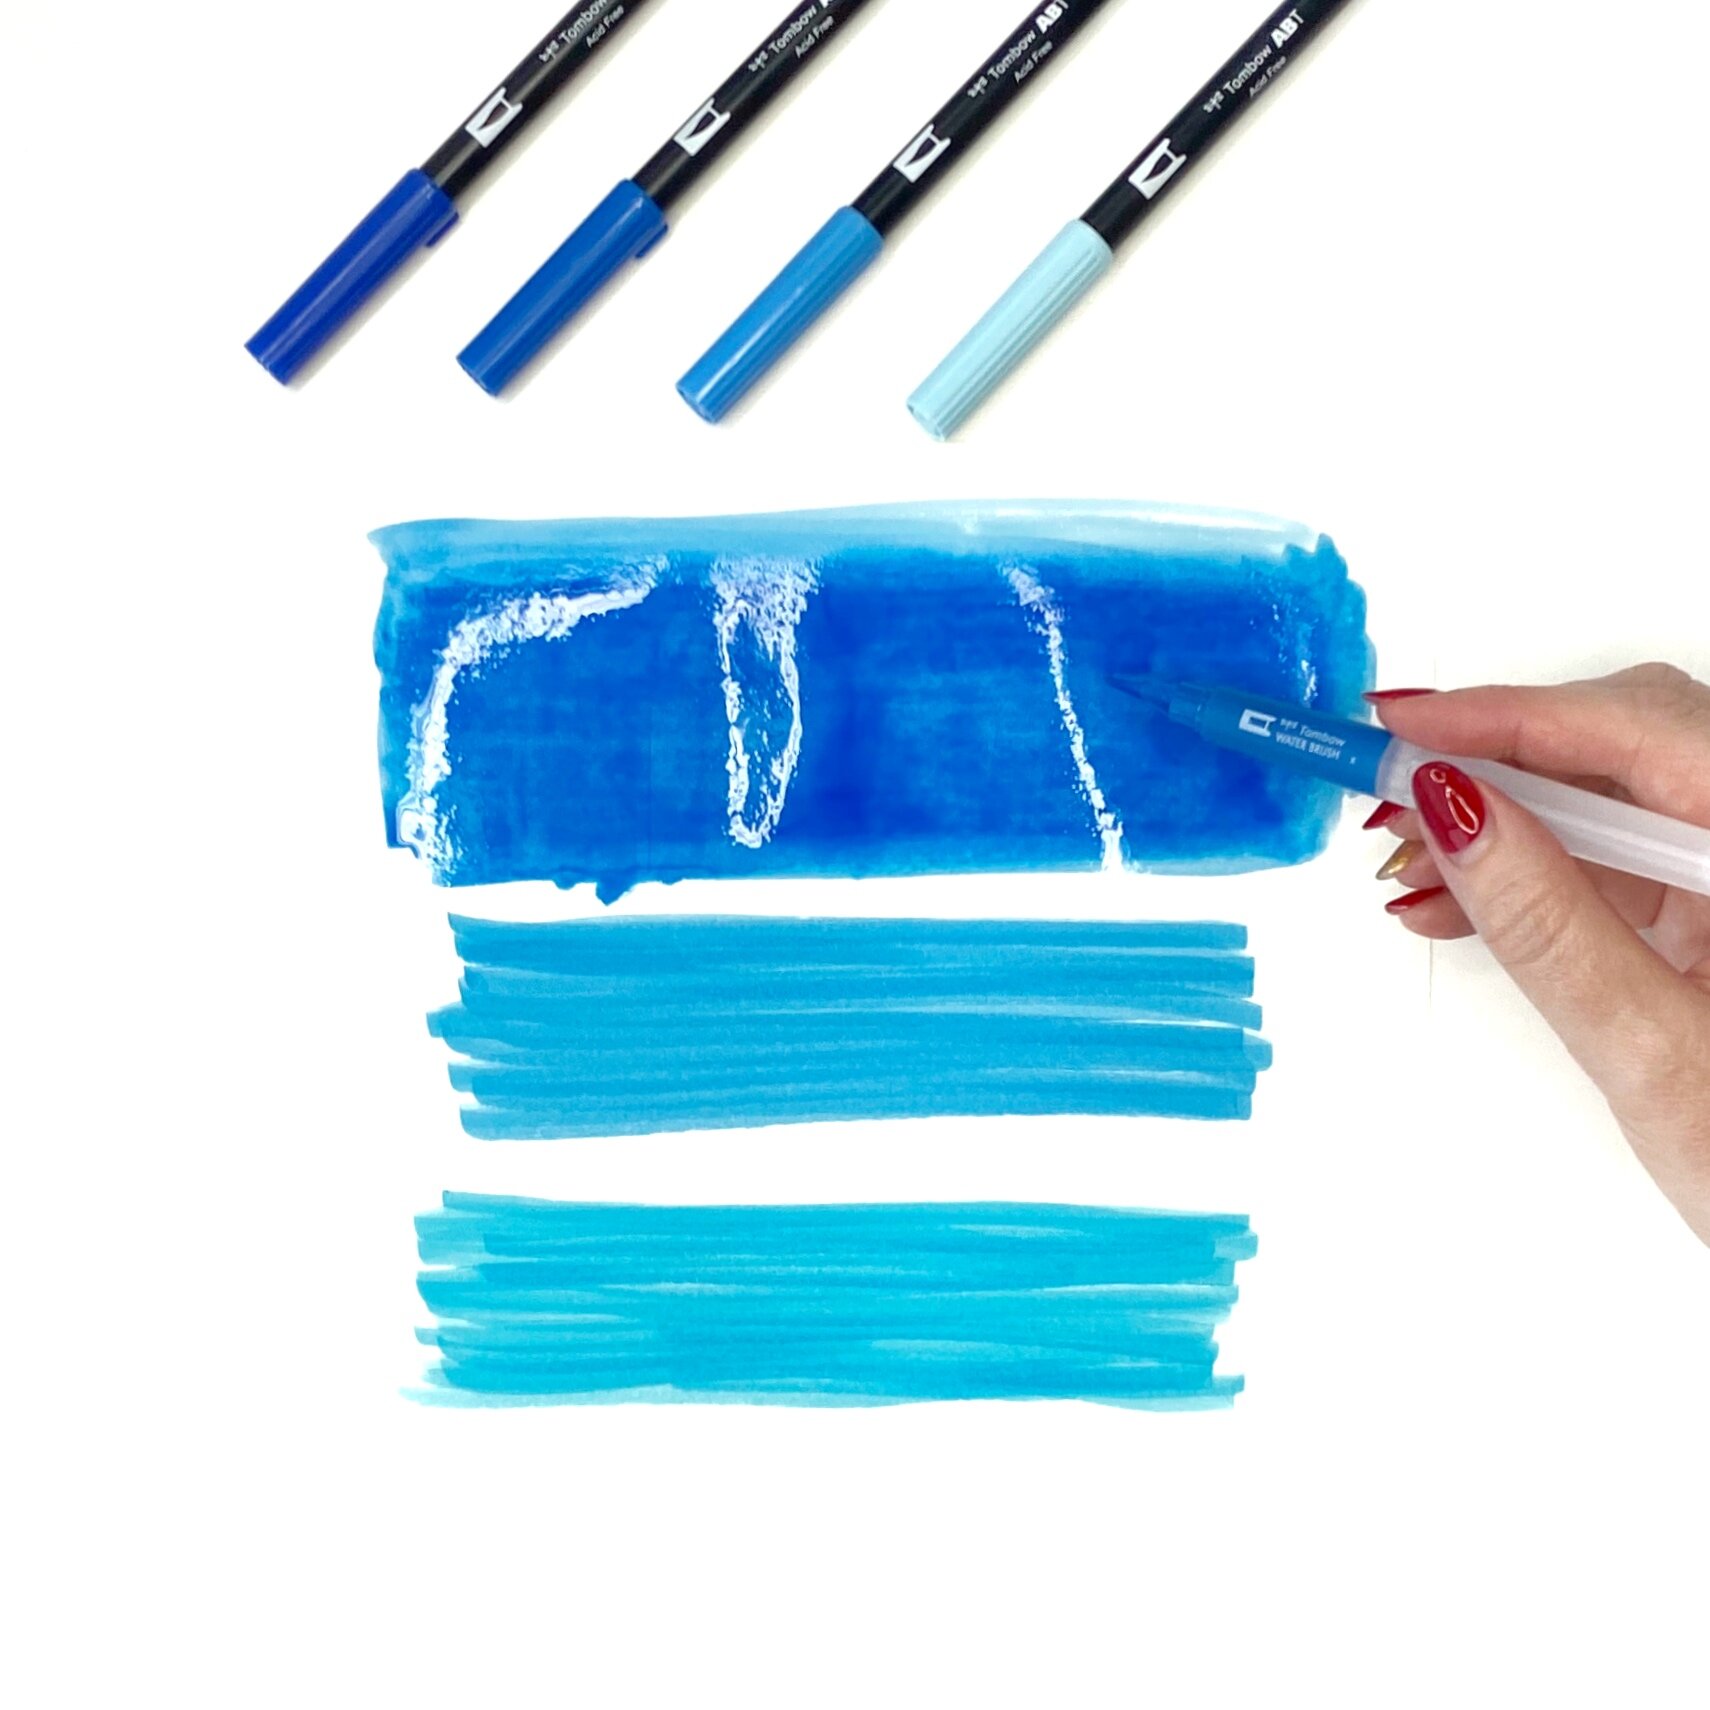
Step 3: Create Watercolor Swatches
On your second piece of multimedia paper, color swatches using your Dual Brush Pens, then blend each one with your Water Brush. Once it dries you'll have a nice watercolor effect.

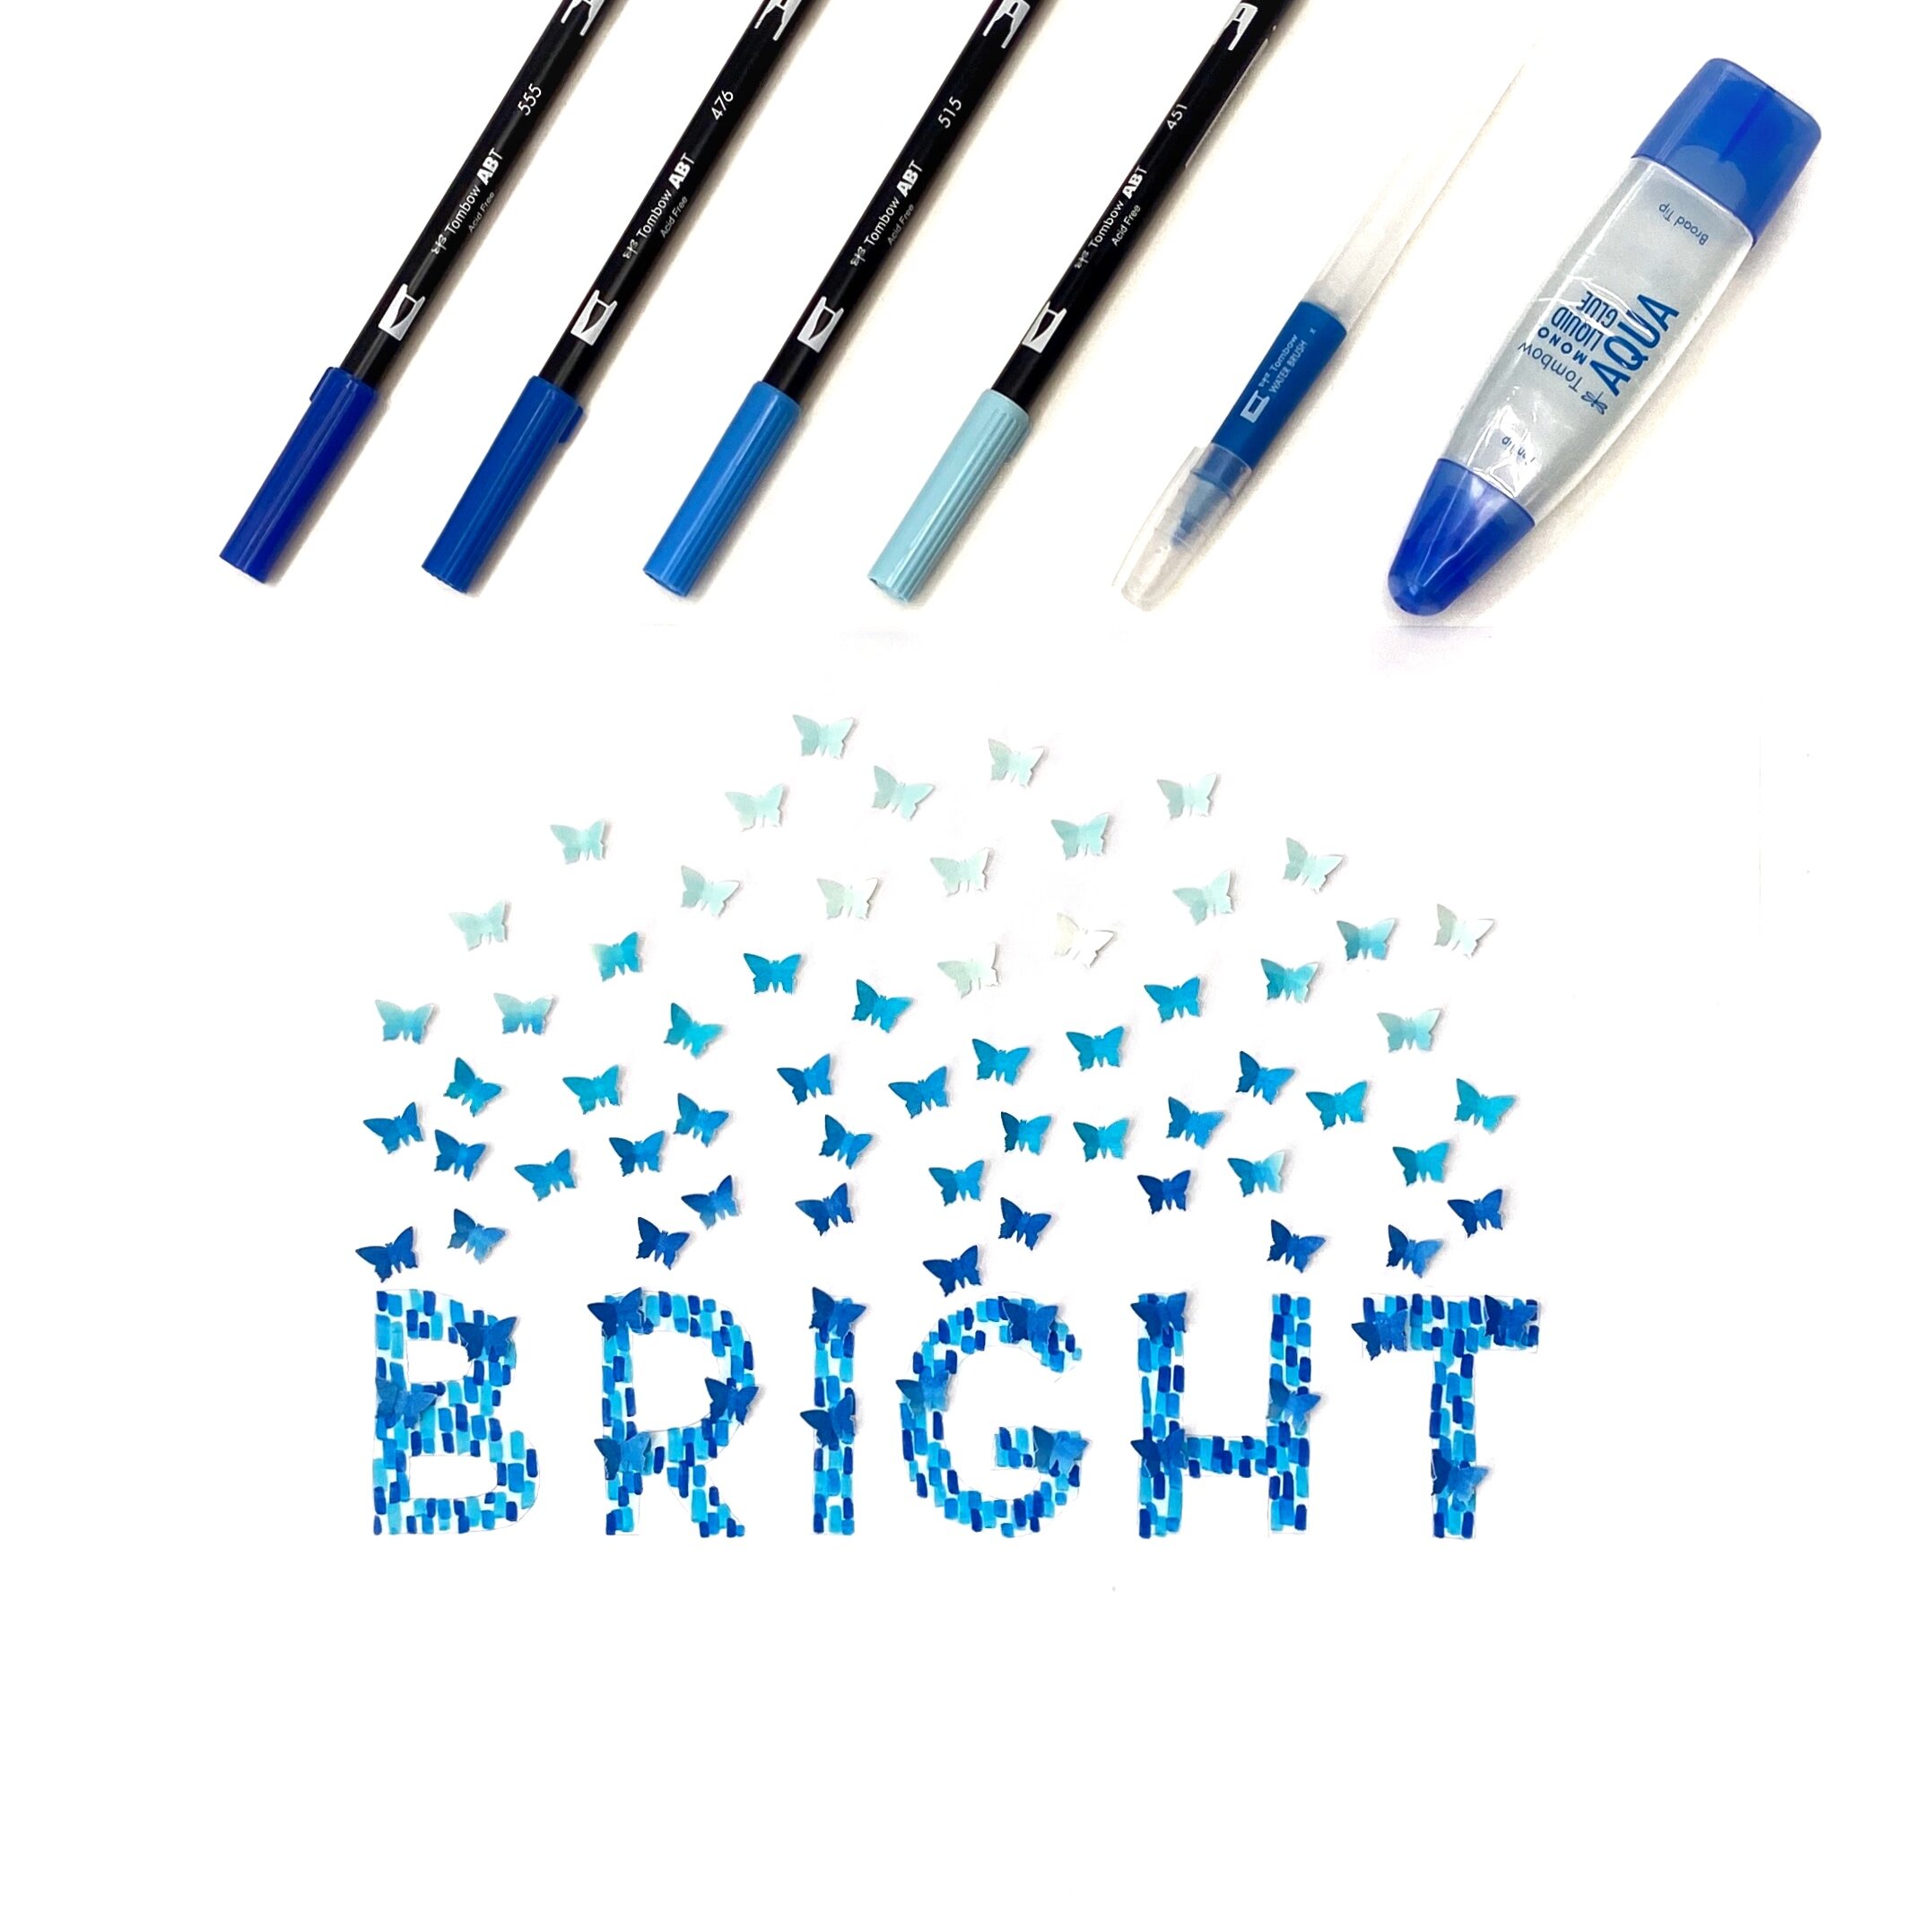
Step 4: Punch Out Your Butterflies
Using your butterfly punch, work your way through each dried watercolor swatch, until you have as many butterflies as you think you'll need to decorate your word and the space above it.

You should have a gradient of colored butterflies to choose from.

Step 5: Glue Your Butterflies On
Use light pressure to gently bend the wings of the butterflies up, so they have more of a 3D look. Then, add a dab of your Mono Aqua Liquid Glue to the back of each butterfly and start sticking them to the paper with your word of the year on it.

I started with a few of the darkest butterflies on the letters themselves, and then stuck more of them above the letters, with the very lightest ones at the top of the page.
Once you're finished, don't forget to frame it or hang it somewhere you'll see it every day!
I’d love to see the word of the year you choose for yourself, and how you turn it into art. So tag @BrownPaperBunny on social media.
----------
Please note: This blog post contains affiliate links, which help pay for the upkeep of this site. That being said, I will never, ever promote anything I am not 100% in love with!