

Please note: This blog post contains affiliate links, which help pay for the upkeep of this site. That being said, I will never, ever promote anything I am not 100% in love with!
You can make this watercolor-look planner dashboard in around five minutes, it's super easy! It's a great way to divide up your planner, add a new section, or store your sticky-notes or washi tape!
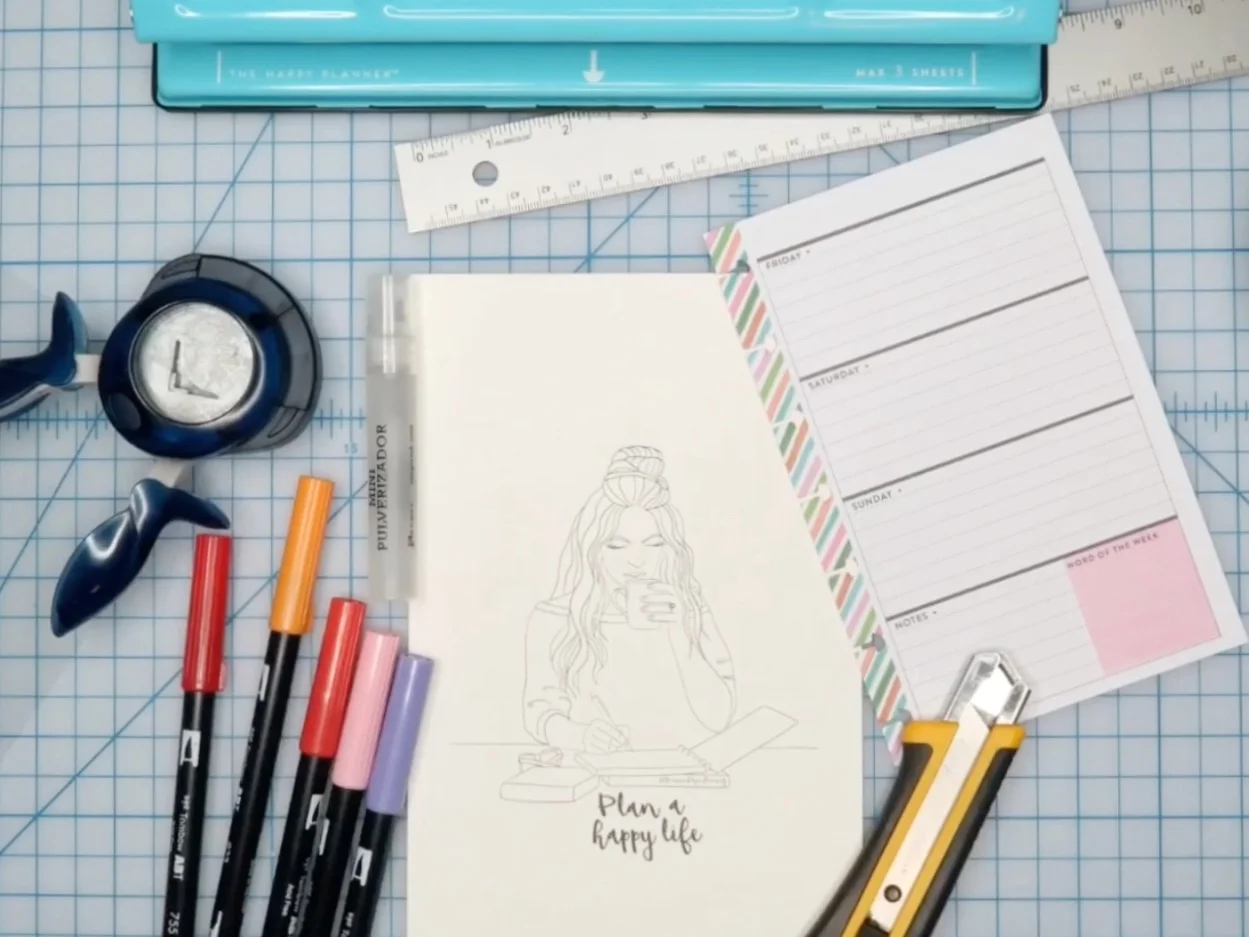
Supplies
- Tombow Dual Brush Pens in your favorite colors
- An image printed onto watercolor paper. You can use this one that I created, or draw your own.
- A ruler
- Cutting knife or scissors
- Corner punch — optional
- Water spray brush (or you can drip water from a paintbrush or your fingers)
- Plastic cover for your page — optional (you can use one you already have in your planner, or make one from an transparent overhead projector sheet, or other thin plastic sheet)
- Plastic freezer or sandwich bag (or the other half of your transparent sheet)
- Hole punch or some way to insert the dashboard into your planner
- A planner to put it into! My favorite right now is the MAMBI Mini Happy Planner
Steps
Here are the steps I used to make this watercolor-look planner dashboard. Watch the video below to see each step in action!
- Print or draw your image onto your watercolor paper. I used Canson paper. And here is the image I used if you'd like to download it for yourself.
- Trim your paper and plastic cover (if you aren't using a pre-made one) to the size of your planner.
- Draw on your freezer bag or plastic sheet using the Tombow Dual Brush Pens. They're water soluble so you can blend them really nicely with water!
- Drip or spray water onto the plastic bag or sheet you just colored on, then carefully turn it over onto your watercolor paper.
- Press the plastic down onto the paper to make the colors run together and give you the watercolor effect.
- Remove the plastic and wipe it off for future use.
- Let your paper air-dry, or speed up the process with a hairdryer on low.
- Punch holes in your paper and plastic cover (being careful not to tear it if it's thin) and insert into your planner!
- You can now put your sticky-notes and pieces of your favorite washi tape on your plastic cover for easy access.
If you'd like to learn how to make time-lapse videos of your own art, check out my online class.


Leave me a comment and let me know if you can think of other uses for this watercolor-look technique! And if you make your own planner dashboard, tag @BrownPaperBunny on social media so I can see!