• Book
    • Watercolor with Brush Pens
    • Watercolor Flowers Using Markers
    • Paint a Watercolor Galaxy Butterfly with Markers
    • Paint Watercolor Galaxy Bookmarks using Markers
    • Timelapse Video for Artists
  • Shop
  • Society6 Store
  • Blog
  • Portfolio
  • About
  • Contact
Menu

Brown Paper Bunny Studio

Art & Fashion Illustration
  • Book
  • Classes
    • Watercolor with Brush Pens
    • Watercolor Flowers Using Markers
    • Paint a Watercolor Galaxy Butterfly with Markers
    • Paint Watercolor Galaxy Bookmarks using Markers
    • Timelapse Video for Artists
  • Shop
  • Society6 Store
  • Blog
  • Portfolio
  • About
  • Contact
How to Make a Pinata Card by Jessica Mack of BrownPaperBunny

How to Make a Piñata Card

April 12, 2018

Please note: This blog post contains affiliate links, which help pay for the upkeep of this site. That being said, I will never, ever promote anything I am not 100% in love with!

----------

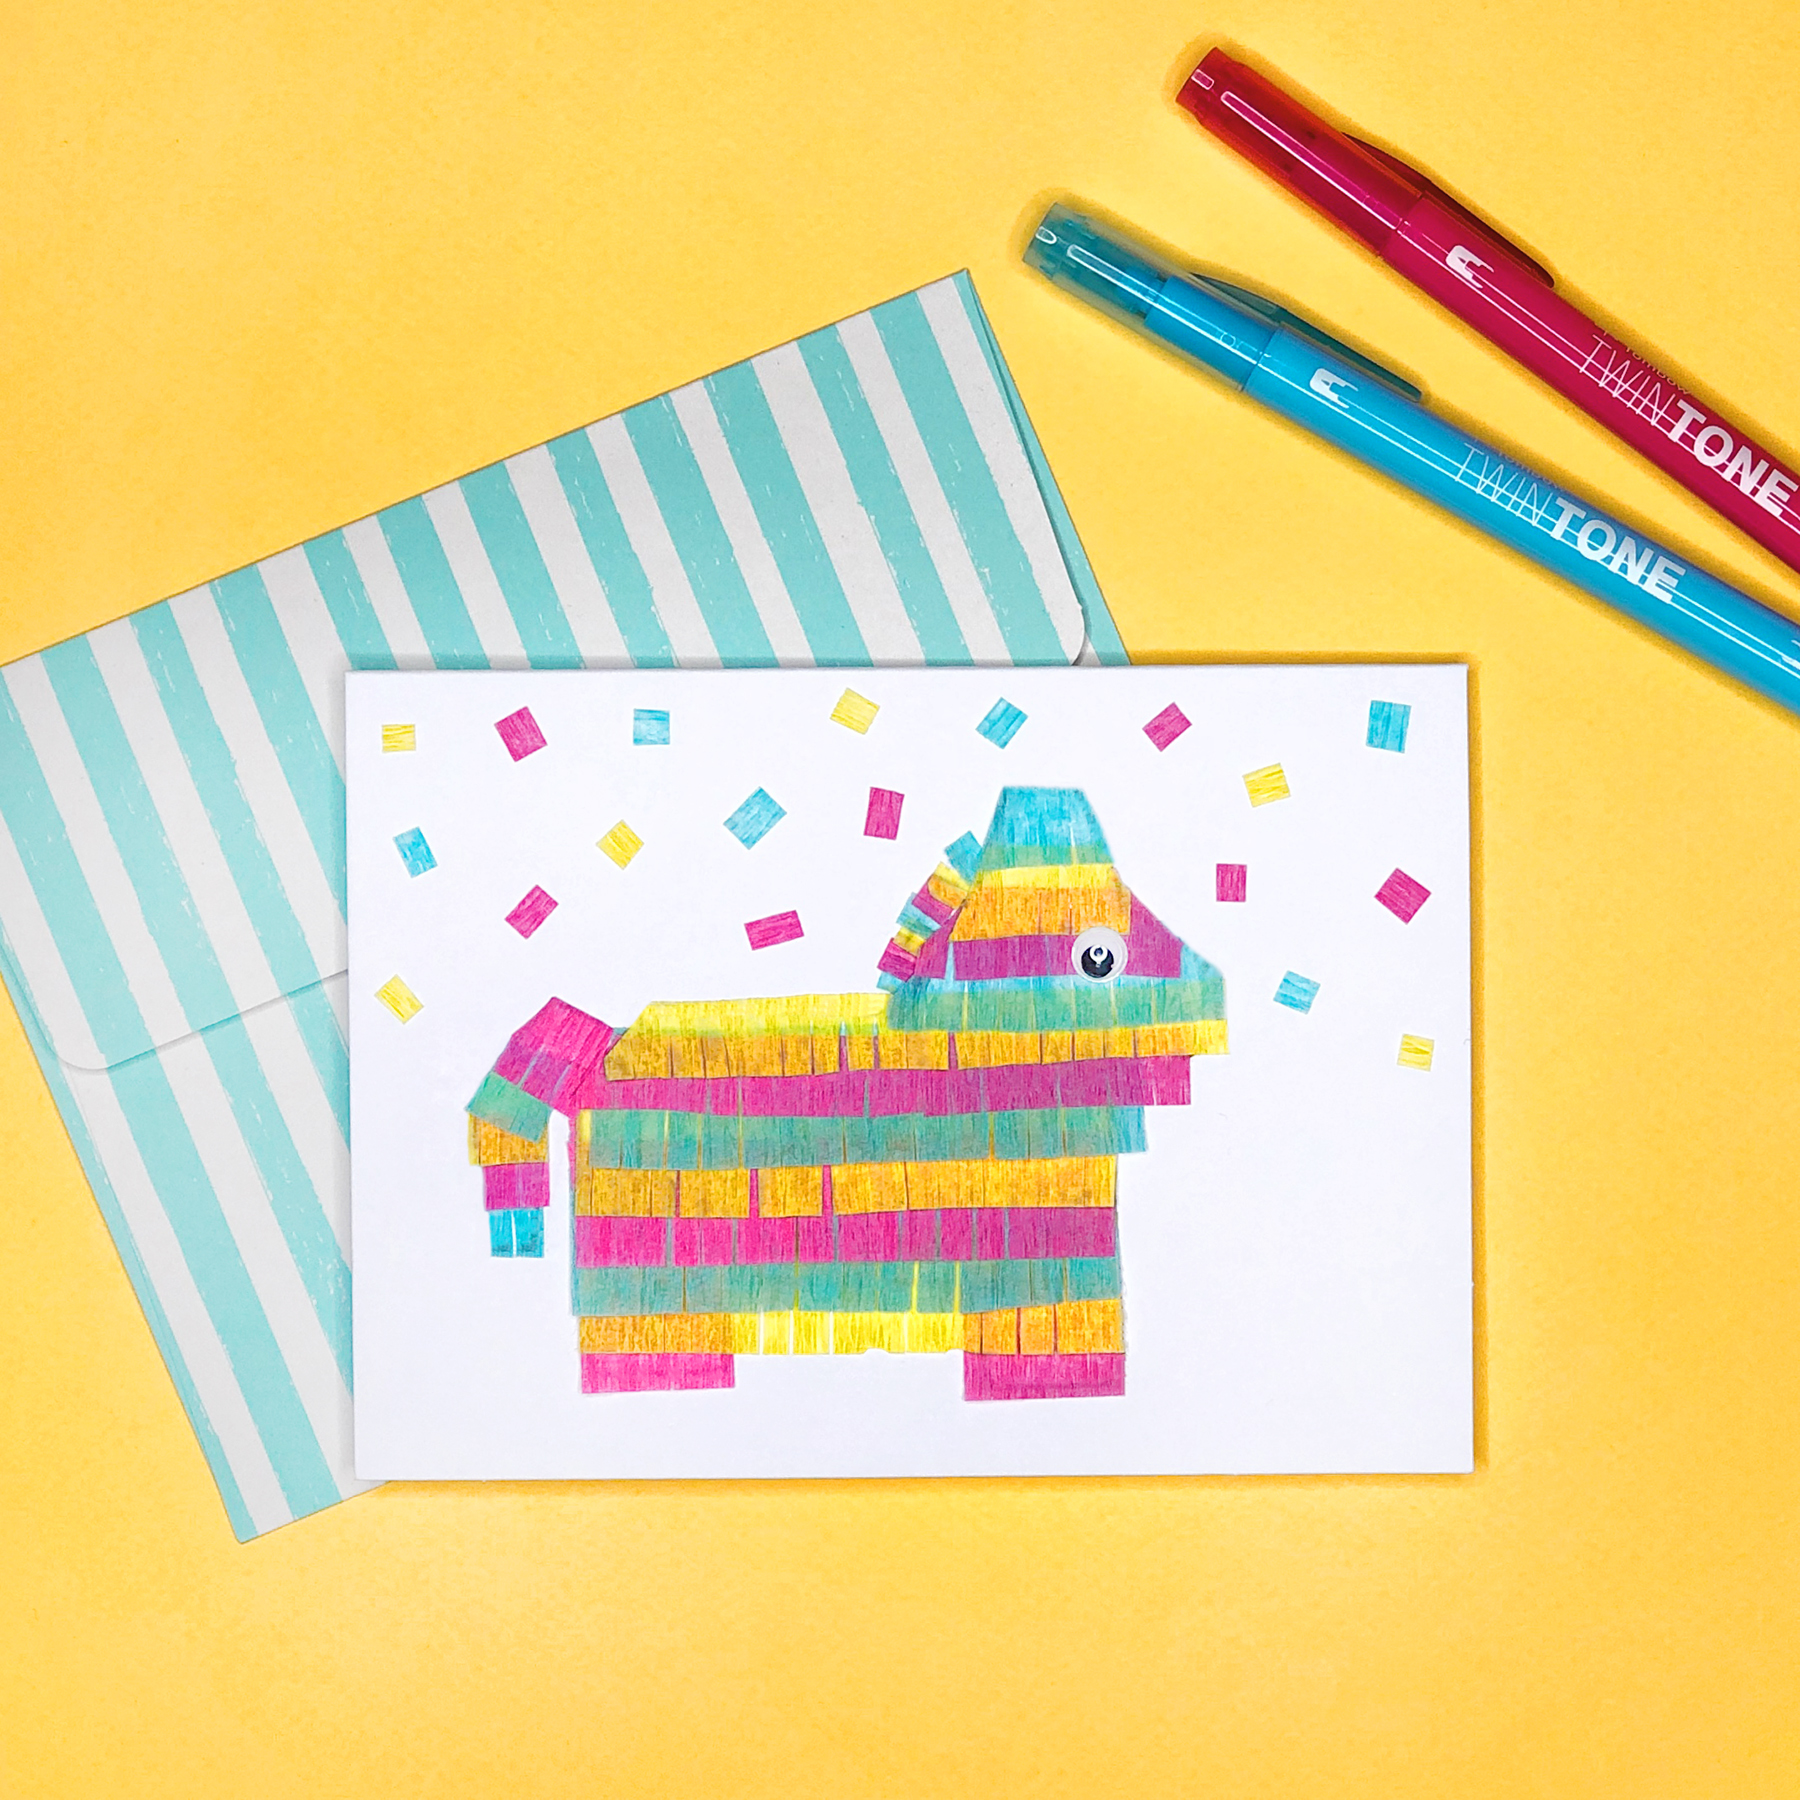
When I have time, I like to make my own birthday cards, and wanted to show you one of my favorites to make. It's great for other celebrations too, and you can choose whatever colors you want! 

Supplies:

  • Small strips of crêpe paper, with fringe cut into one edge

  • Tombow MONO Adhesive

  • A blank card with a piñata outline

  • A stick-on googly eye is optional but adds some extra fun
How to Make a Pinata Card by Jessica Mack of BrownPaperBunny

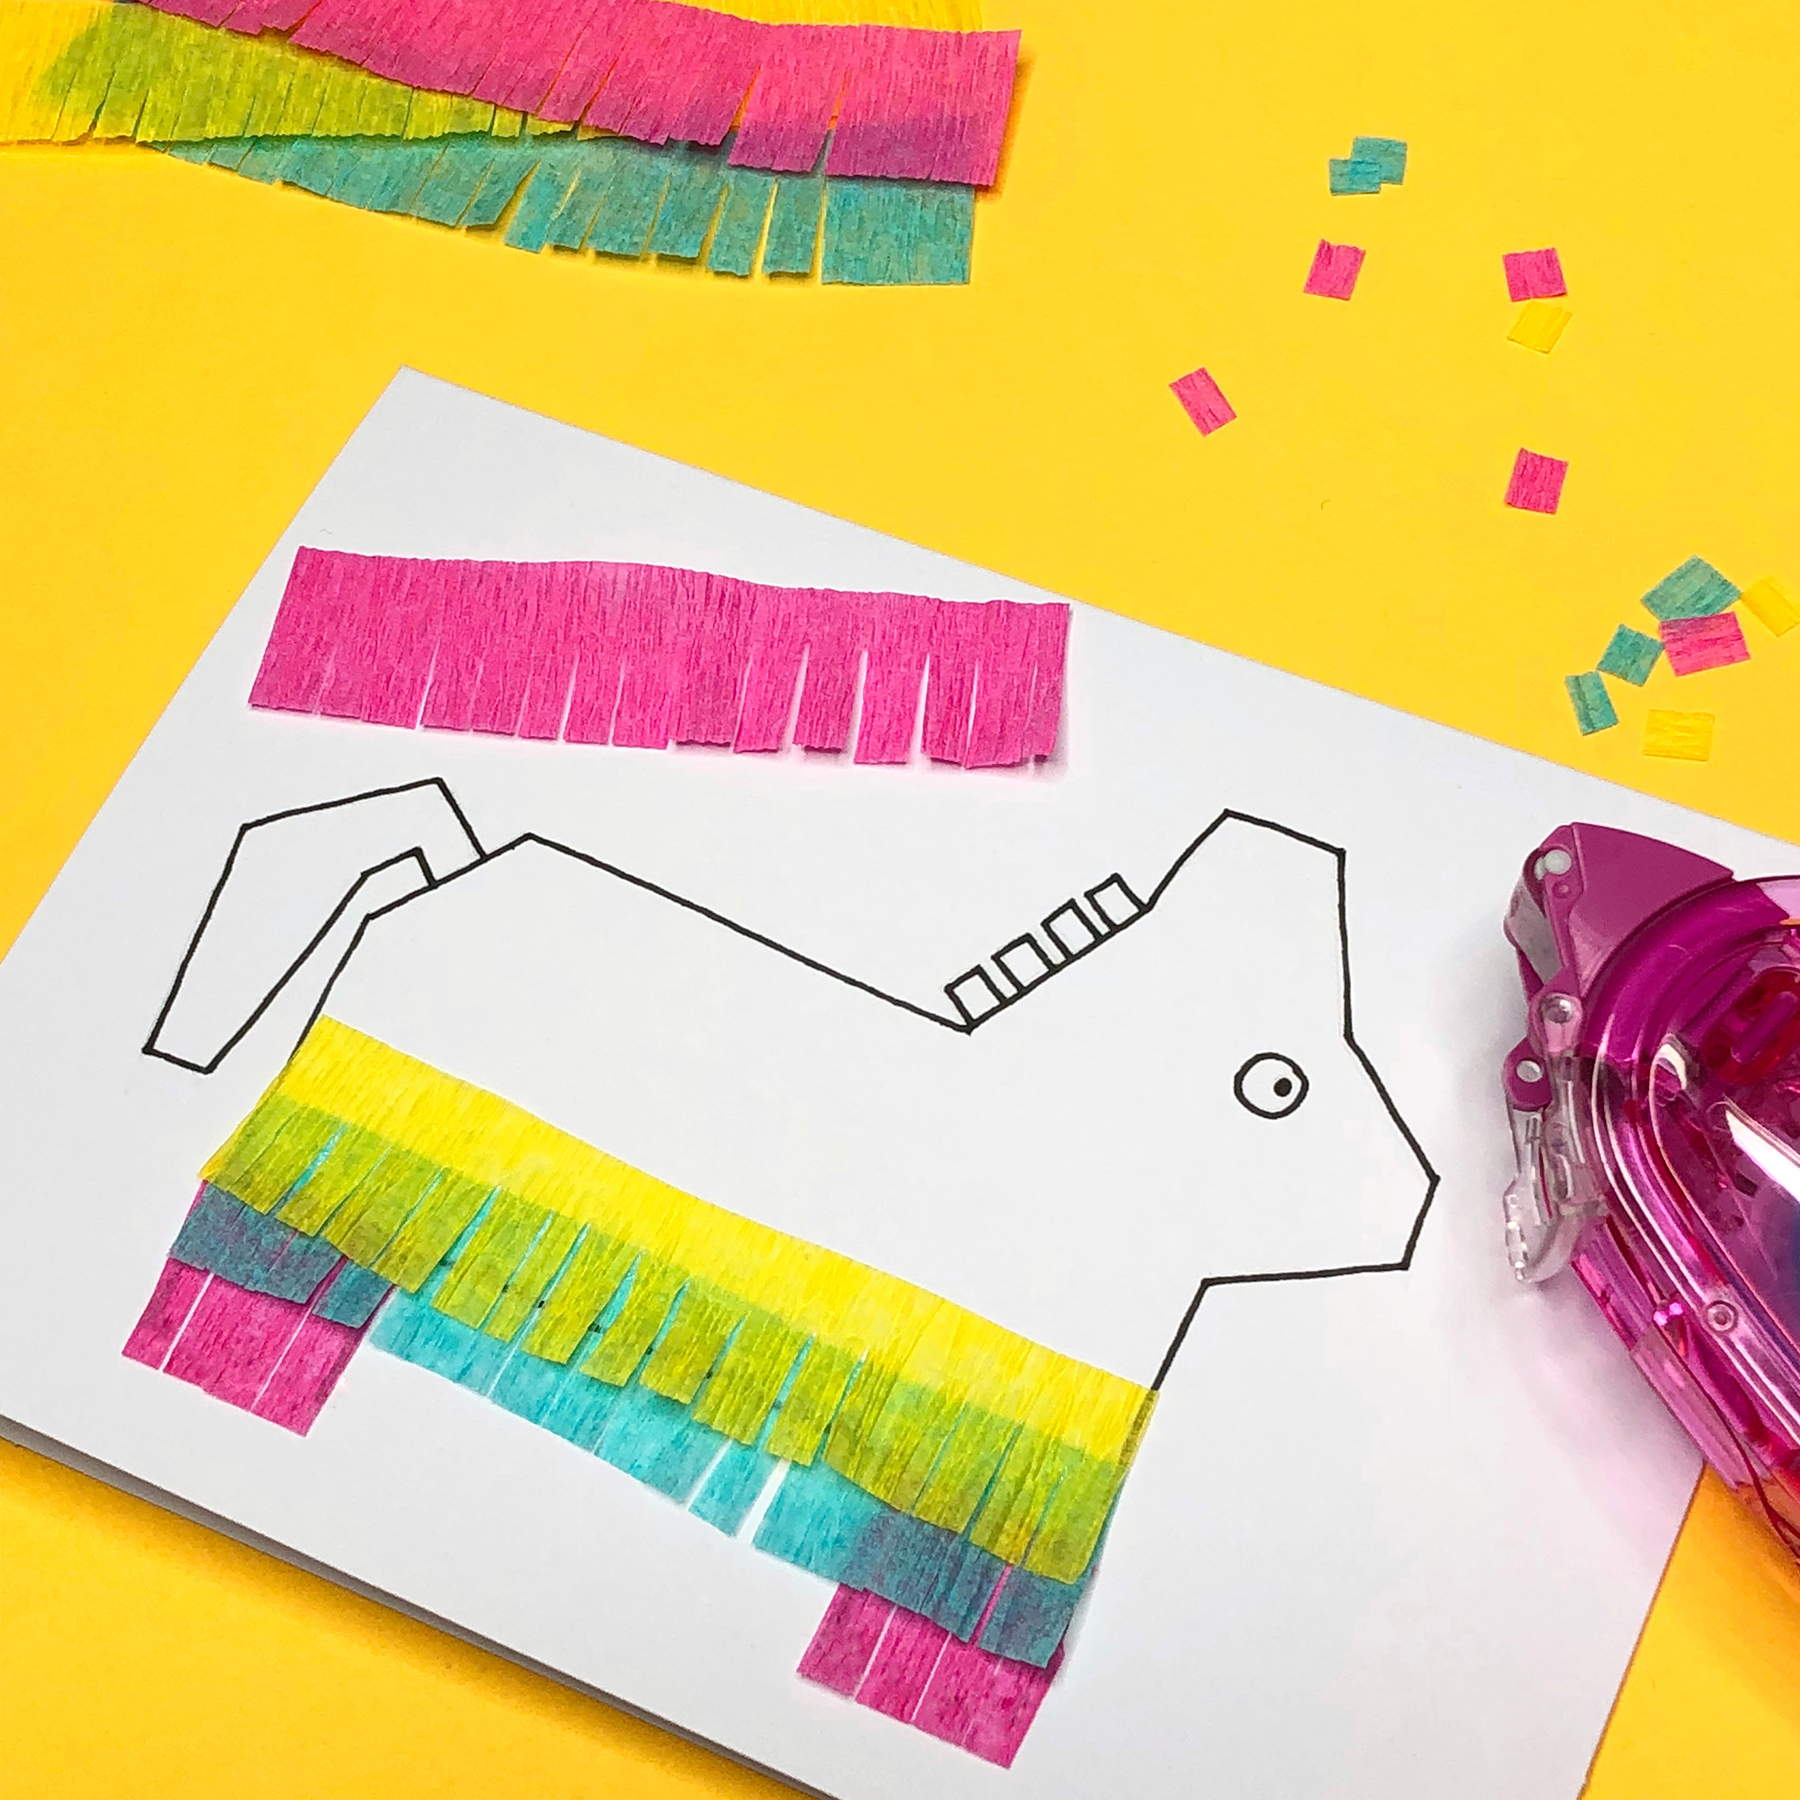
Step 1: Draw Your Outline

After you’ve gathered the supplies for your card, draw a piñata outline onto the blank card. Do yours in pencil — I've only done mine in black ink so you can see it better. 

Step 2: Stick on the Crêpe Paper

Fill the piñata outline with MONO Adhesive, being careful to stay within the lines. Then stick just the top (un-fringed side) of the crêpe paper to the adhesive. Start at the bottom and work upwards, overlapping each layer.

How to Make a Pinata Card by Jessica Mack of BrownPaperBunny

Step 3: Clean Up

Once you’ve stuck down each layer of fringed crêpe paper, trim any pieces that go outside the lines. You can also lightly ruffle the fringed paper to make it stand out a little more.

Step 4: Finishing Touches

Stick on your googly eye if you have one, and you can also add little pieces of leftover paper to the card like miniature confetti, or draw in some confetti using your TwinTone Markers, and voila it’s ready to be sent!

If you make your own I'd love to see! Tag @BrownPaperBunny on social media!

In Aug 2017, Tutorial
← The 100 Day Project 2018Cute Colored Pencil Cards →

Subscribe

Sign up to receive social media tips, freebies, special promotions, and art tutorials!

Thank you!

Please click confirm in the email you were just sent!

Directory of Illustration Jessica Mack

Shop my work on Society6

Watercolor World Map by Jessica Mack of BrownPaperBunny

Follow on Instagram

For the 100 Days Project this year I’m keeping it super low pressure. I’ve got a very busy couple of months coming up and want to set myself up to be able to stick with it, while still making sure I do something creative every day. You ca

See my classes on Skillshare

Skillshare Classes by Jessica Mack

Popular Posts

Popular Posts
CRL-Horizontal-Laptop-Beige-Floral-Painting.jpg
Creative Retreat Live
Rainbow-Watercolor-Wreath-Using-Markers.JPG
Rainbow Wreath Tutorial
15 Ways to Journal by Jessica on BrownPaperBunny
15 Ways to Journal
Tombow Brush Pen Markers and Colored Pencils
Brown Paper Bunny

Privacy + Terms of Use

Shop

Watercolor with Markers Book

Classes

Art Tutorials

Art & Illustration Portfolio

About

Contact

Custom Book Print

Custom Book Mug

How to Paint Watercolor Flowers Using Markers

Free Fashion Croquis

Start an Art Journal

6 Easy Flowers to Draw with Tombow Markers

Make Your Own Watercolor Bookmarks