
I love the way watercolor looks, but I also really love how versatile, vibrant, and easy to carry markers are. So I’m going to show you how I use water-soluble markers to get a watercolor effect. Here’s what you’ll need to get started.
Supplies:
You can use my affiliate code ‘bpbunny15’ for 15% off all Tombow products.

Step 1: Draw Your Flower
My friend Peggy has an awesome tutorial for drawing Hydrangeas in her new book Nature Drawing and Watercolor, or you can draw your own flower from a reference photo. I recommend using waterproof fine-liner pens so you can use markers and water over the top without the ink bleeding or running.
Step 2: Apply a Light Wash
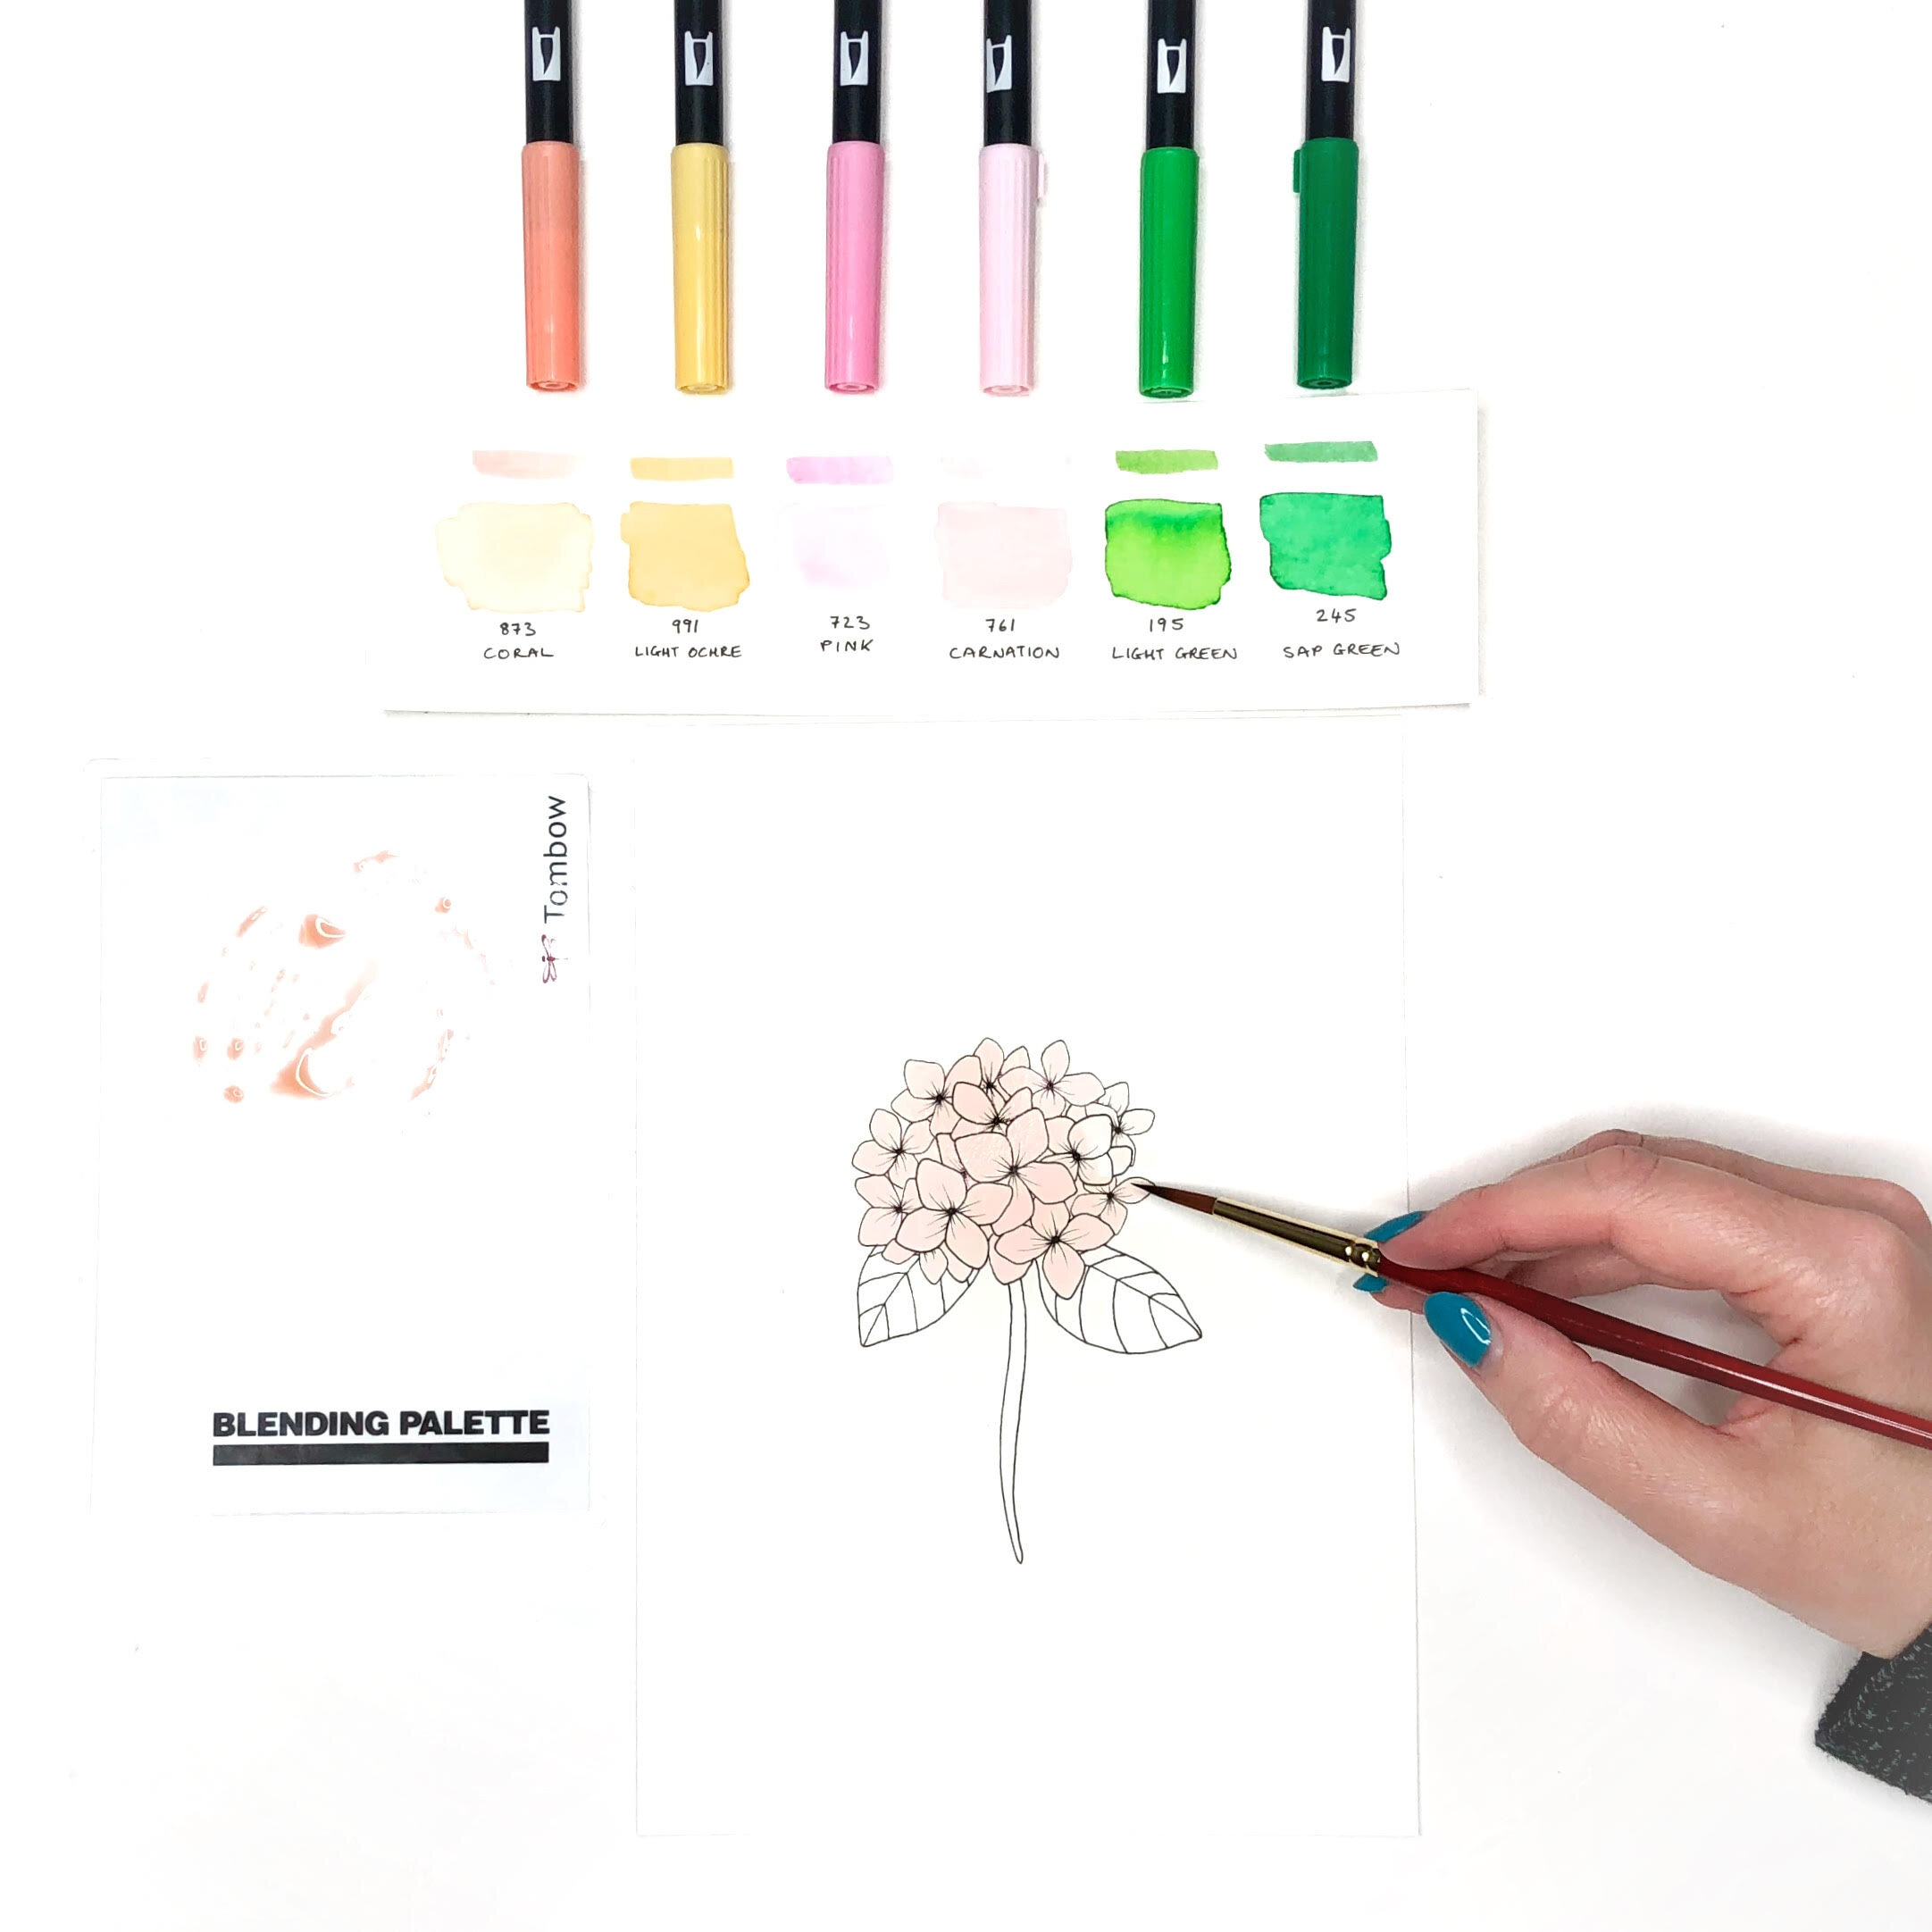
You can use any brand and color of water-soluble markers, but the ones I’m using here are Tombow Dual Brush Pens. They have a brush on one side and a bullet tip on the other. The specific colors I’m using are 873: Coral, 991: Light Ochre, 723: Pink, 761: Carnation, 195: Light Green, and 245: Sap Green.
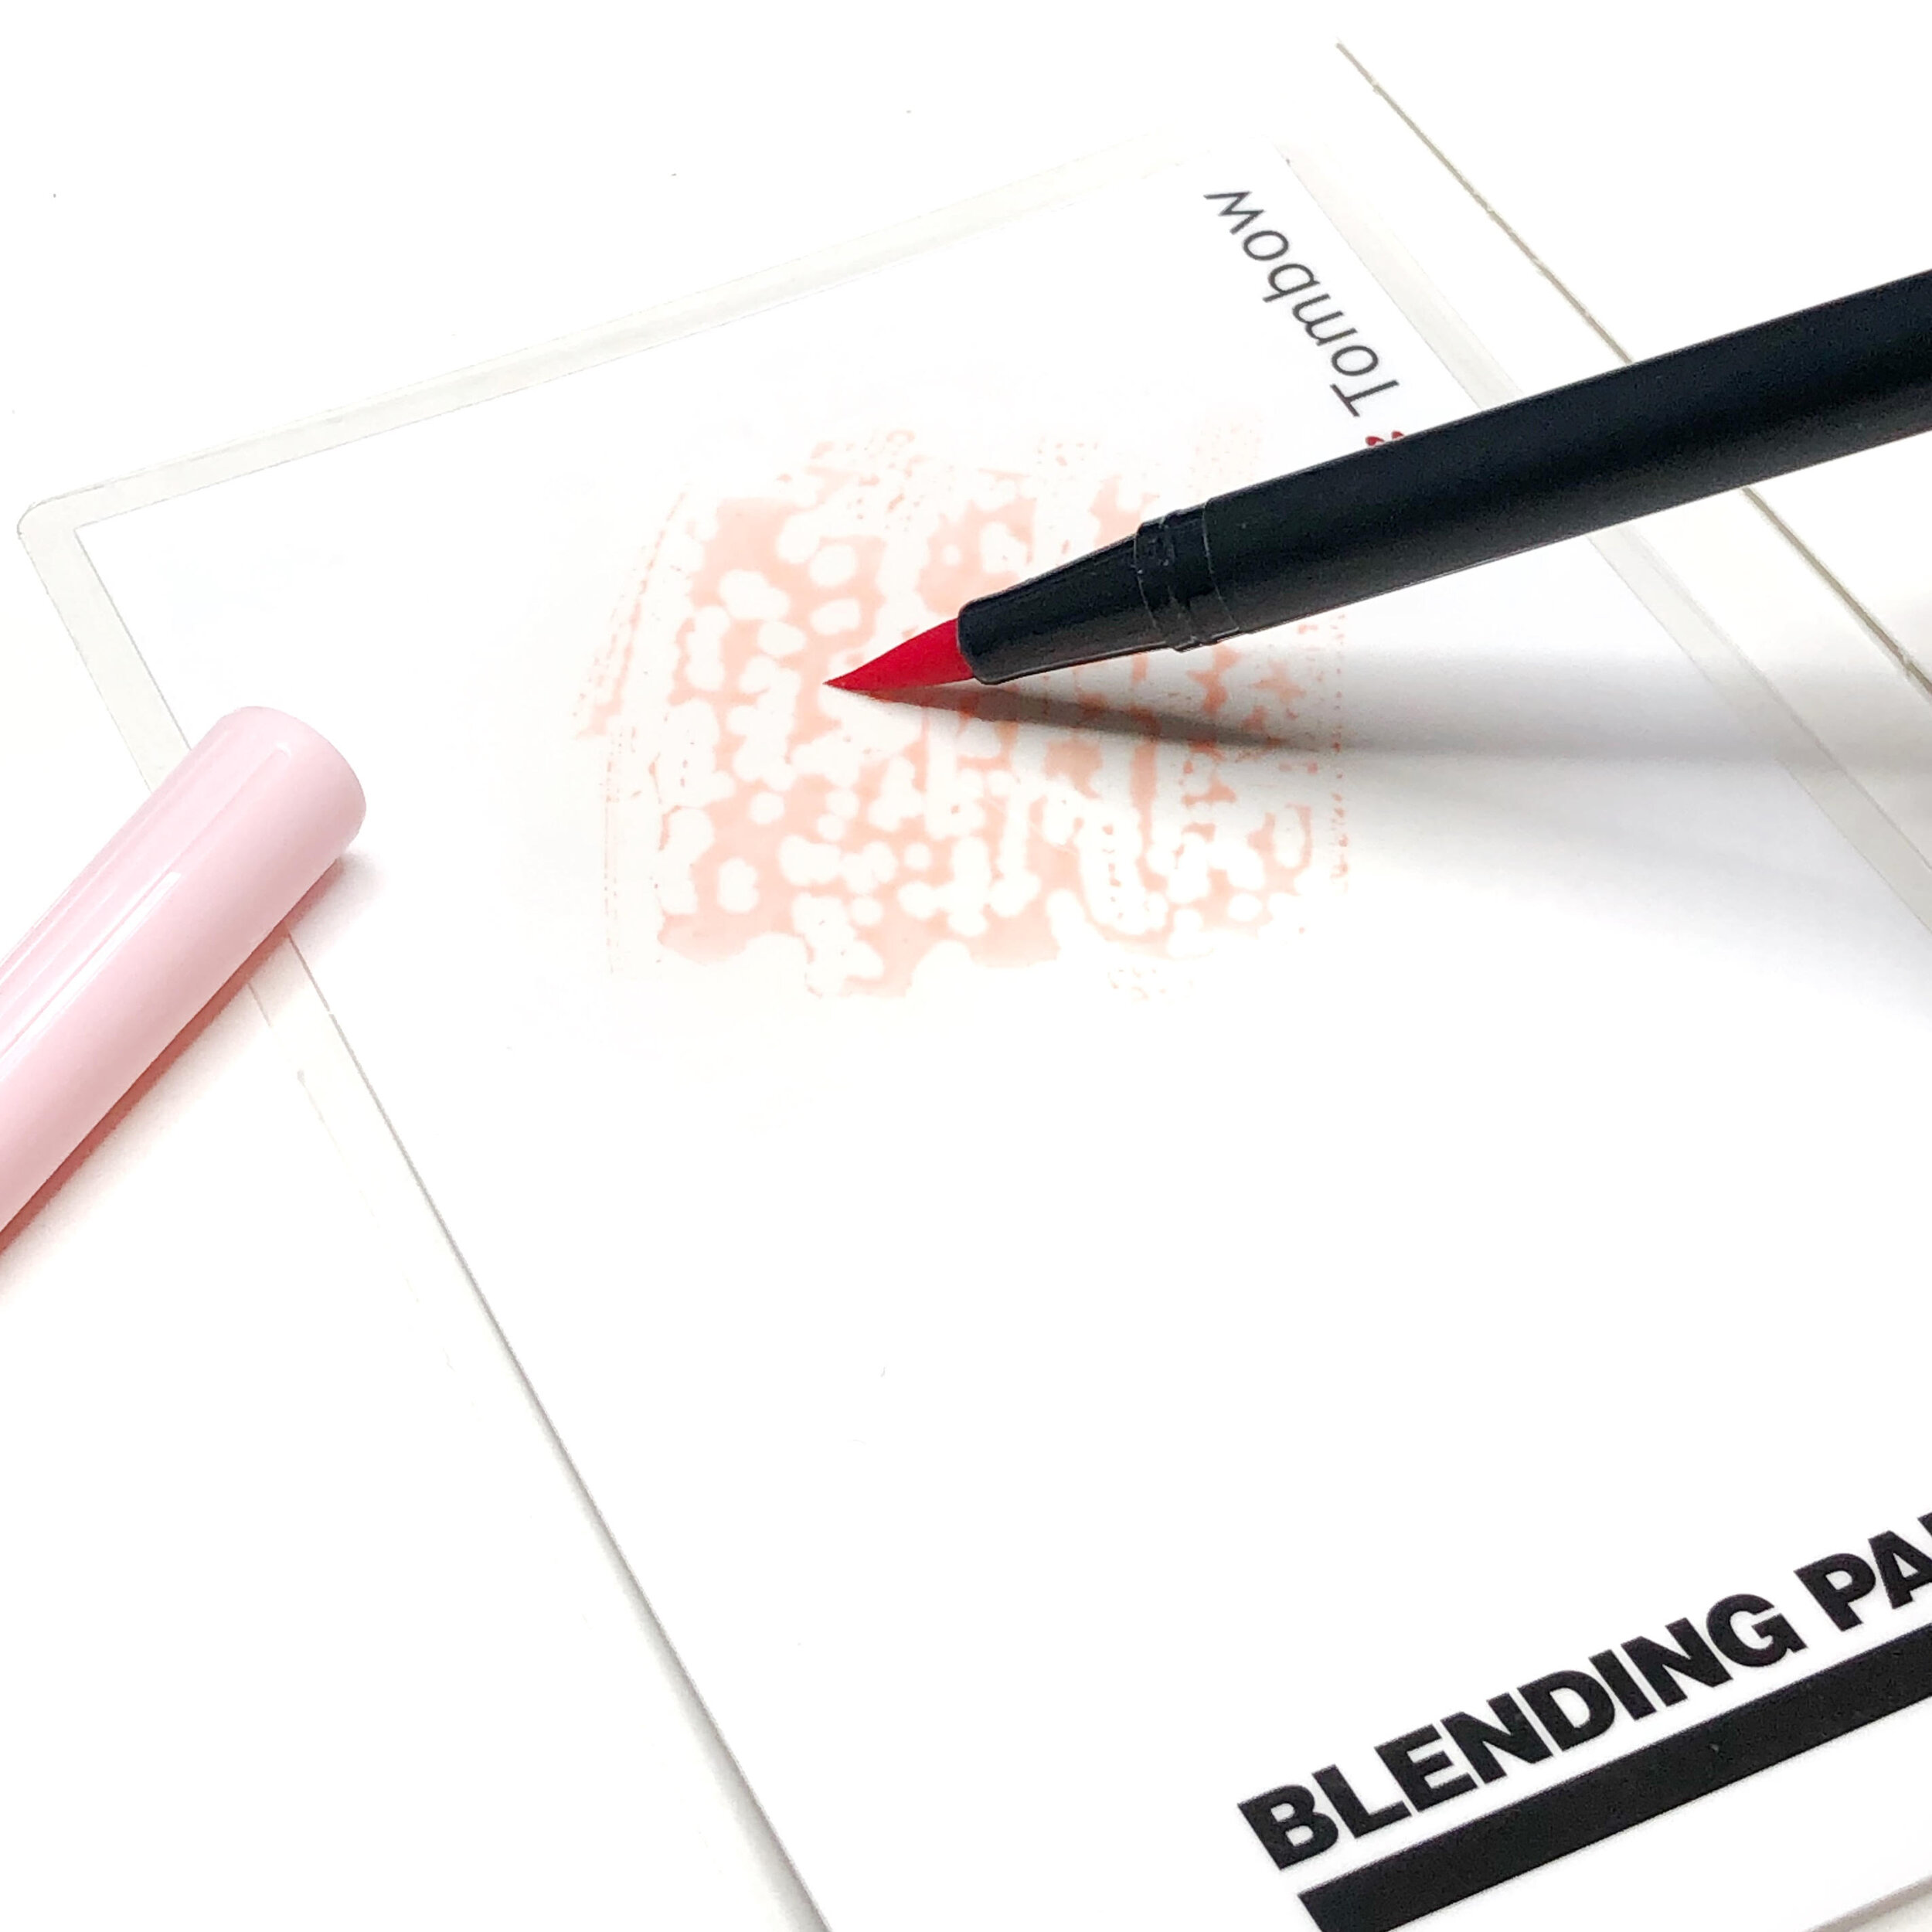
Scribble some of your palest color down onto your blending palette then wet it with your paintbrush. Use the wet ink to apply a light wash across all of your flower petals. Once they are dry, do the same thing with your lightest green, for the leaves and stem of the flower.
Step 3: Add a Second Color to Your Petals
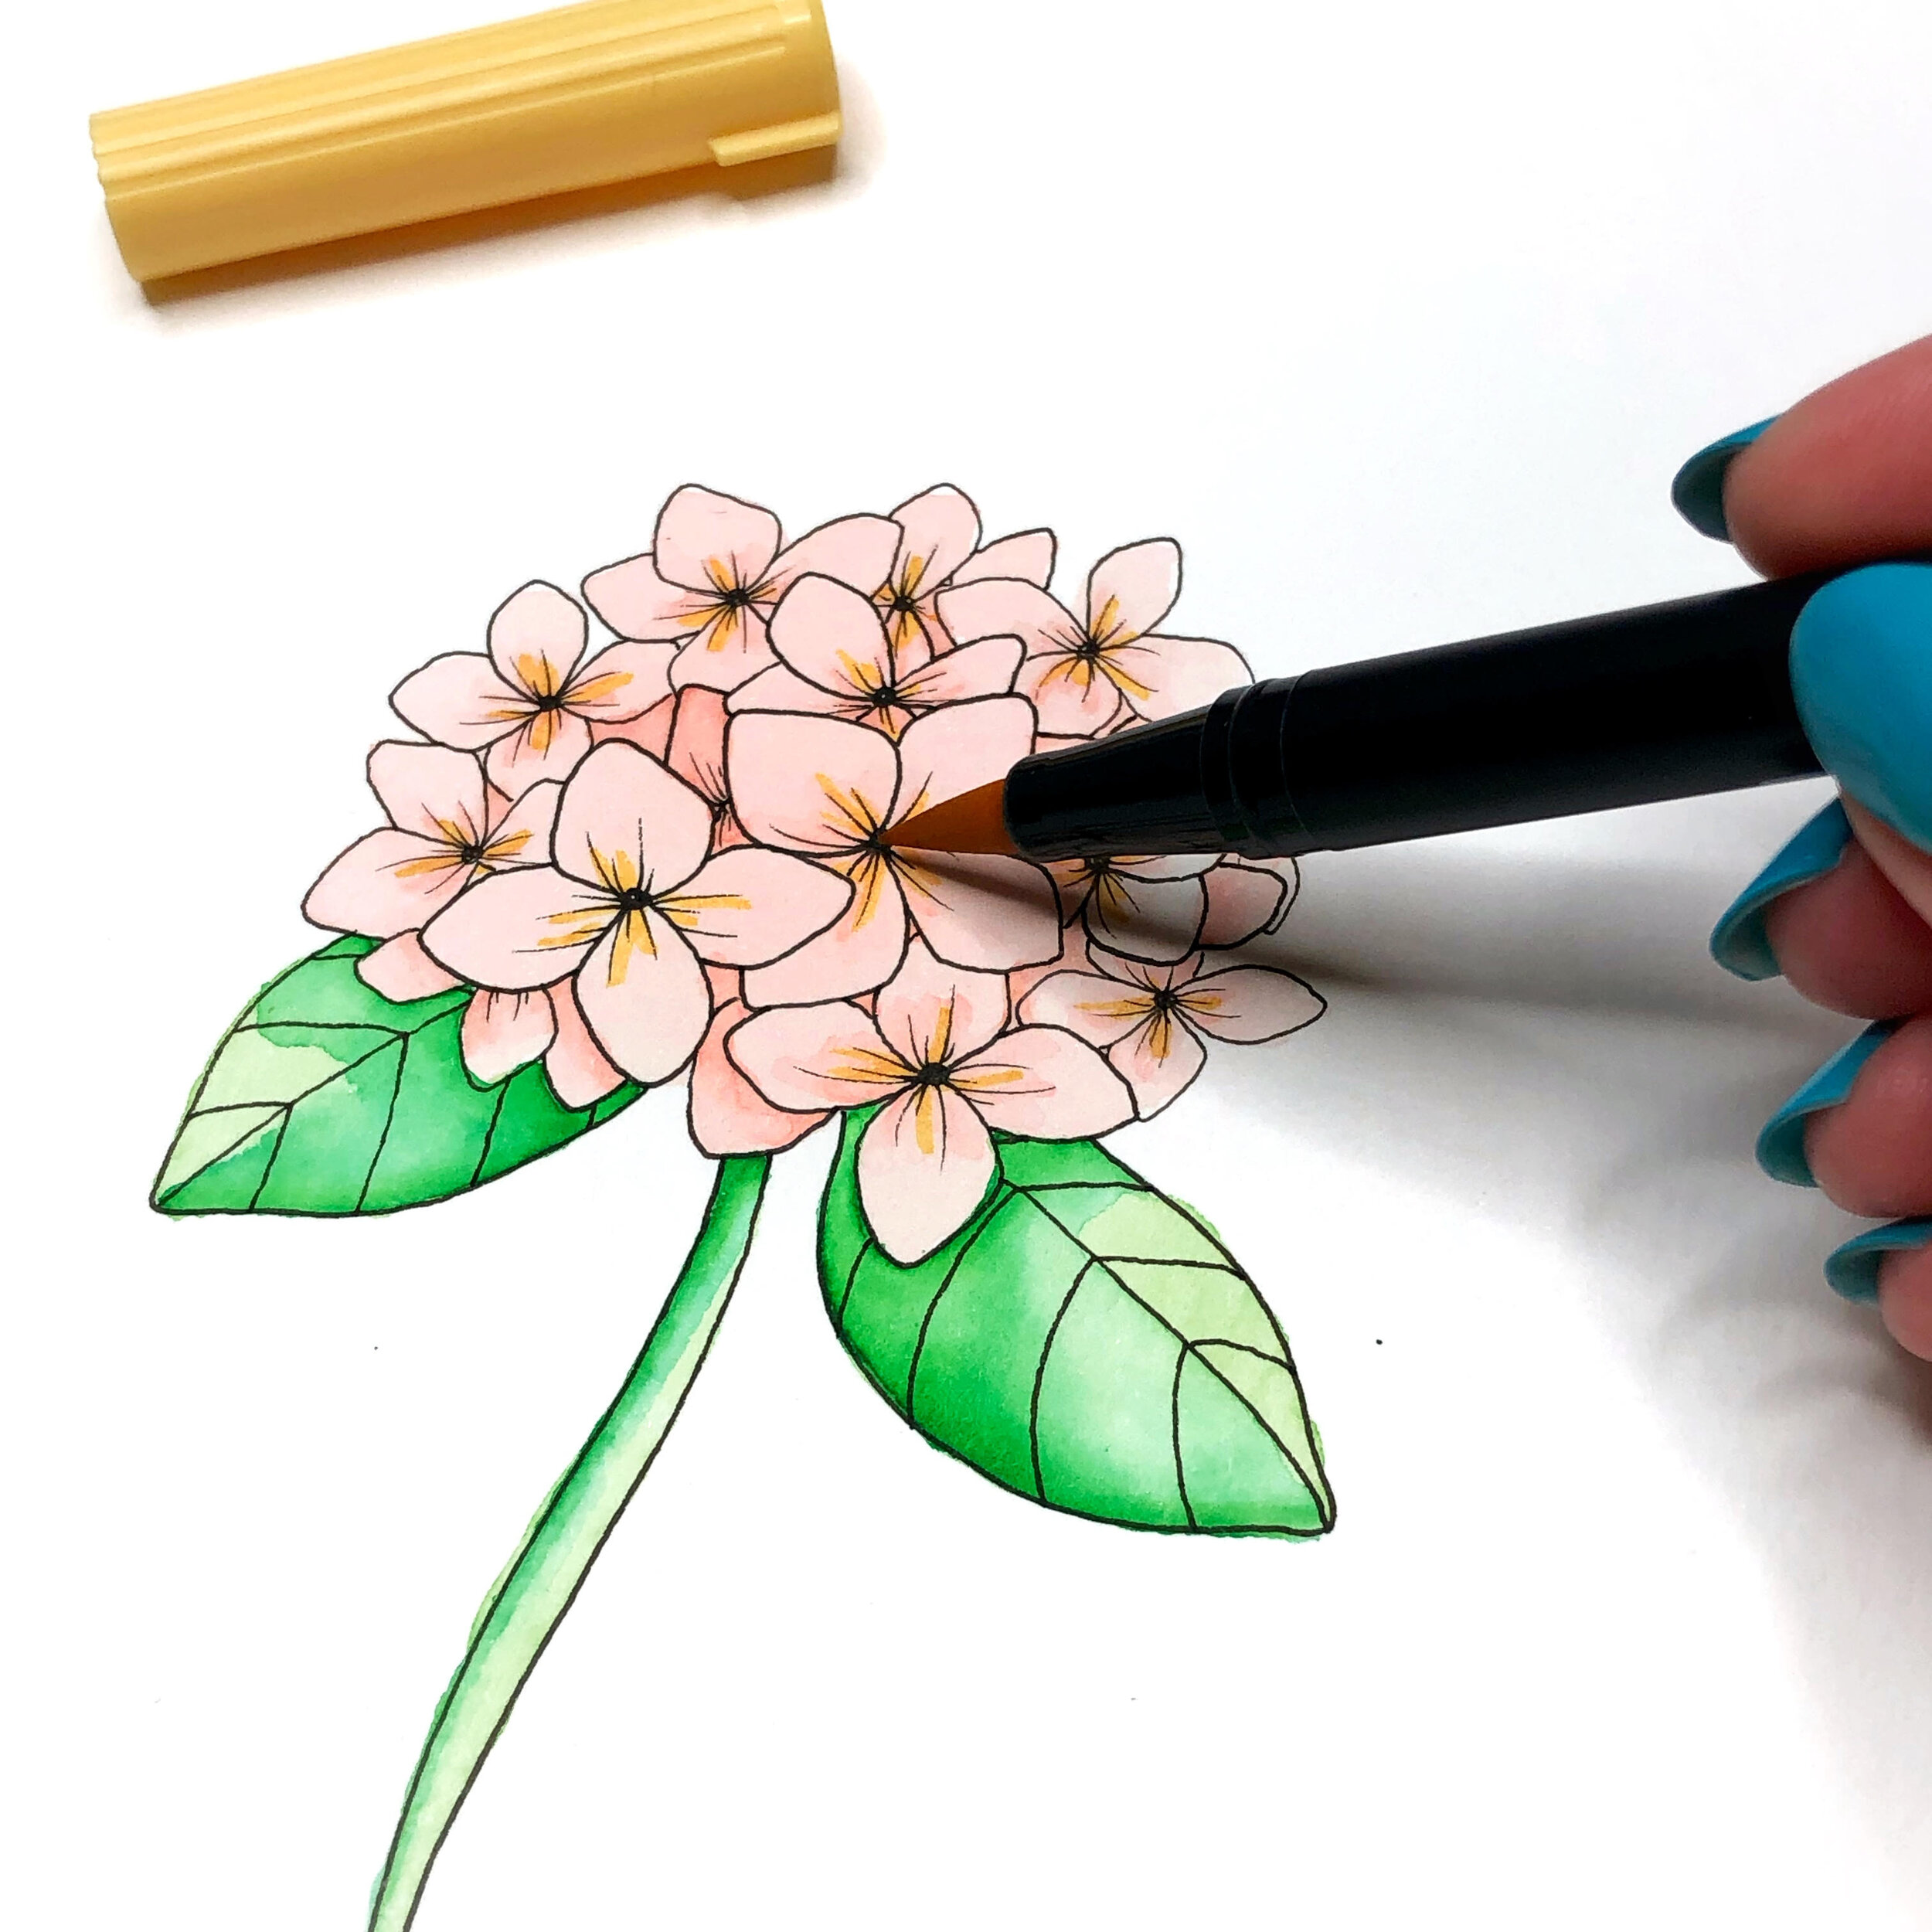
In order to get a more realistic watercolor effect, and have your flowers look more interesting overall I think it’s fun to add at least two or three colors to the petals of your flowers. Start with your lightest colors because you can always build the color up but it’s hard to take it away if you go too dark early.
Once the initial wash is dry, you can use the markers directly on the paper, then soften the edges of the color using a damp paintbrush. Just let each layer dry before applying the next one.
It helps build depth if you use your darker colors where there would be a shadow on petals and leaves that fall behind others and leave the petals and leaves at the front a little lighter.
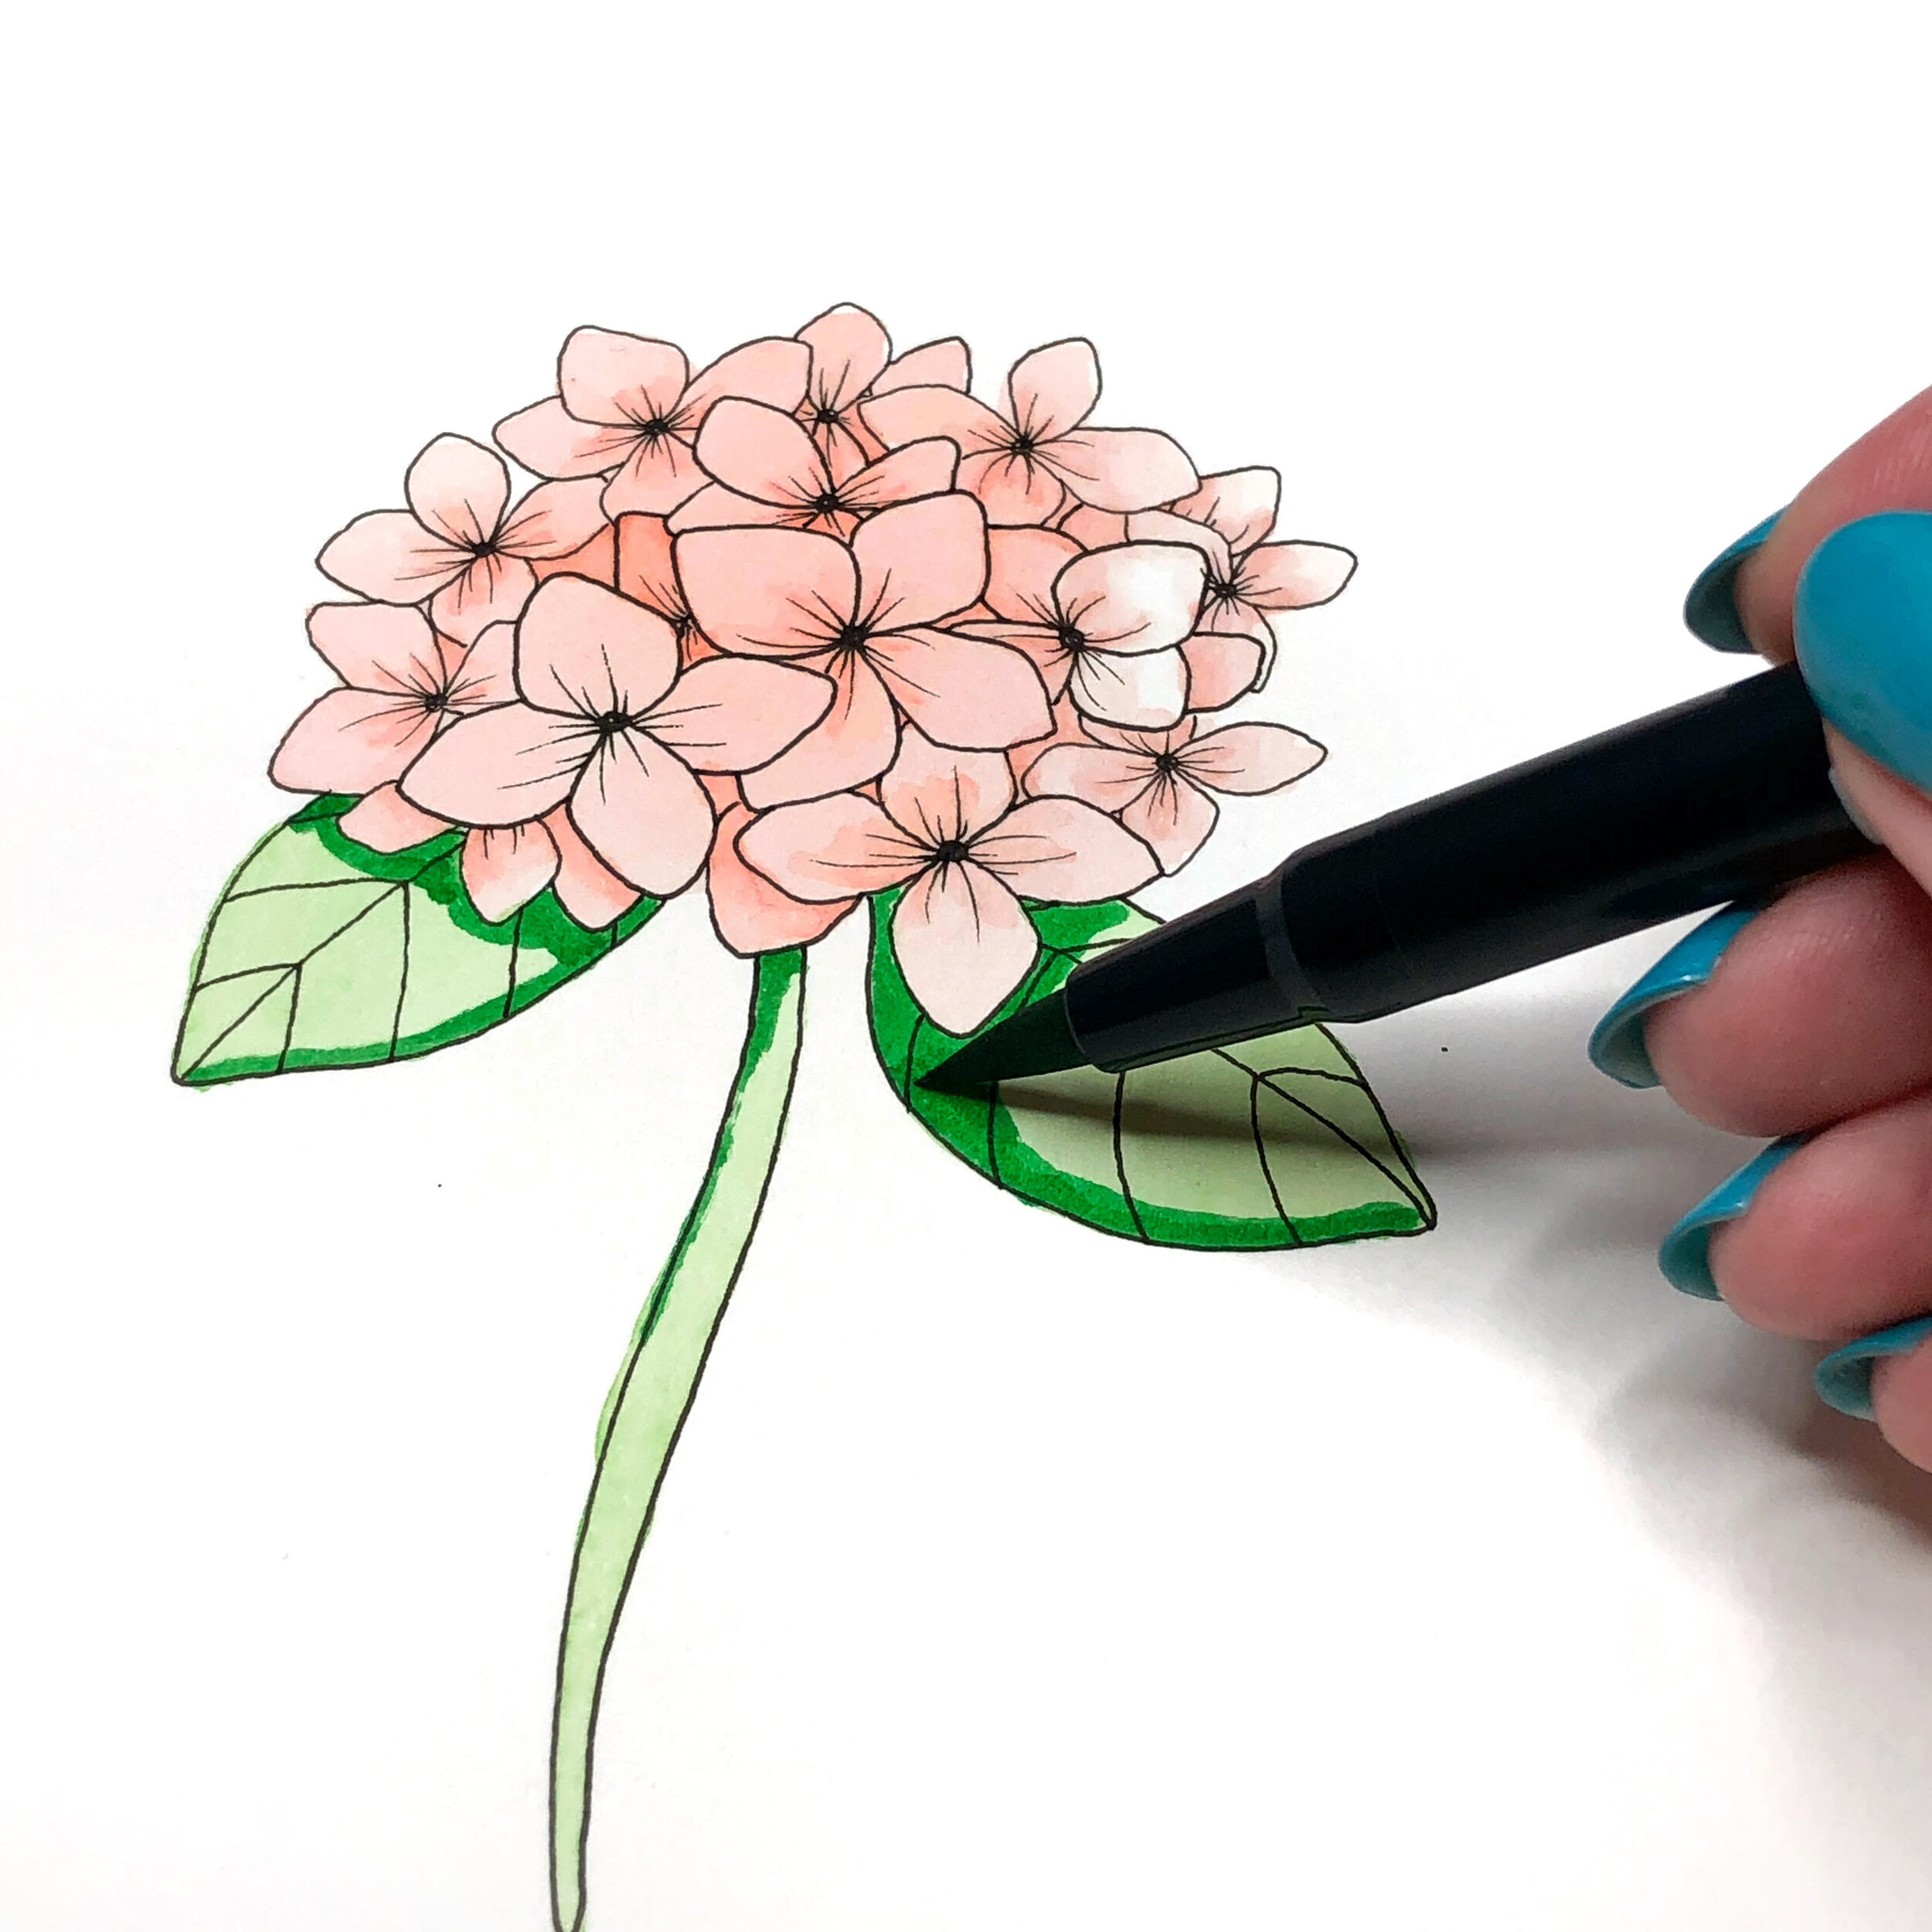
Step 4: Add Shadows to Your Leaves
Use your darkest shade of green to add a small line of color where there would be a shadow on the leaves. This is usually closest to the flower where the petals would be blocking some of the light. Then use your damp paintbrush to blend the edges of the color to soften them.
Step 5: Add a Third Color to Your Petals
Time for some more delicious color on those pretty flower petals. Layer on a little more color, paying attention to the centers and areas of shadow. Then soften the edges with your damp paintbrush.

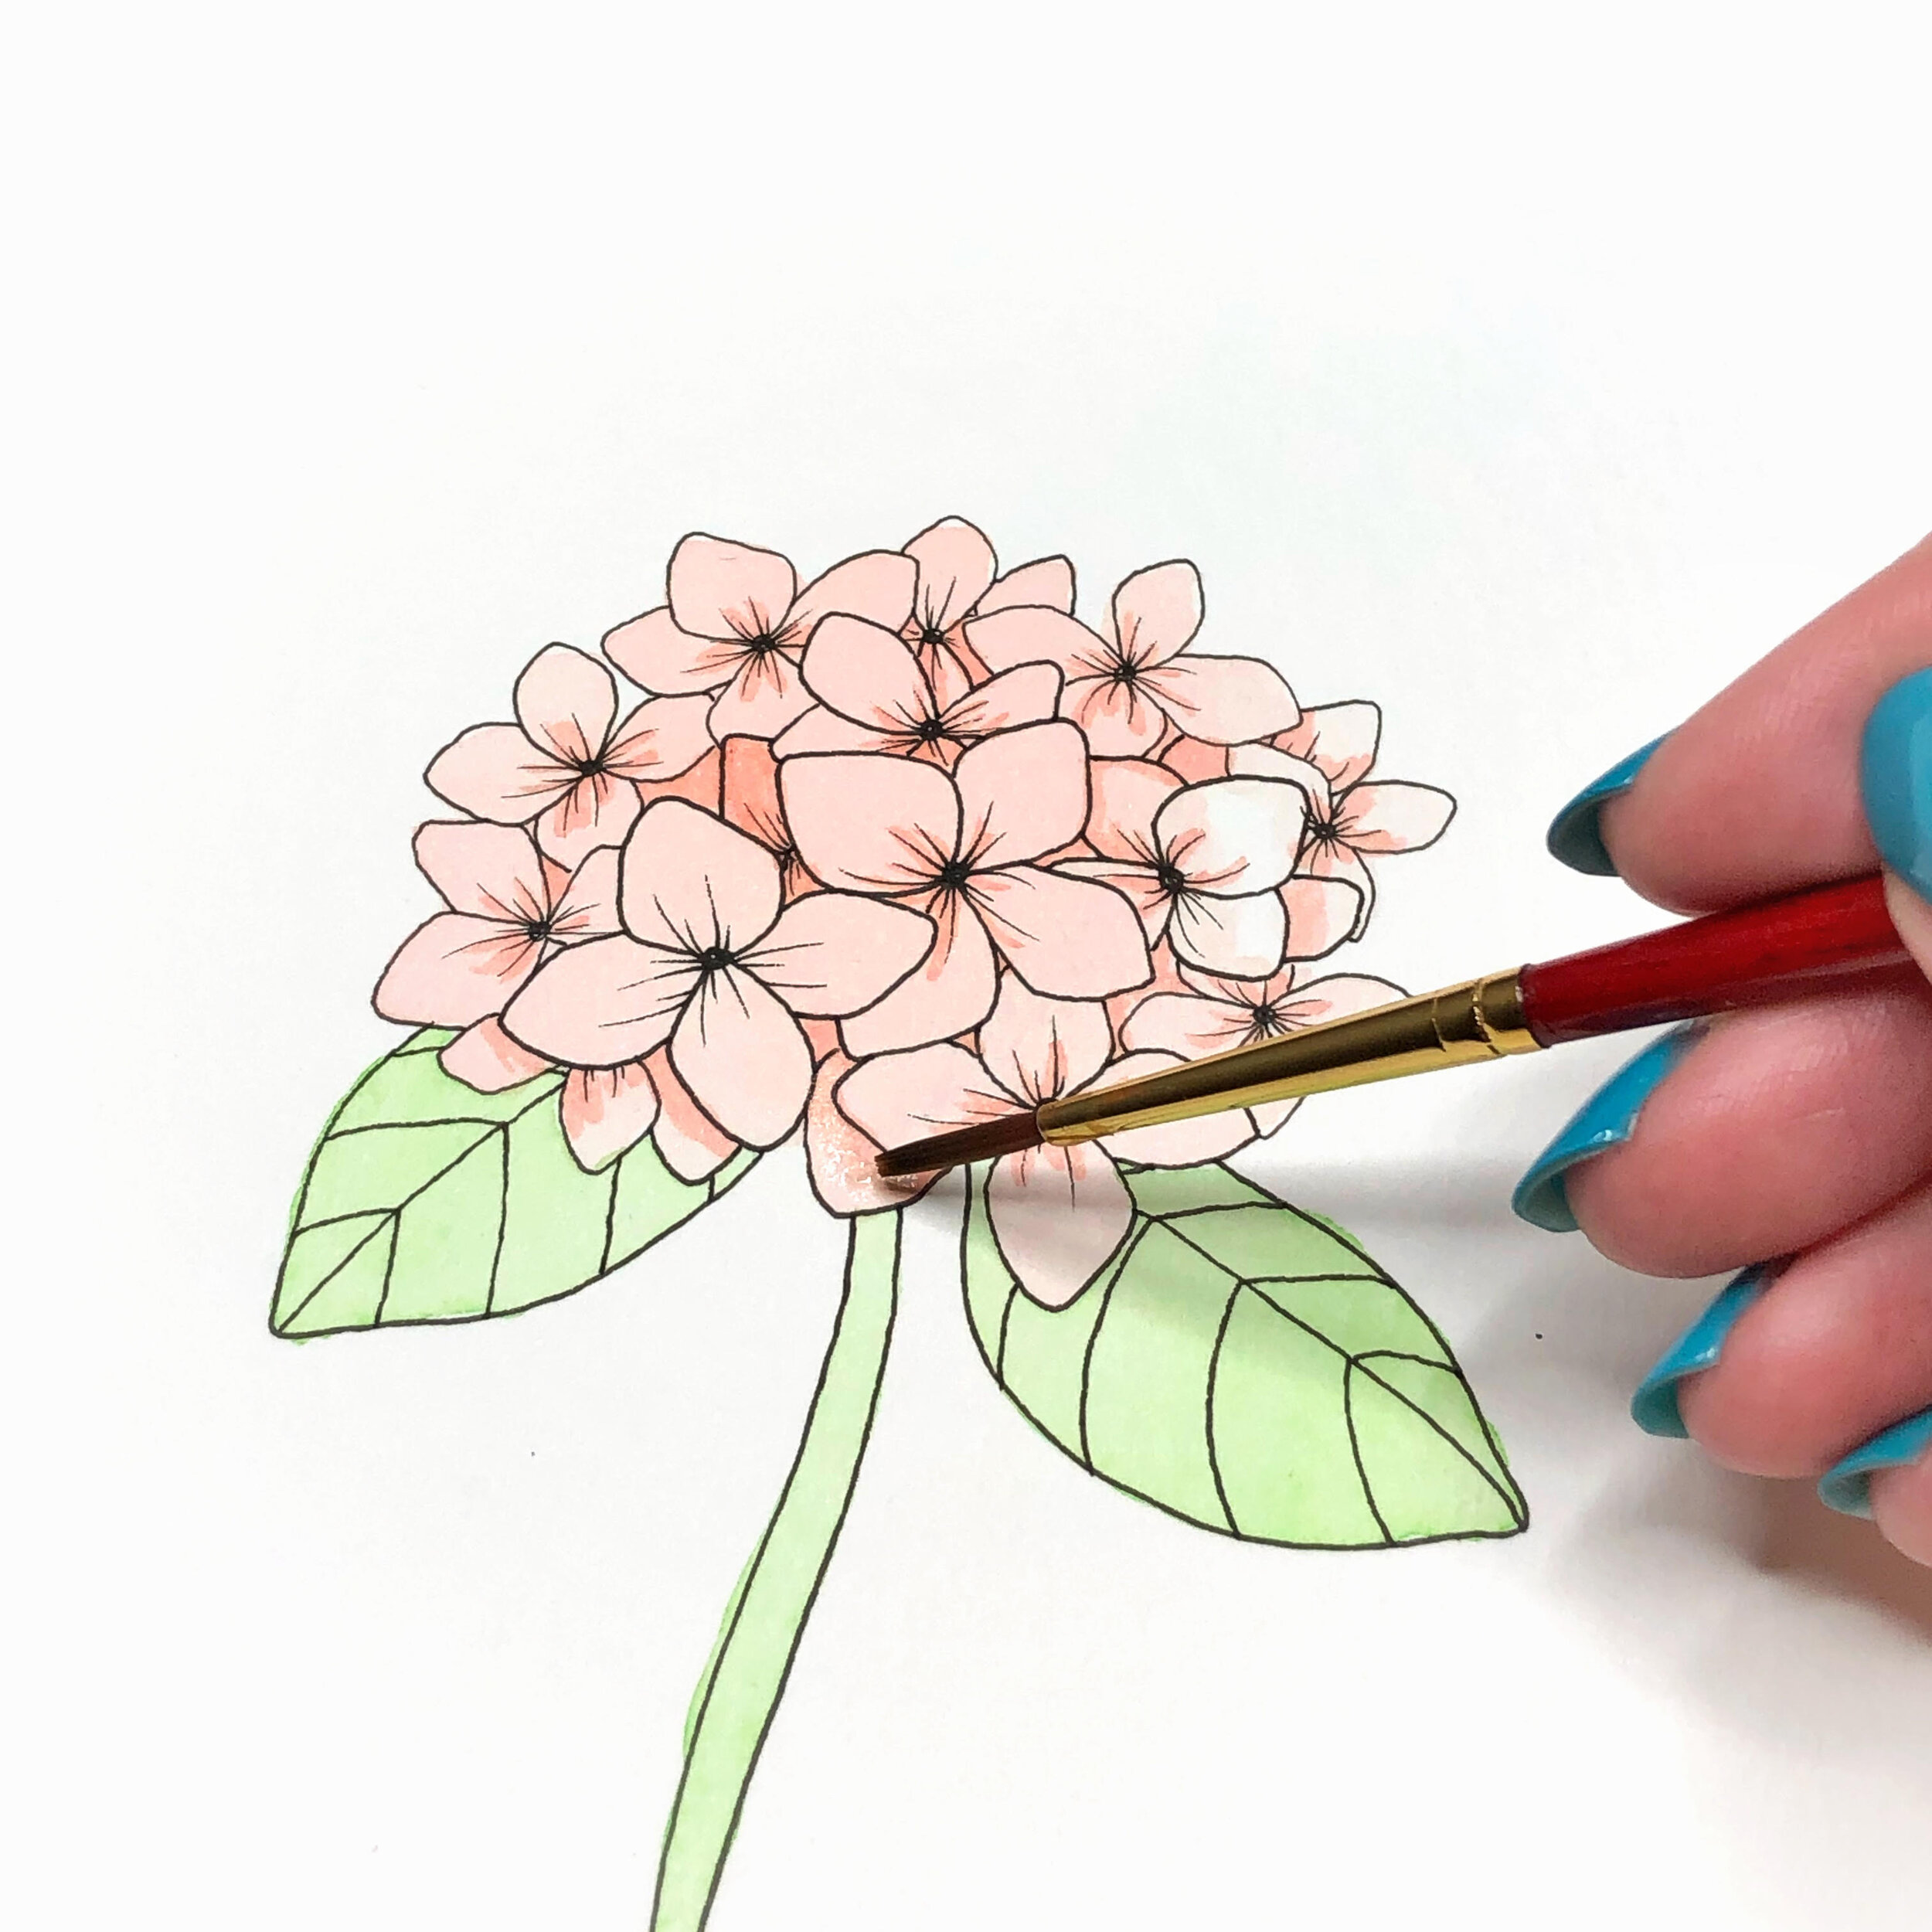
Step 6: Add Final Details
Once everything is dry you can use the bullet tip of your Dual Brush Pens to add some finer detail to the leaves and center of the flowers to really make them pop. Then, voila, you’re all done. You’ve got a gorgeous flower you can frame, give as a gift, add to your art journal, or any number of other fun things!
I’d love to see yours, so tag @BrownPaperBunny on social media!
You might also like to check out my new book Watercolor with Markers.

And if you’d like to learn more about using water-soluble markers to create watercolor-look flowers head over to my Skillshare class Create Watercolor Flowers Using Markers. See you there!
----------
Please note: This blog post contains affiliate links, which help pay for the upkeep of this site. That being said, I will never, ever promote anything I am not 100% in love with.