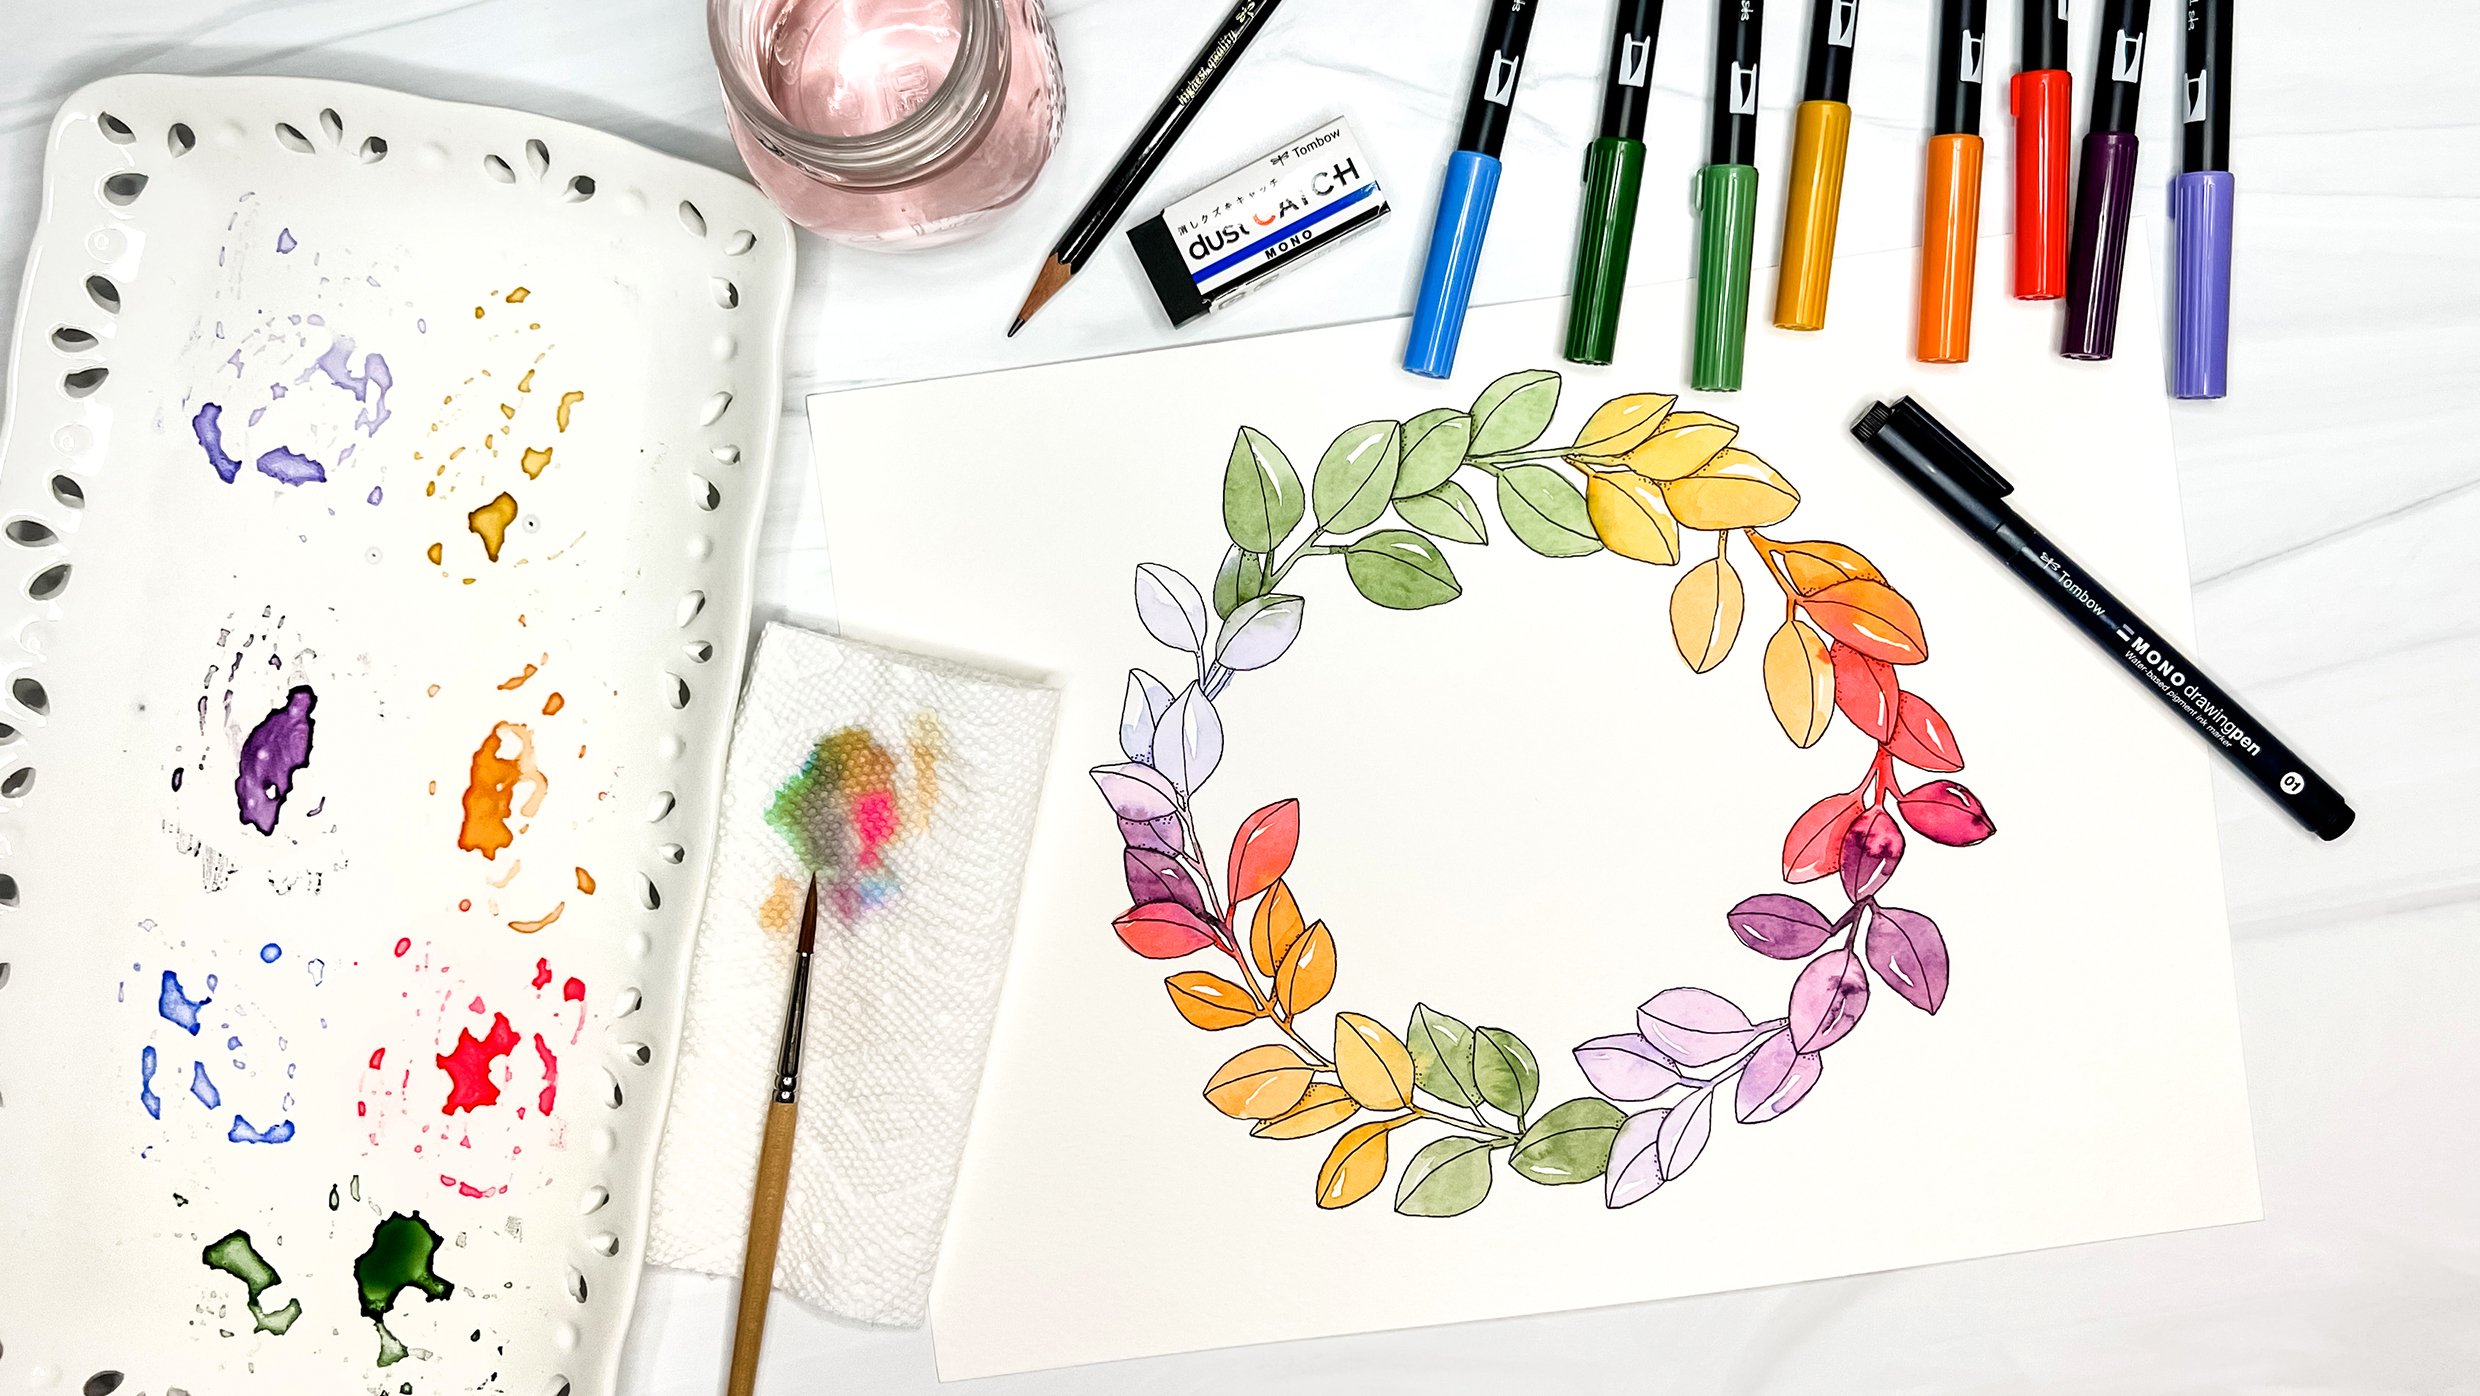
This week I was challenged to use multiple watercolor techniques in one portrait. I took that challenge and not only used multiple techniques but as many as I could think! Can you spot them all in my portrait above? Let me know, in the comments, if you think of any I missed!
Salt with Watercolor
Dropping kosher salt into almost-dry watercolor paint gives you a fun starburst effect. You have to experiment a little because if the paint is too wet or too dry it won’t work.

Wet on Wet Watercolor
This technique is fairly self explanatory. You wet your paper first, then add wet paint onto the wet paper, and watch it spread in a deliciously unpredictable way!

Wet on Dry Watercolor
Wet paint, onto dry paper gives you a controlled, precise finish.

Flat Wash
Flat washes give you a nice even area of color. I usually create mine with a really wet brush, onto dry paper.

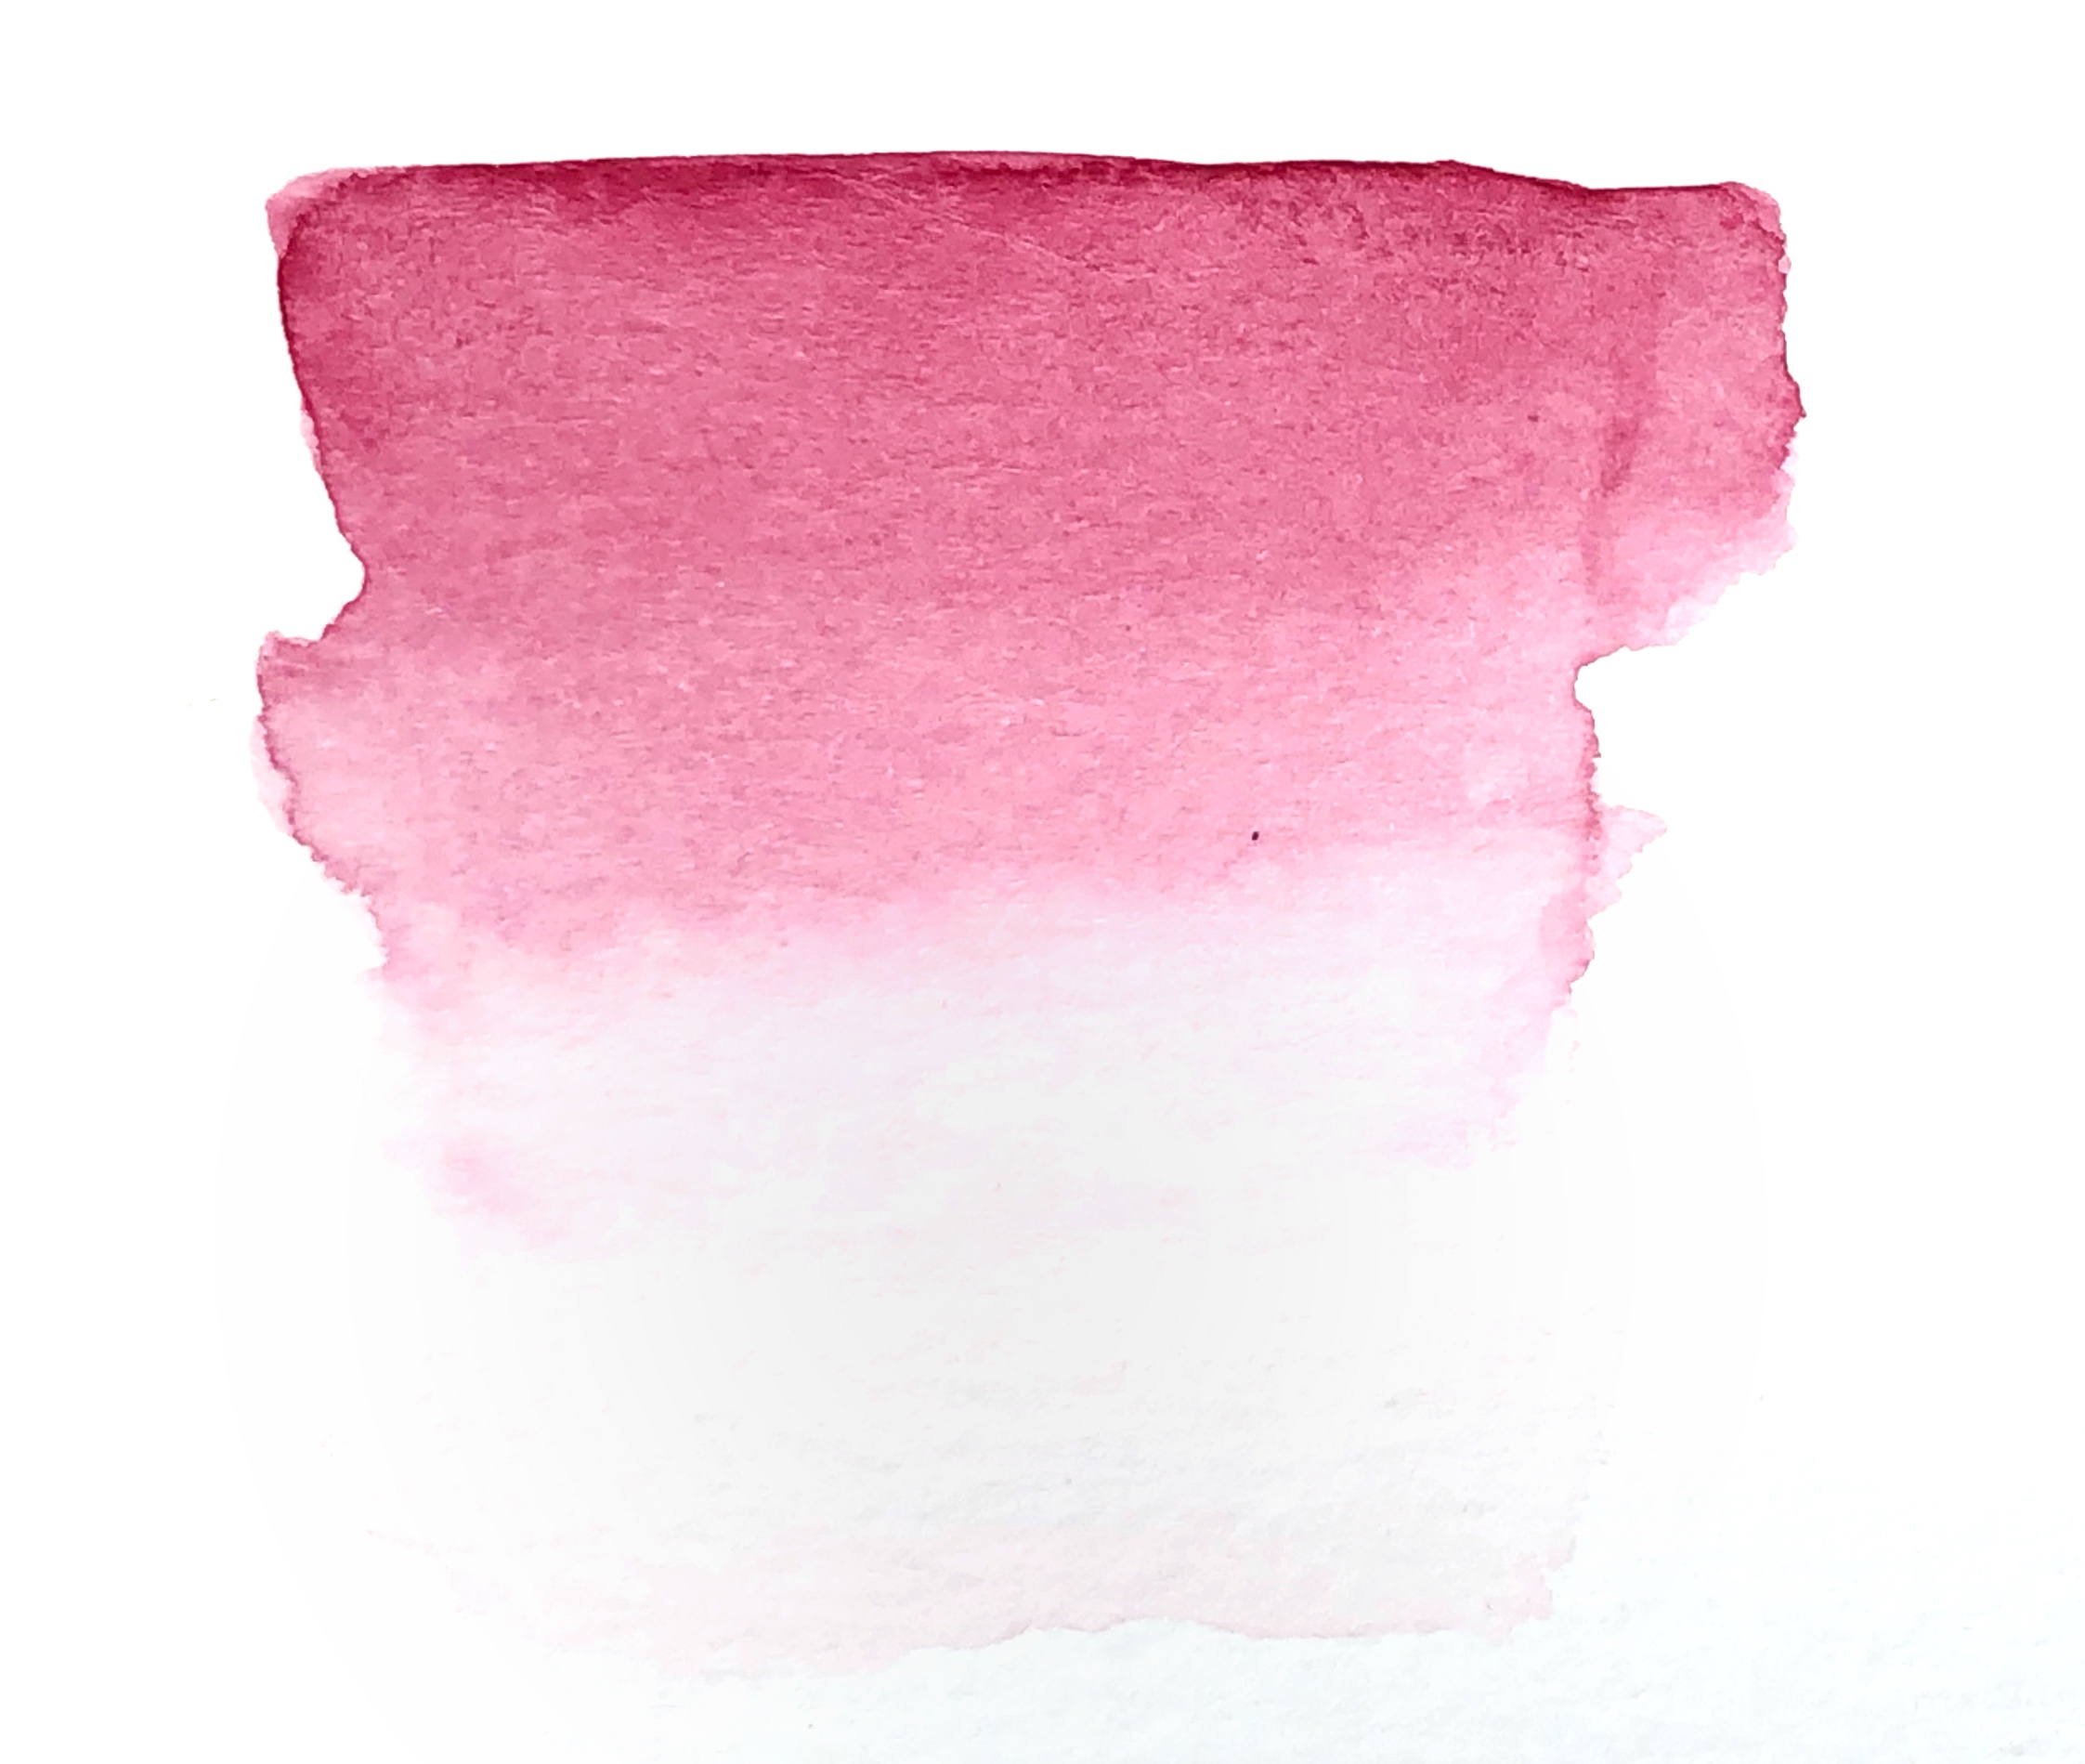
Watercolor Fade Technique
This technique has a few different names, but I like the term ‘fade’. It’s where you add a little wet paint to your dry paper, then rinse your brush and use it to pull the paint down the paper. You can then rinse and repeat until the color is faded completely.

Graduated Wash
A graduated wash can be achieved via wet-on-wet and controlling the spread of paint by tilting the paper or blotting with paper towel. Or you can get this look by similarly to the fade technique but by using more water and rinsing your brush less in between each cross stroke (more of a dip than a rinse).
Glazing
A watercolor glaze is a thin wash applied over dry paint. It’s useful in unifying a painting with a similar color, or if you need to reduce the contrast of an area etc.

Scumbling
Watercolor scumbling is a technique I only learned recently, and it’s great for adding texture — especially to your underpainting. Scumbling is basically scribbling, or loose dots which let some of the paper show through.

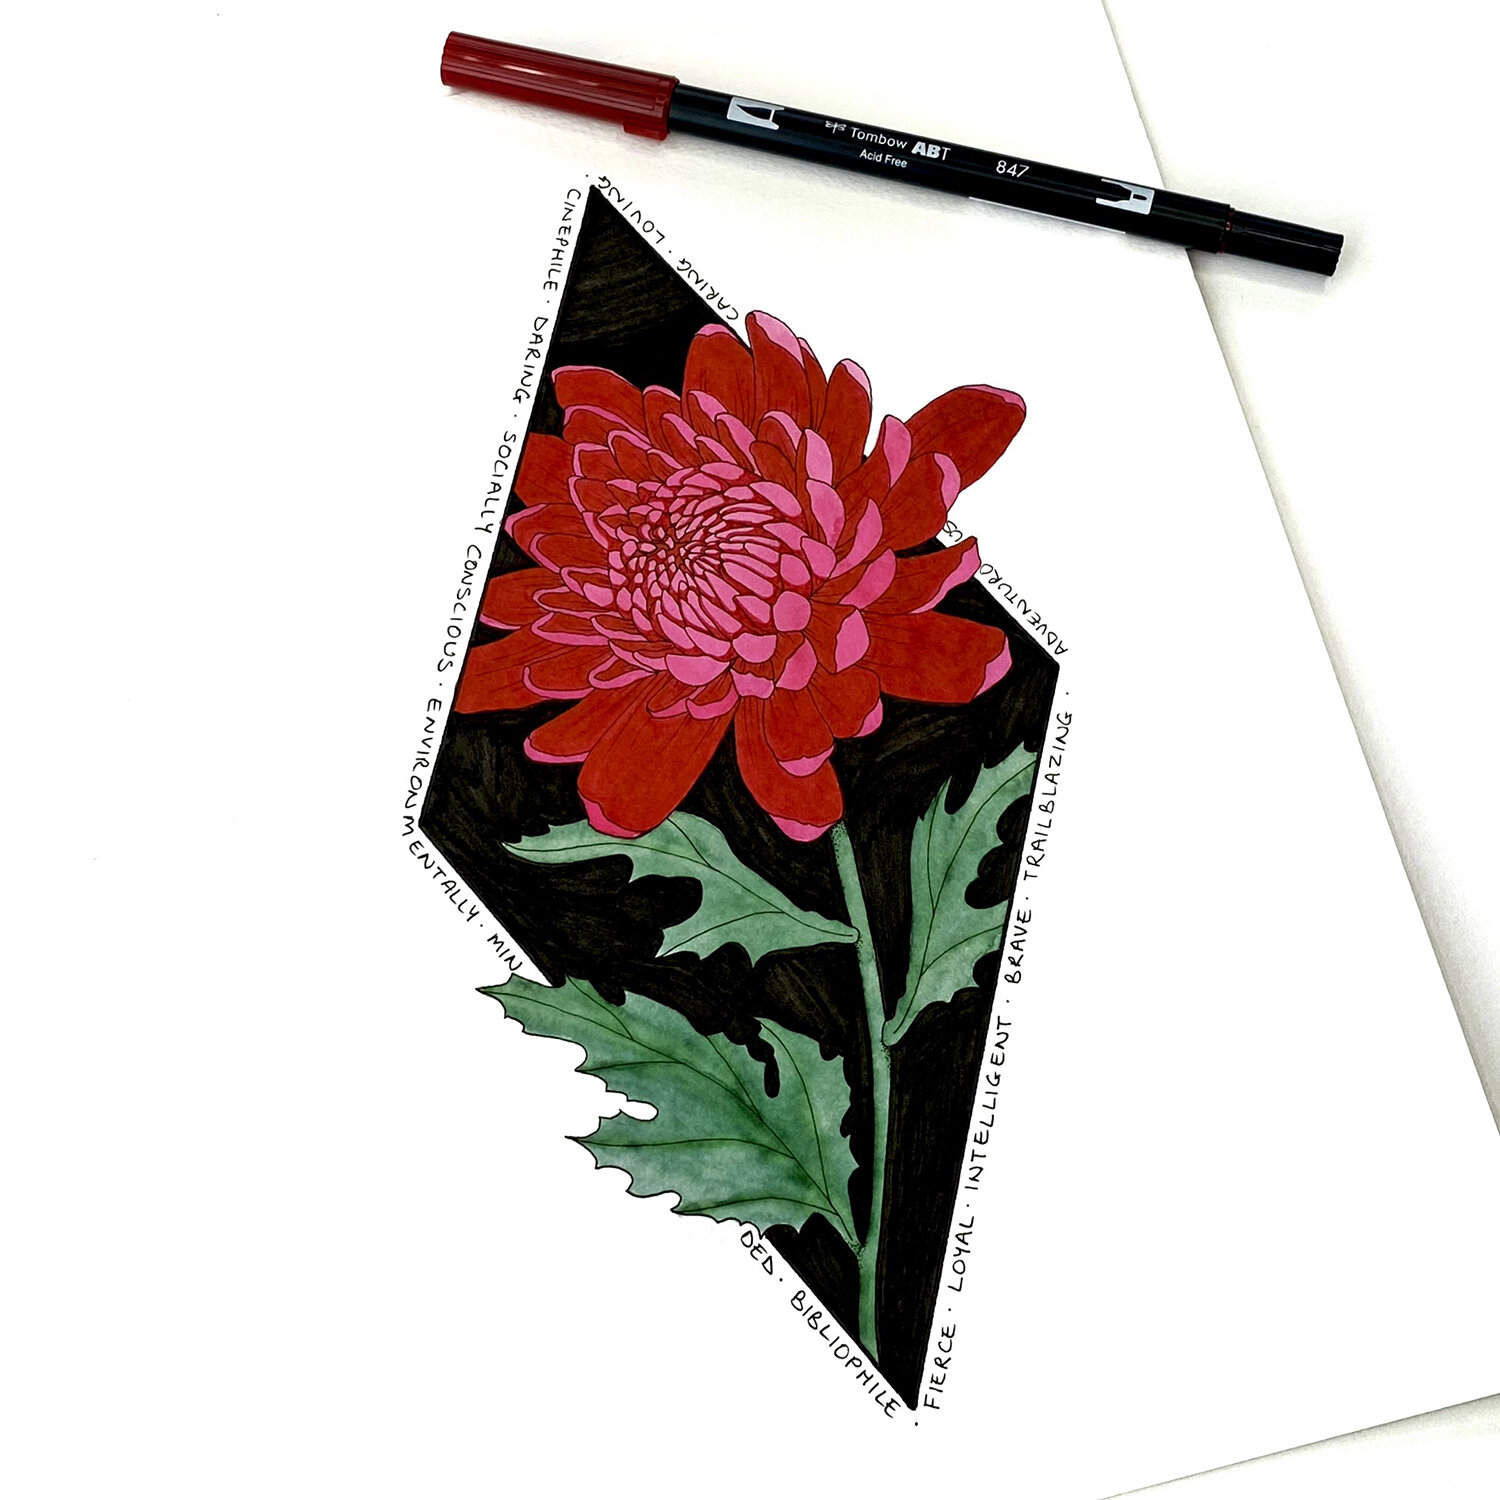
Crosshatching with Watercolor
Most used with pencil or ink, crosshatching can either be a fun or madening watercolor technique. Too wet and it turns into a muddy mess, but just a little bleeding together can make for a very cool effect and give you lots of texture.

Here’s an example of an entire portrait I created using watercolor crosshatching.
Doodling with Watercolor Paint
If you have a fine brush, doodling on a painting can be really fun and is a great way to add some detail or areas of interest.

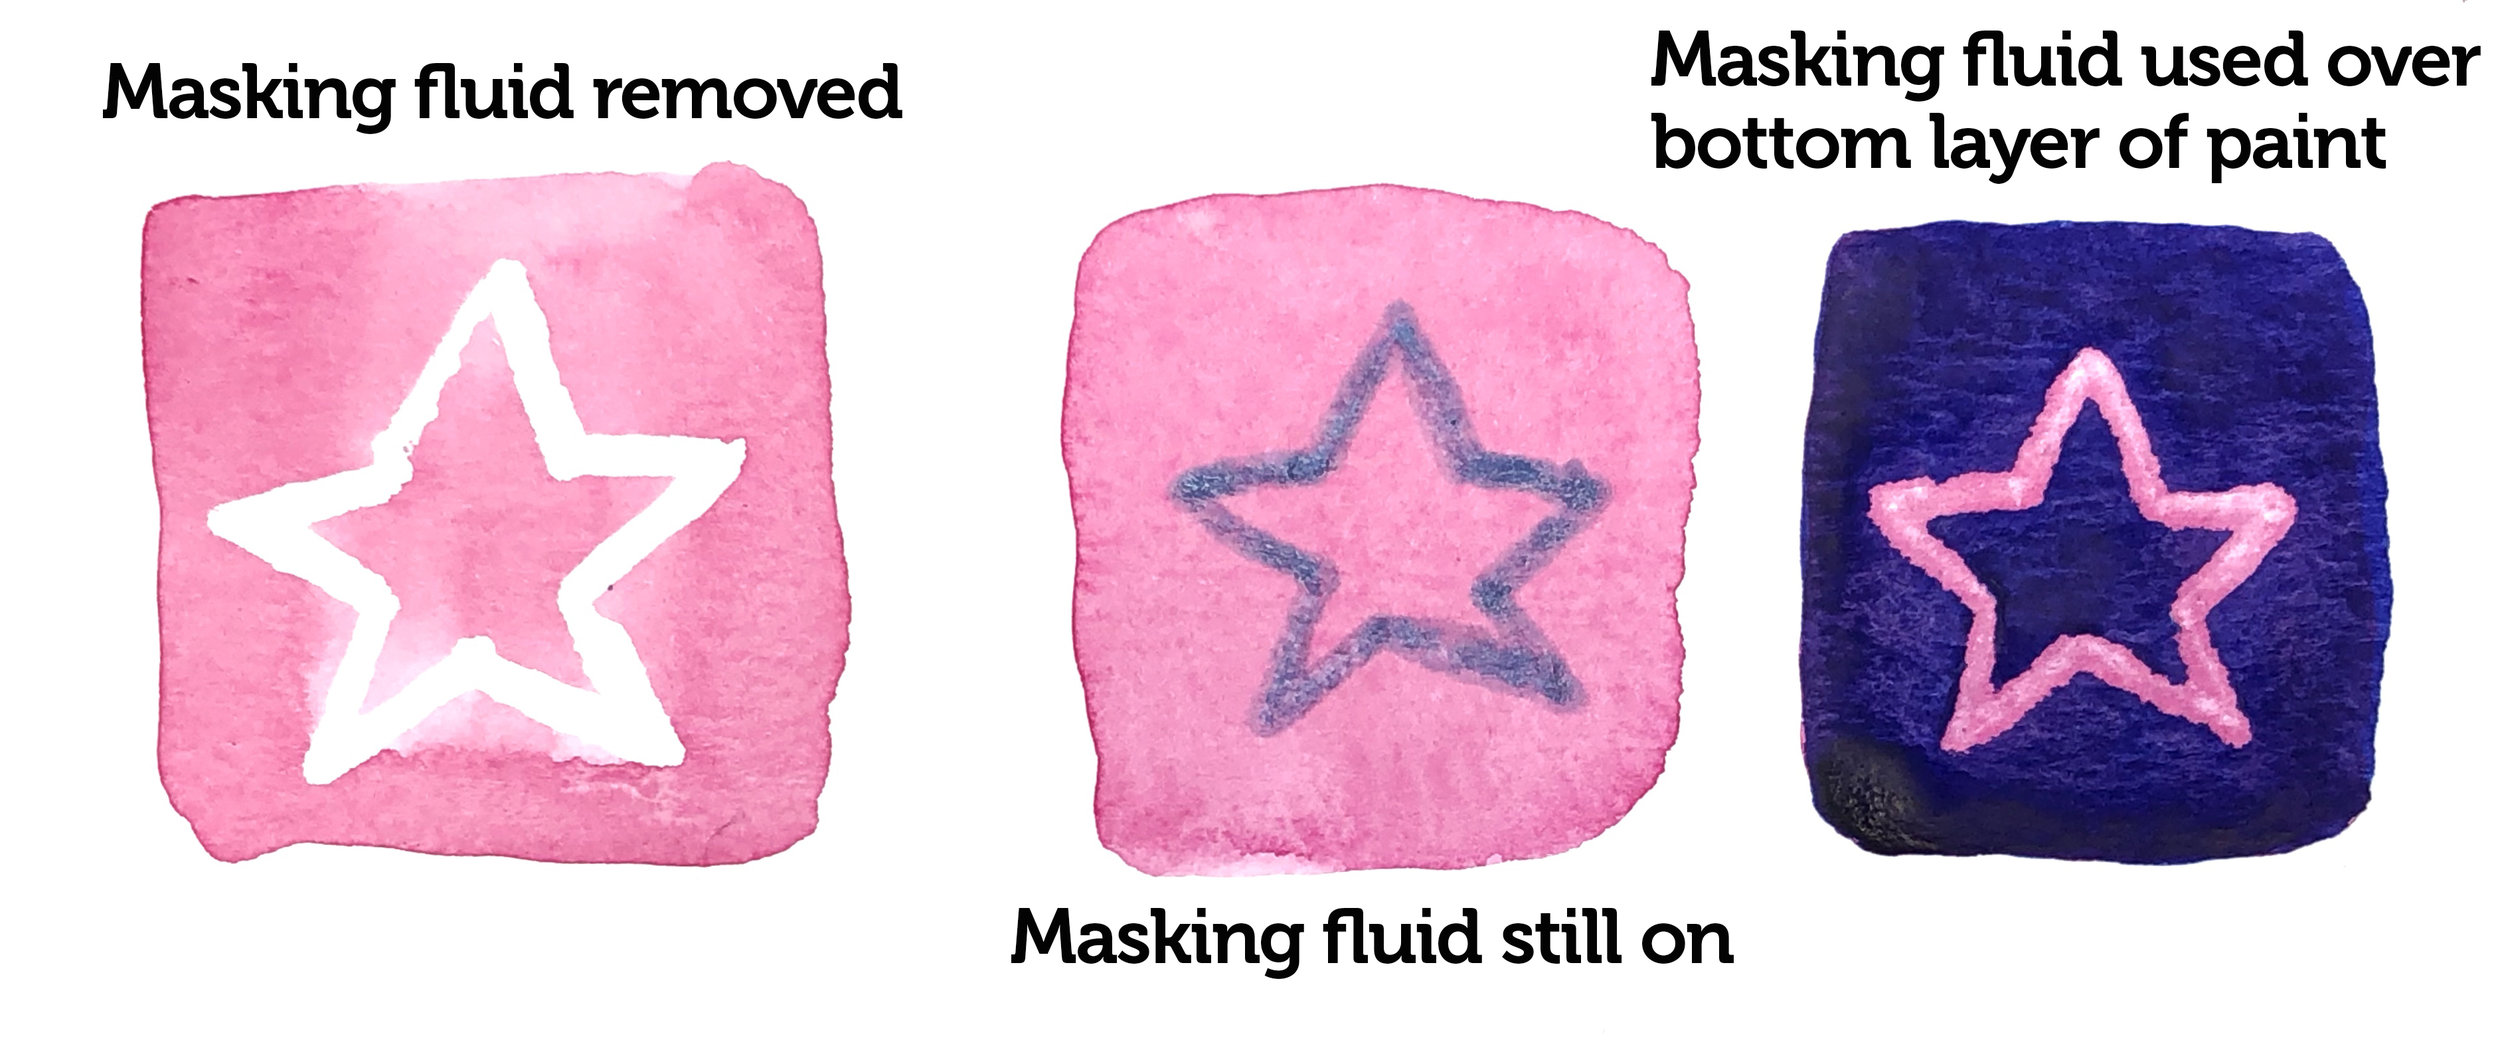
Using Masking Fluid
Masking fluid is a liquid rubber that once dry can be painted over, preserving (masking) the area underneath until it is removed. It’s great for highlights or details you want to keep while applying a wash or big area of color to the rest of your paper. Make sure you dip your brush in soap before you use it with masking fluid, and clean it immediately afterwards or else it will dry and in your brush and ruin it. You can also use masking fluid pens or dip a toothpick into it instead of risking your brushes.
Lifting off
Lifting off is great if you want a lighter area, or you made a mistake. It can be done with a clean dry brush (or paper towel) into almost dry paint, or you can gently use a sand eraser or razor blade to remove areas of dried paint (these last two will damage the paper though and you won’t be able to paint over the top).

I often get asked what brands of watercolor, paper, and brushes I use, so I created a list for you here.