• Book
    • Watercolor with Brush Pens
    • Watercolor Flowers Using Markers
    • Paint a Watercolor Galaxy Butterfly with Markers
    • Paint Watercolor Galaxy Bookmarks using Markers
    • Timelapse Video for Artists
  • Shop
  • Society6 Store
  • Blog
  • Portfolio
  • About
  • Contact
Menu

Brown Paper Bunny Studio

Art & Fashion Illustration
  • Book
  • Classes
    • Watercolor with Brush Pens
    • Watercolor Flowers Using Markers
    • Paint a Watercolor Galaxy Butterfly with Markers
    • Paint Watercolor Galaxy Bookmarks using Markers
    • Timelapse Video for Artists
  • Shop
  • Society6 Store
  • Blog
  • Portfolio
  • About
  • Contact
Cut Out Planner Page by Jessica Mack on BrownPaperBunny

Cut Out Planner Page

August 14, 2019

Today I want to show you a fun way to create a cut-out planner page. To get started you’ll need some Tombow Dual Brush Pens, your planner (I recommend a planner or notebook with nice thick pages like Archer & Olive) and some small sharp scissors.

Cut Out Planner Page by Jessica Mack on BrownPaperBunny

The first step is to use your Dual Brush Pens to draw something along the top of your page. It could be flowers, leaves, stars, puppies...anything!

The key is to leave a space in the top corner big enough to fit a calendar or anything else you’d want to be able to access across multiple pages.

Cut Out Planner Page by Jessica Mack on BrownPaperBunny

Step two is to carefully cut out that corner section that you left blank, and cut around the top of your drawing.

To complete your cut-out planner page, add a calendar (or anything else you’d find useful to have on multiple days) to the cut out section in the top corner. Then fill in the rest of your page with days of the week, to-do lists etc. and you’re all done!

Cut Out Planner Page by Jessica Mack on BrownPaperBunny

On future days you can draw something completely different, just make sure the cut-out area lines up with the one you’ve already made.

—————

Please note: This blog post contains affiliate links, which help pay for the upkeep of this site. That being said, I will never, ever promote anything I am not 100% in love with!
In Illustrations, Ink, May 2019, Tutorial
Comment
Exclusive Tombow Dual Brush Pen Packs for Michael's by Jessica Mack of BrownPaperBunny

Exclusive Tombow Dual Brush Pen Packs for Michael's

August 12, 2019

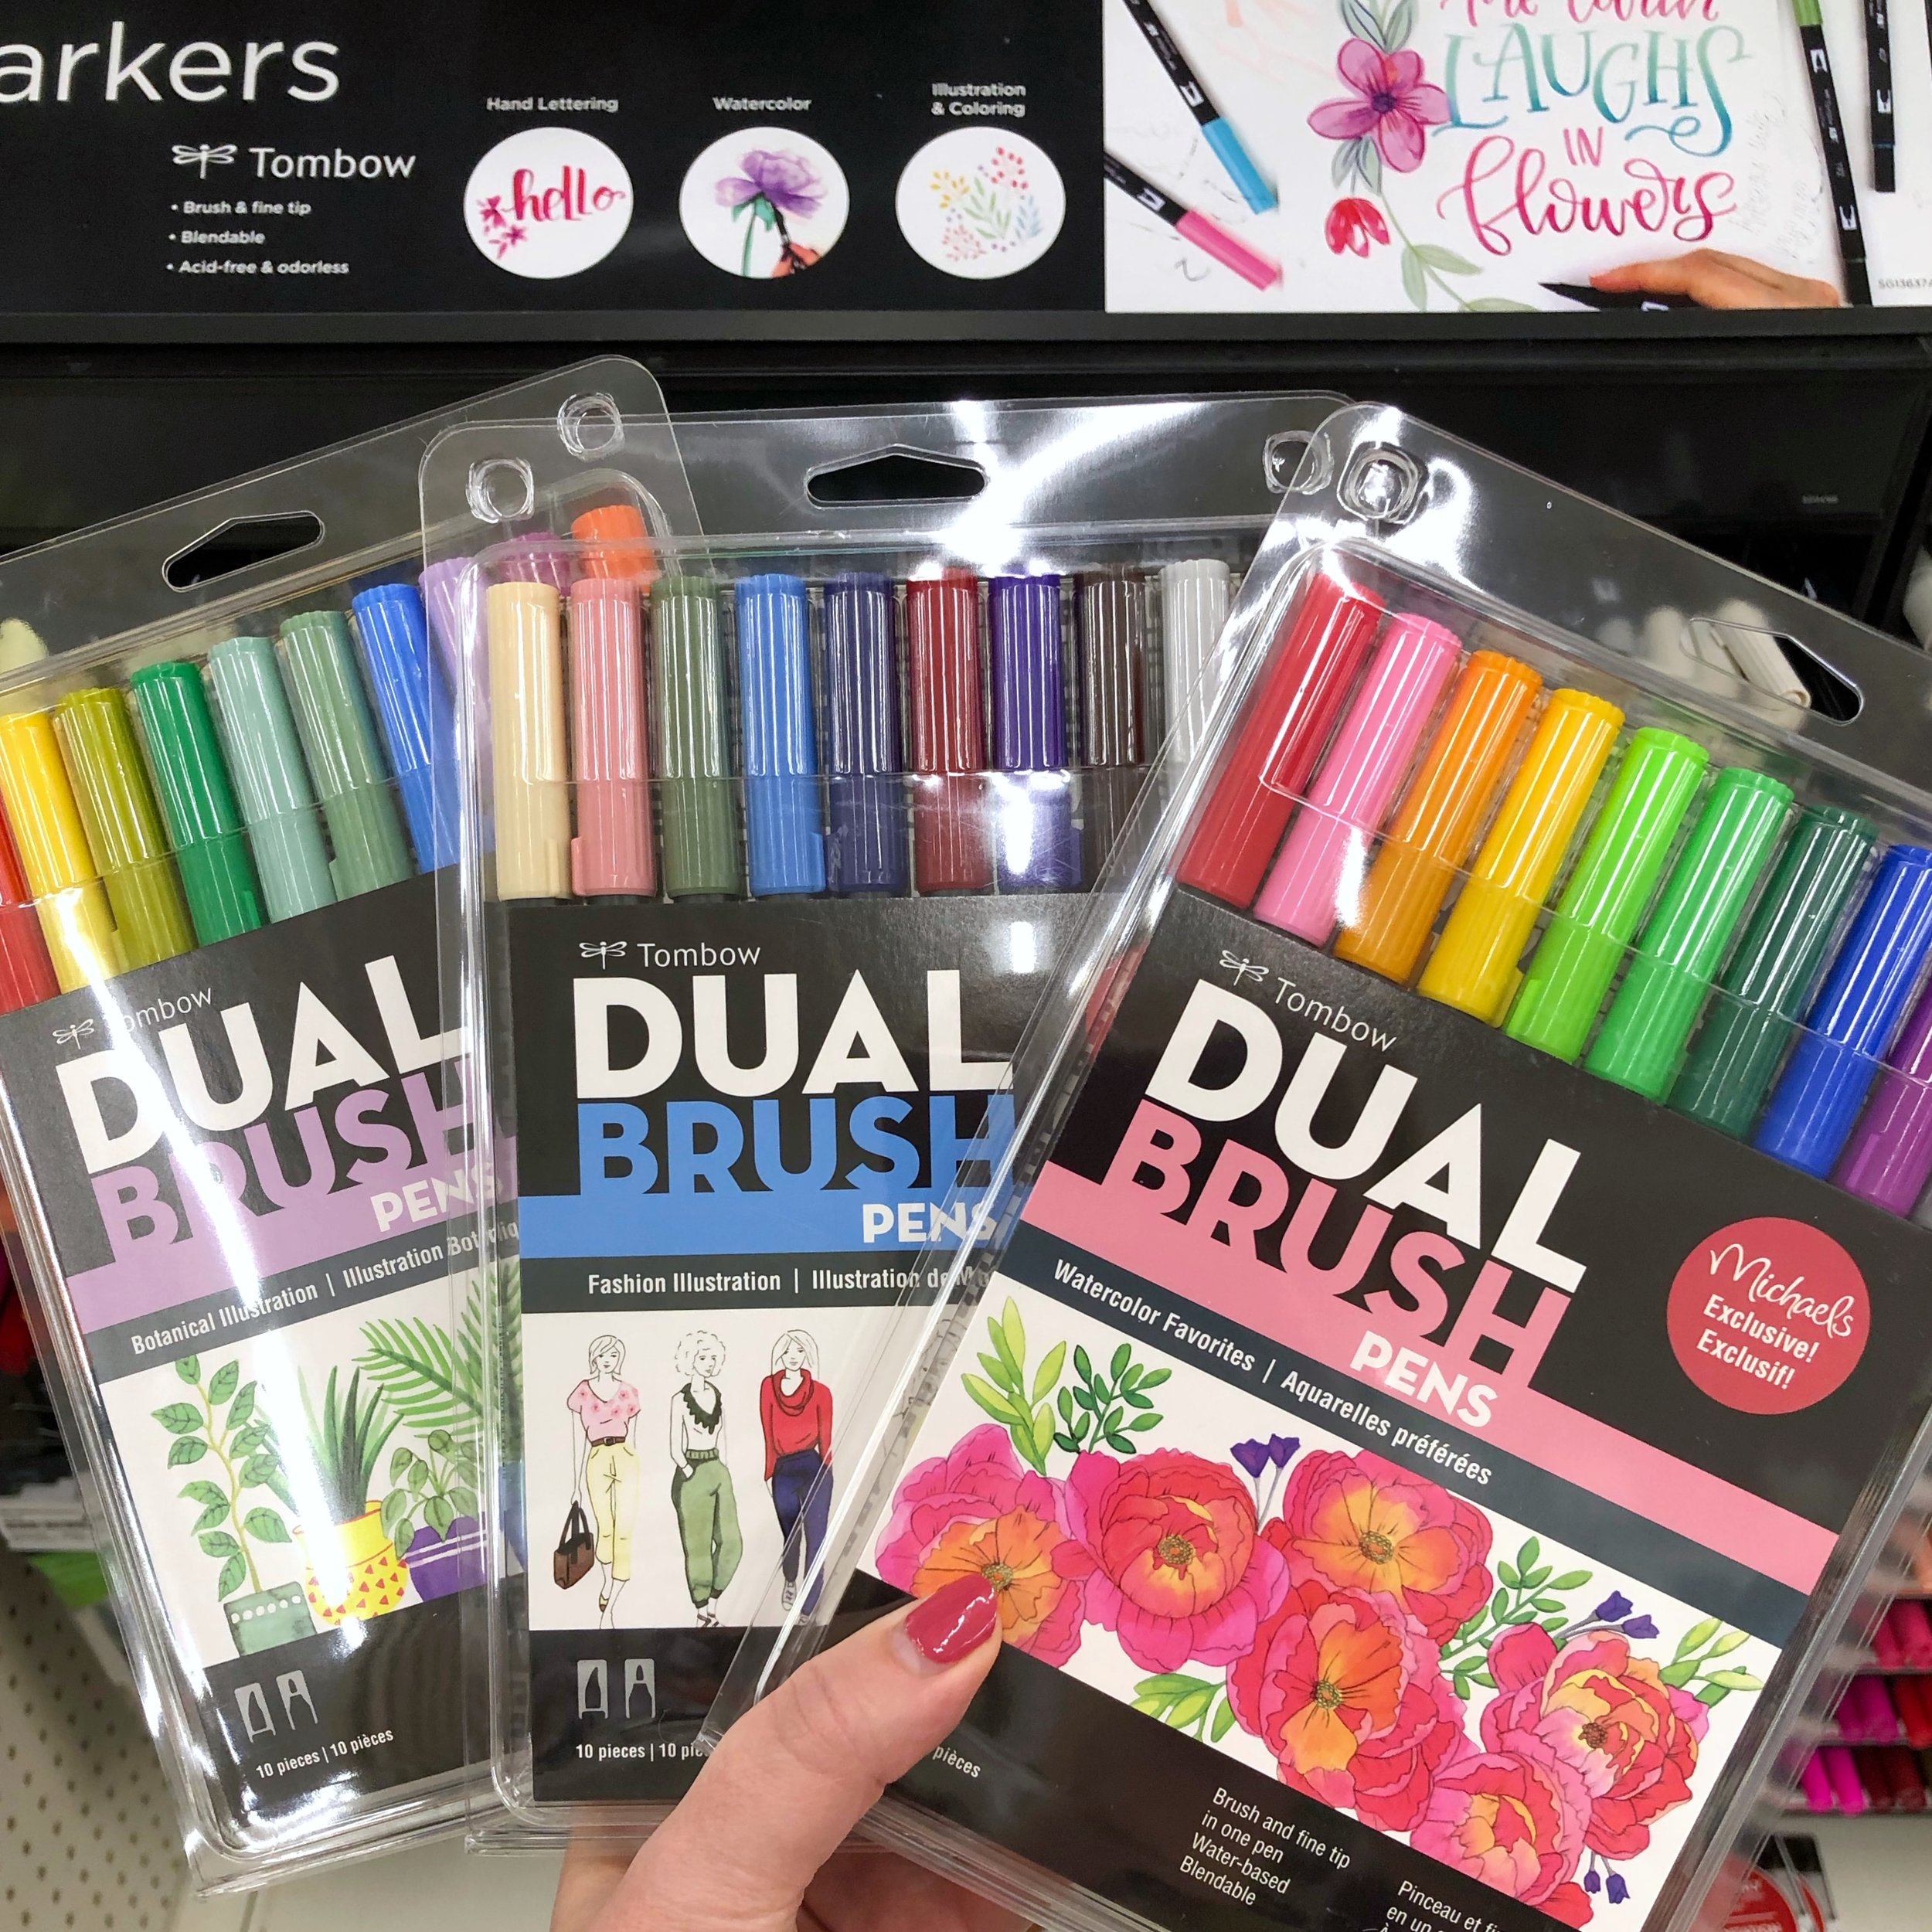
A while back I worked with Tombow on some Dual Brush Pen packs, exclusive to Michaels Stores.

There is a Botanical Illustration, a Fashion Illustration, and a Watercolor Favorite's pack that are available now! I've been dying to share this project with you, but was waiting for them to show up in stores first!

Exclusive Tombow Dual Brush Pen Packs for Michael's by Jessica Mack of BrownPaperBunny

I worked on the packaging artwork and layout, and even helped select the colors for the fashion illustration pack. I also put together promotional artwork and videos.

Exclusive Tombow Dual Brush Pen Packs for Michael's by Jessica Mack of BrownPaperBunny

It’s no secret that I love Tombow Dual Brush Pens, so being part of this project was such a wonderful experience!

In Fashion Illustration, Illustrations, Ink, May 2019, Watercolor
5 Comments
Create a BuJo Book Tracker by Jessica Mack of BrownPaperBunny

Create a BuJo Book Tracker

July 28, 2019

Please note: This blog post contains affiliate links, which help pay for the upkeep of this site. That being said, I will never, ever promote anything I am not 100% in love with!

----------

This year I challenged myself to read more, a lot more. Setting goals and keeping track of the books I've read has really helped keep me motivated and organized. Last year I read a total of 12 books, so far this year I've read 48 and we're only half-way through! Here's how you can create a book tracker for yourself.

Supplies:

  • Tombow Dual Brush Pens

  • Notebook (mine is from Archer & Olive)

  • Tombow MONO Twin Permanent Marker

  • Tombow MONO Drawing Pens

Create a BuJo Book Tracker by Jessica Mack of BrownPaperBunny

Step 1: Draw Your Book Outlines

Add a title to the top of your notebook page, then, using the smallest tip on your MONO Twin Permanent Marker draw some book outlines underneath. Add some page lines as details. Make sure to leave three areas to write the title, author and your rating on each book. I like to draw at least one or two more blank books than I'll think I'll be able to read, to push myself a little. Tip: The MONO Twin Permanent Marker can be used under Tombow Dual Brush Pens, or watercolor and it won't bleed or smudge.

Create a BuJo Book Tracker by Jessica Mack of BrownPaperBunny

Step 2: Populate Your Book Tracker

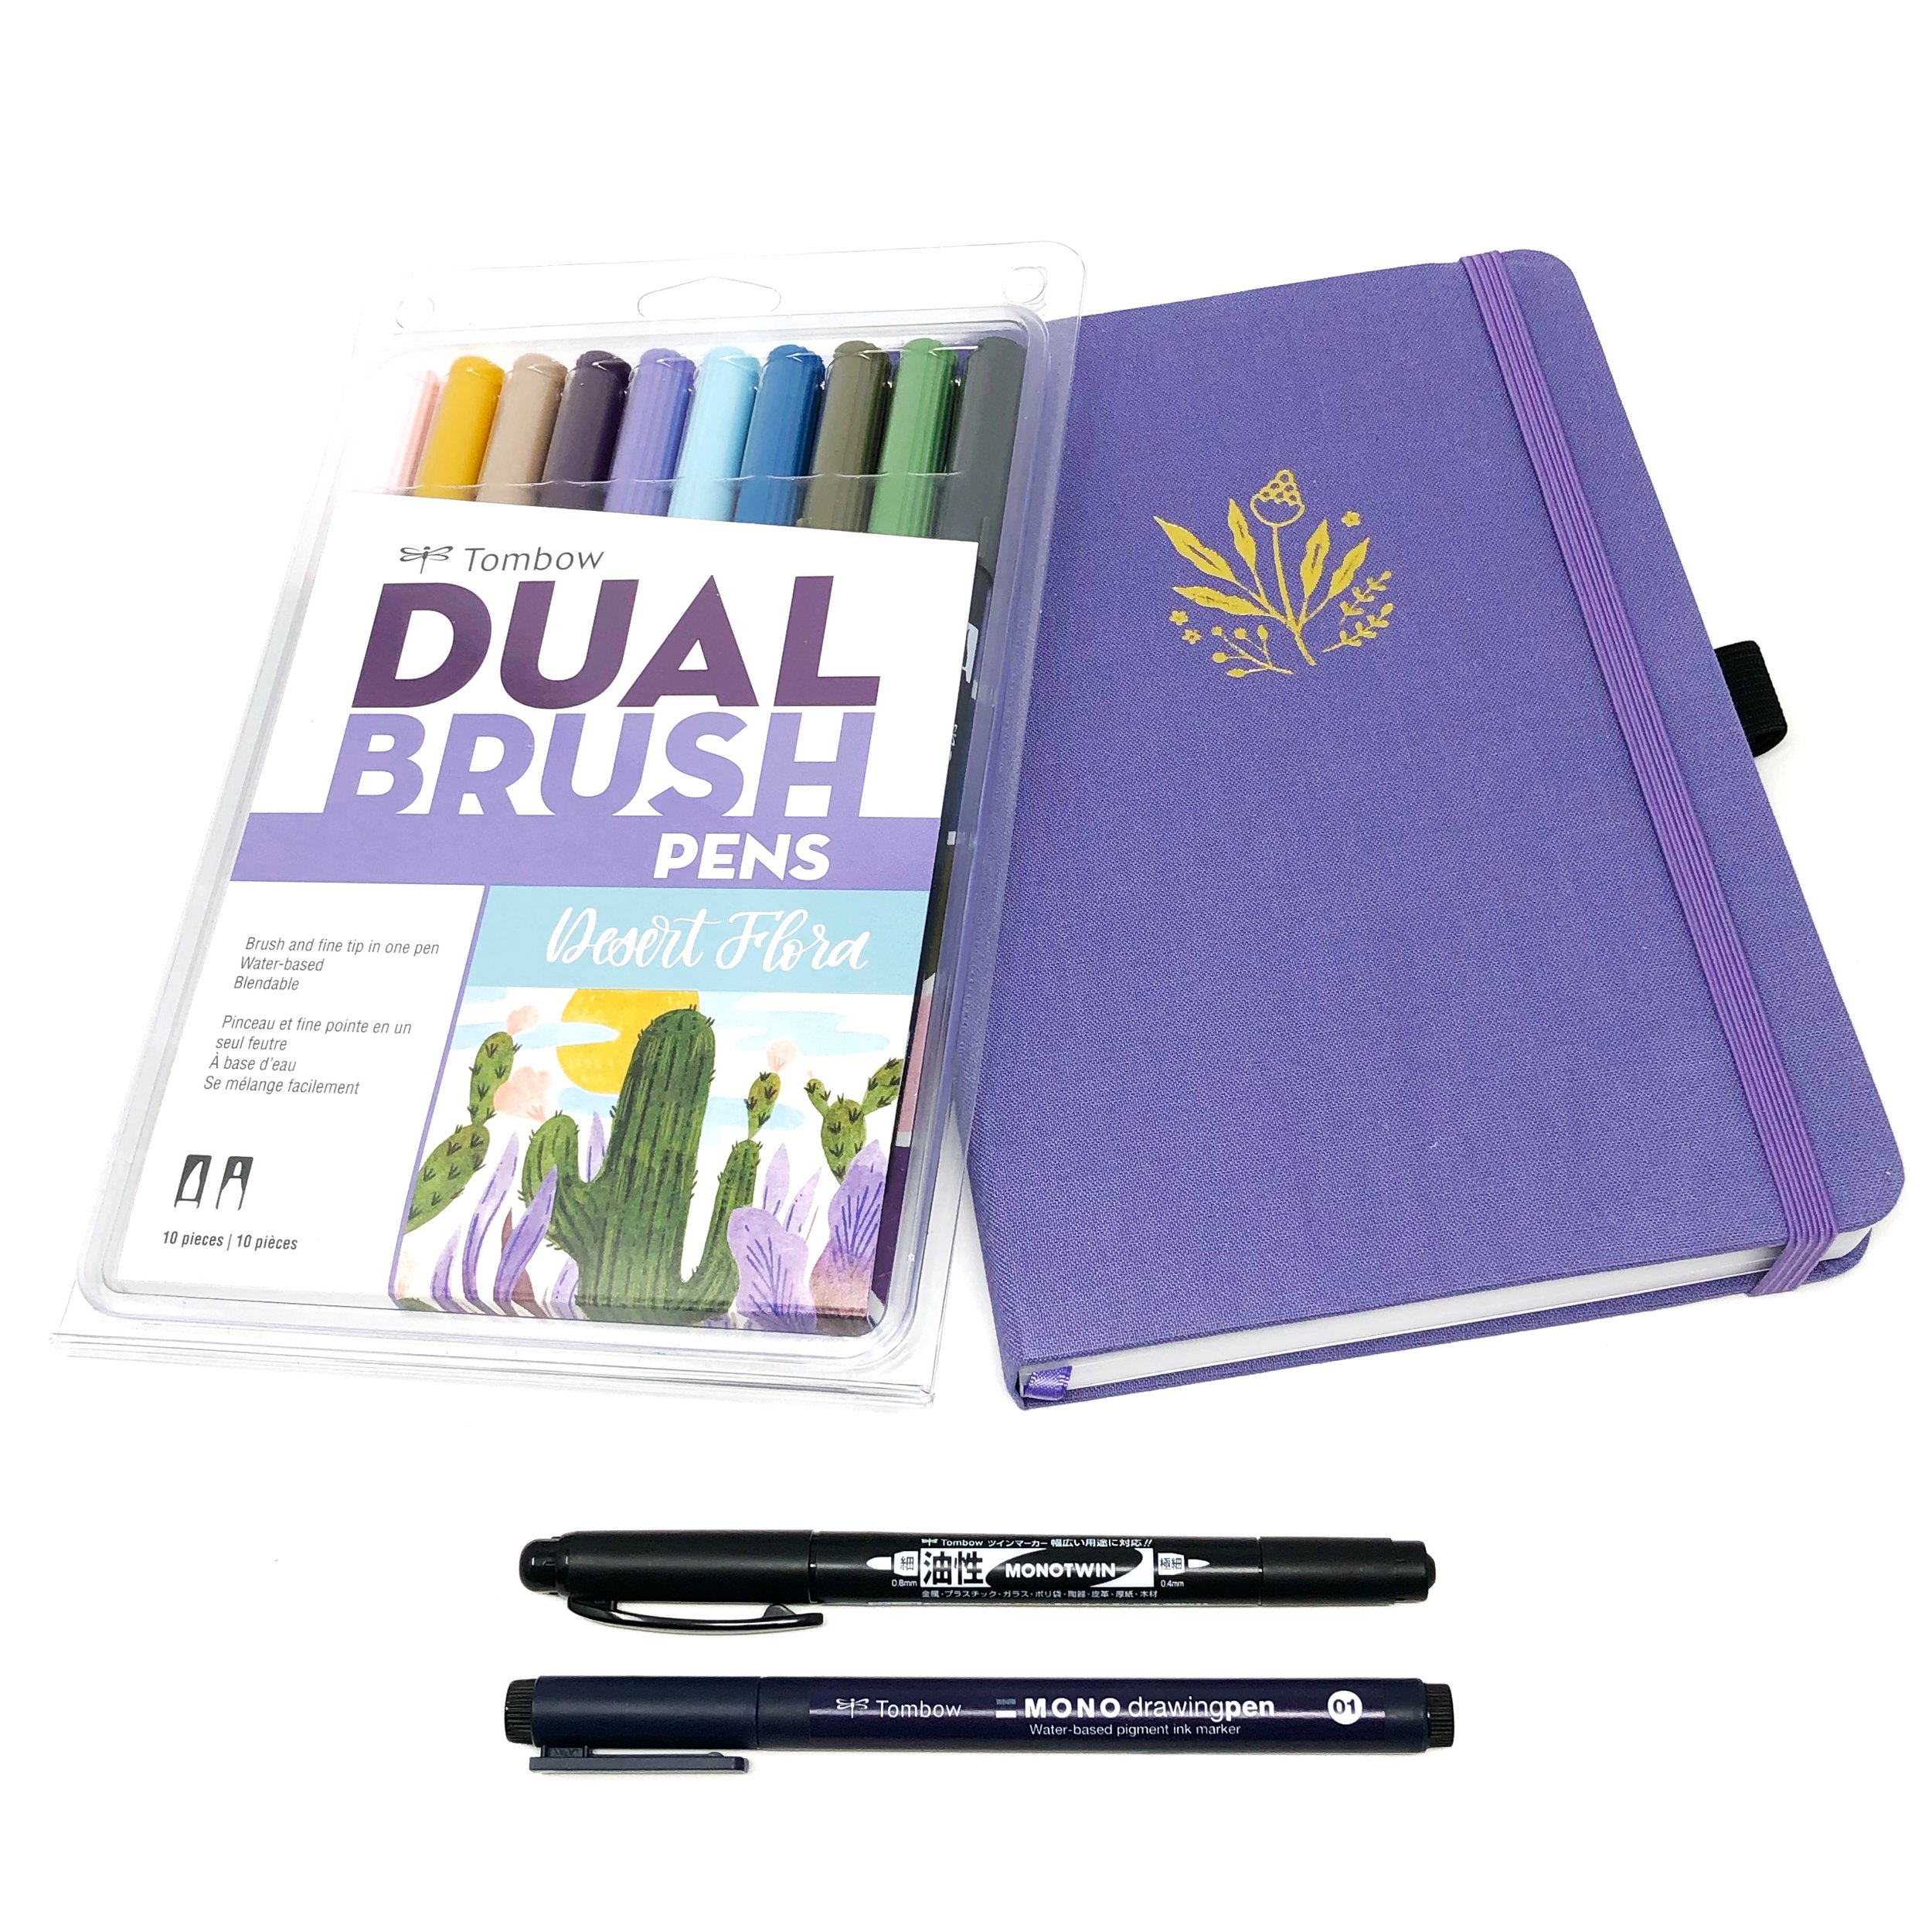
As you finish each book, add some color to the book cover and page details with your Dual Brush pens. I'm using Dual Brush Pens from the Desert Flora palette but you can use any colors you like. The next step is to use your MONO Drawing Pens to write in the title, author and either a rating or a few words about the book.

Create a BuJo Book Tracker by Jessica Mack of BrownPaperBunny

Step 3: Read and Repeat!

Not only will your book tracker push you to read more, but months or years from now you'll be able to flip back through and be reminded of the books you've read and what you thought of them! I'd love to see your book tracker and hear about your latest great read, so tag @TombowUSA and @BrownPaperBunny on social media!

In Illustrations, Ink, May 2019, Tutorial, Type
6 Comments
How to Make a Repeat Pattern on Paper by Jessica Mack of BrownPaperBunny

How to Make a Repeat Pattern on Paper

July 15, 2019

Please note: This blog post contains affiliate links, which help pay for the upkeep of this site. That being said, I will never, ever promote anything I am not 100% in love with!

----------

Today I’m going to show you how to turn the cactus emoji into a repeat pattern on paper. The cactus emoji is one of my personal favorites, and it's so simple to draw that you'll easily be able to do it over and over to get a repeating pattern. Here's what you'll need to get started.

Supplies:

  • Tombow Dual Brush Pens

  • Watercolor Paper

  • Tombow Water Brush

  • Scissors

  • Tape

  • A Phone, Camera, or Scanner 

How to Make a Repeat Pattern on Paper by Jessica Mack of BrownPaperBunny

Step 1: Draw Your Cactus

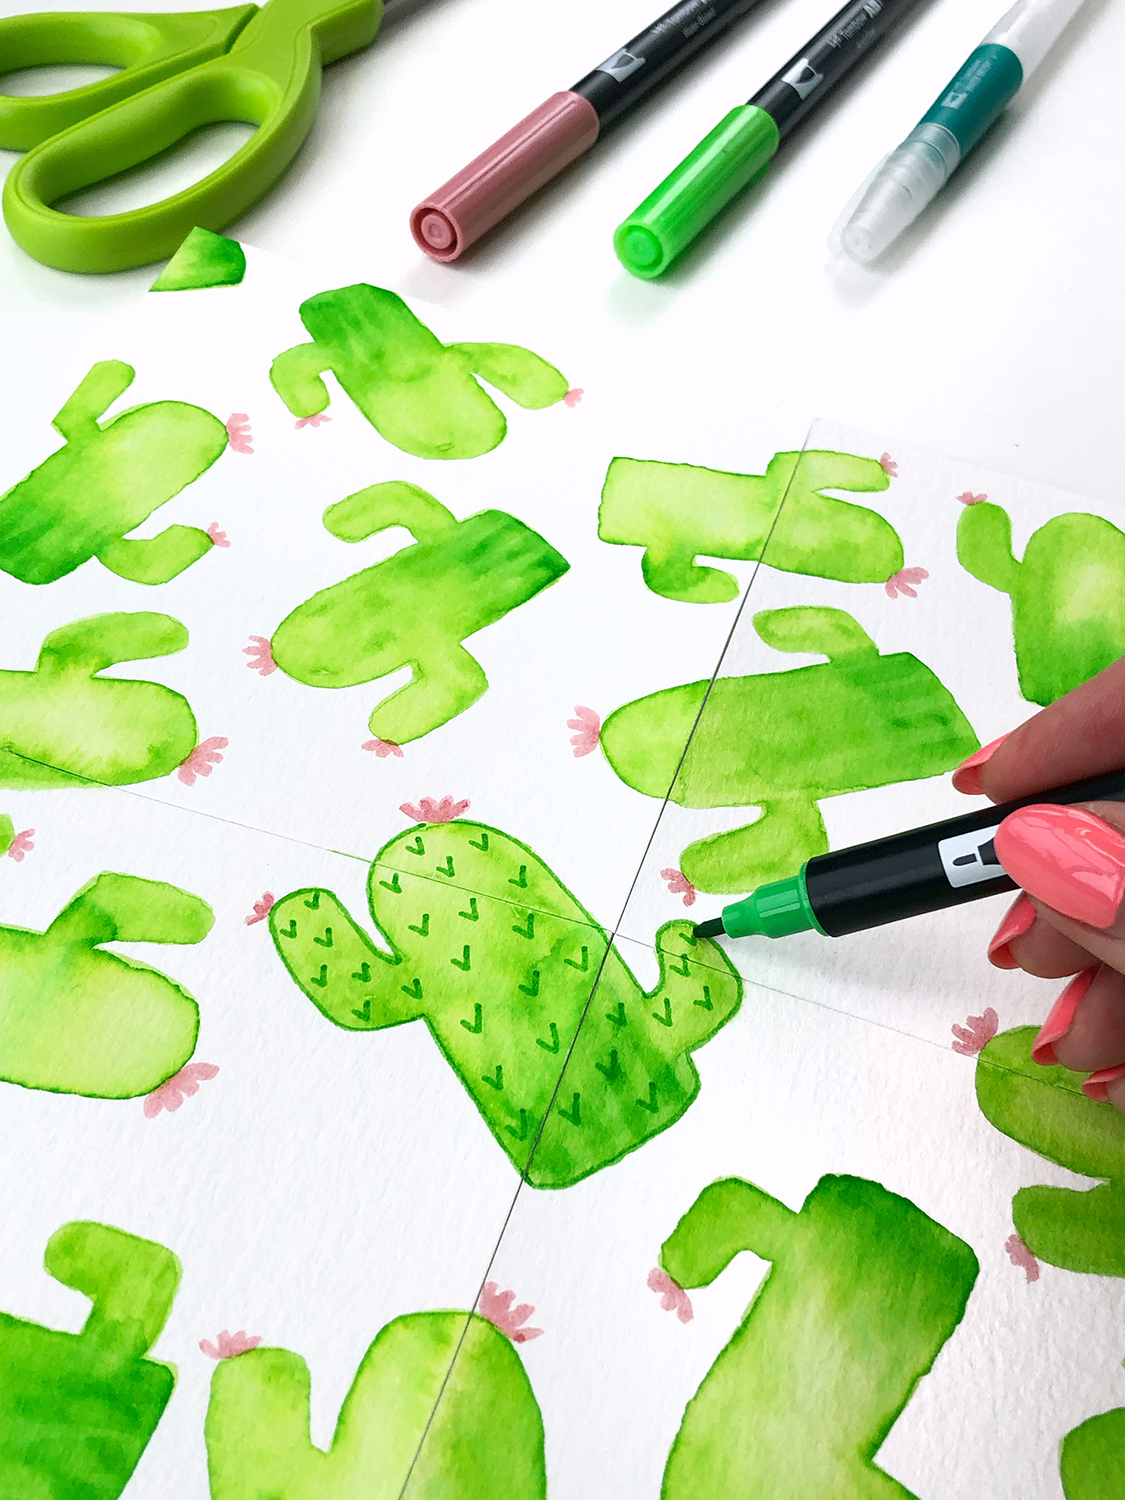
Starting in the middle of your watercolor paper, draw cactus emojis facing in different directions. I used Dual Brush Pen 173 for the first layer, but you can use any color you like. Then use a darker color (I used 195) to draw some lines at the bottom of each cactus, before using your Tombow Water Brush to blend the ink together. Leave white space around the outside edges of the paper, we'll fill those in later.

How to Make a Repeat Pattern on Paper by Jessica Mack of BrownPaperBunny

Step 2: Cut Your Paper in Quarters

Once the ink is dry on your cactus emojis, cut your paper into four even quarters. Be sure to get the measurements exact or your repeat pattern won't work at the end. To prepare for the next step it helps to put a small number on the back of each quarter in case they get mixed up.

How to Make a Repeat Pattern on Paper by Jessica Mack of BrownPaperBunny

Step 3: Shift Each Quarter

This bit seems a bit tricky but just follow the numbers if you get confused. Move your top two quarters to the bottom, then move your left two quarters to the right side. Here's what you'll end up with. All of your cacti should be around the outsides and the middle of your paper should be blank.

How to Make a Repeat Pattern on Paper by Jessica Mack of BrownPaperBunny

Step 4: Tape Everything Back Together

Carefully turn over your drawing, making sure the quarters stay in the same order. Line up the edges and tape it back together.

How to Make a Repeat Pattern on Paper by Jessica Mack of BrownPaperBunny

Step 5: Fill in the Middle

Using the same technique as in Step 1, draw more cacti to fill in the middle space of your paper.

How to Make a Repeat Pattern on Paper by Jessica Mack of BrownPaperBunny

Step 6: Add Extra Details

This step is optional, but if you'd like to make your cacti look a little fancier, use the bullet tips on your Dual Brush Pens to add some small details. Cactus needles, flowers etc.

How to Make a Repeat Pattern on Paper by Jessica Mack of BrownPaperBunny

Step 7: Photograph or Scan

Using your phone, camera or scanner, digitize your repeat pattern tile. If you're taking a photo make sure you've got good, bright lighting. Adjust the brightness until the cut marks are minimized.

Step 8: Put it on Everything

You can frame your finished artwork, or upload the digital copy to any number of web services that will let you put it on mugs, t-shirts, throw cushions, rugs and more! Here are just a few examples I made, using Society6.

How to Make a Repeat Pattern on Paper by Jessica Mack of BrownPaperBunny

I’d love to see what you make, tag @BrownPaperBunny on social media!


In Illustrations, Ink, May 2019, Pattern, Tutorial, Watercolor
9 Comments
Paint a Watercolor Peach with markers. By Jessica Mack of BrownPaperBunny.

Paint a Watercolor Peach

June 30, 2019

Please note: This blog post contains affiliate links, which help pay for the upkeep of this site. That being said, I will never, ever promote anything I am not 100% in love with!

----------

Today I'm going to show you how to use Dual Brush Pens to paint a watercolor peach that you can use on recipe cards, greeting cards, or in your planner or art journal. Here's what you'll need to get started.

Watercolor Peach Supplies:

  • Tombow Dual Brush Pens

  • Watercolor Paper

  • Tombow Water Brush

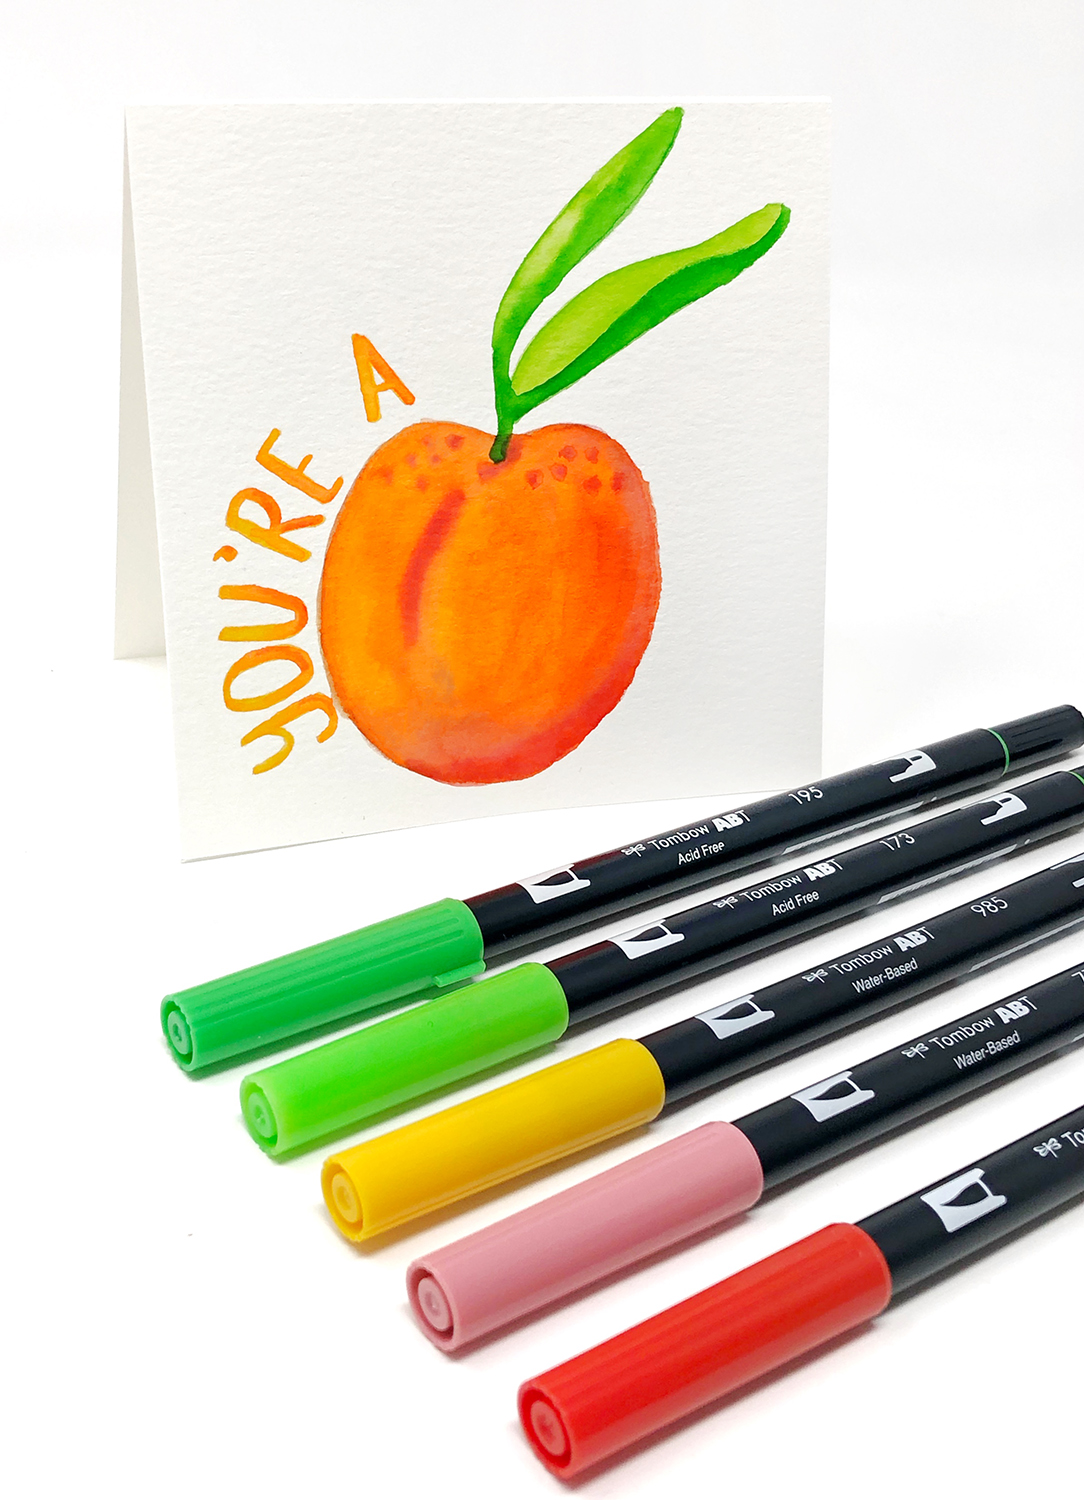
You can choose whichever Dual Brush Colors you like, but for this project I used 772, 885, and 985 for the peach and 173 and 195 for the leaves.

Paint a Watercolor Peach with markers. By Jessica Mack of BrownPaperBunny.

Step 1: Draw Your Peach

Use your first color to draw a rough peach shape. The pink I'm using here is 772.

Paint a Watercolor Peach with markers. By Jessica Mack of BrownPaperBunny.

Step 2: Color Your Peach

Use your other colors (I'm using 985 and 885 here) to fill in the rest of your peach shape. There's no need to be precise with this stage because you're going to blend the colors together in the next step.

Paint a Watercolor Peach with markers. By Jessica Mack of BrownPaperBunny.

Step 3: Blend With Water

Use your Tombow Water Brush to blend the colors together on your watercolor peach. I like to start with the lighter color and then move over to the darker shades. Keep blending gently until you have a result you like, but don't scrub too much because the paper becomes more fragile when it's wet.

Paint a Watercolor Peach with markers. By Jessica Mack of BrownPaperBunny.

Step 4: Draw the Leaves

Use your lightest green shade to draw in a long, skinny peach leaf. Then use the water brush to go over it and blend the ink together.

Paint a Watercolor Peach with Markers. By Jessica Mack of BrownPaperBunny.

Step 5: Add Details to Your Watercolor Peach

Once your peach and leaves are dry you can add details with the bullet tip end of your Dual Brush Pens.

Paint a Watercolor Peach with Markers. By Jessica Mack of BrownPaperBunny.

Voila, you've got a fun watercolor peach which you can turn into a greeting card, use on a recipe card, in your planner etc.

Paint a Watercolor Peach with Markers. By Jessica Mack of BrownPaperBunny.
In Illustrations, Ink, May 2019, Tutorial, Watercolor
Comment
Fashion Illustration Inspired by Food. By Jessica Mack of BrownPaperBunny.

Fashion Illustrations Inspired by Food

June 17, 2019

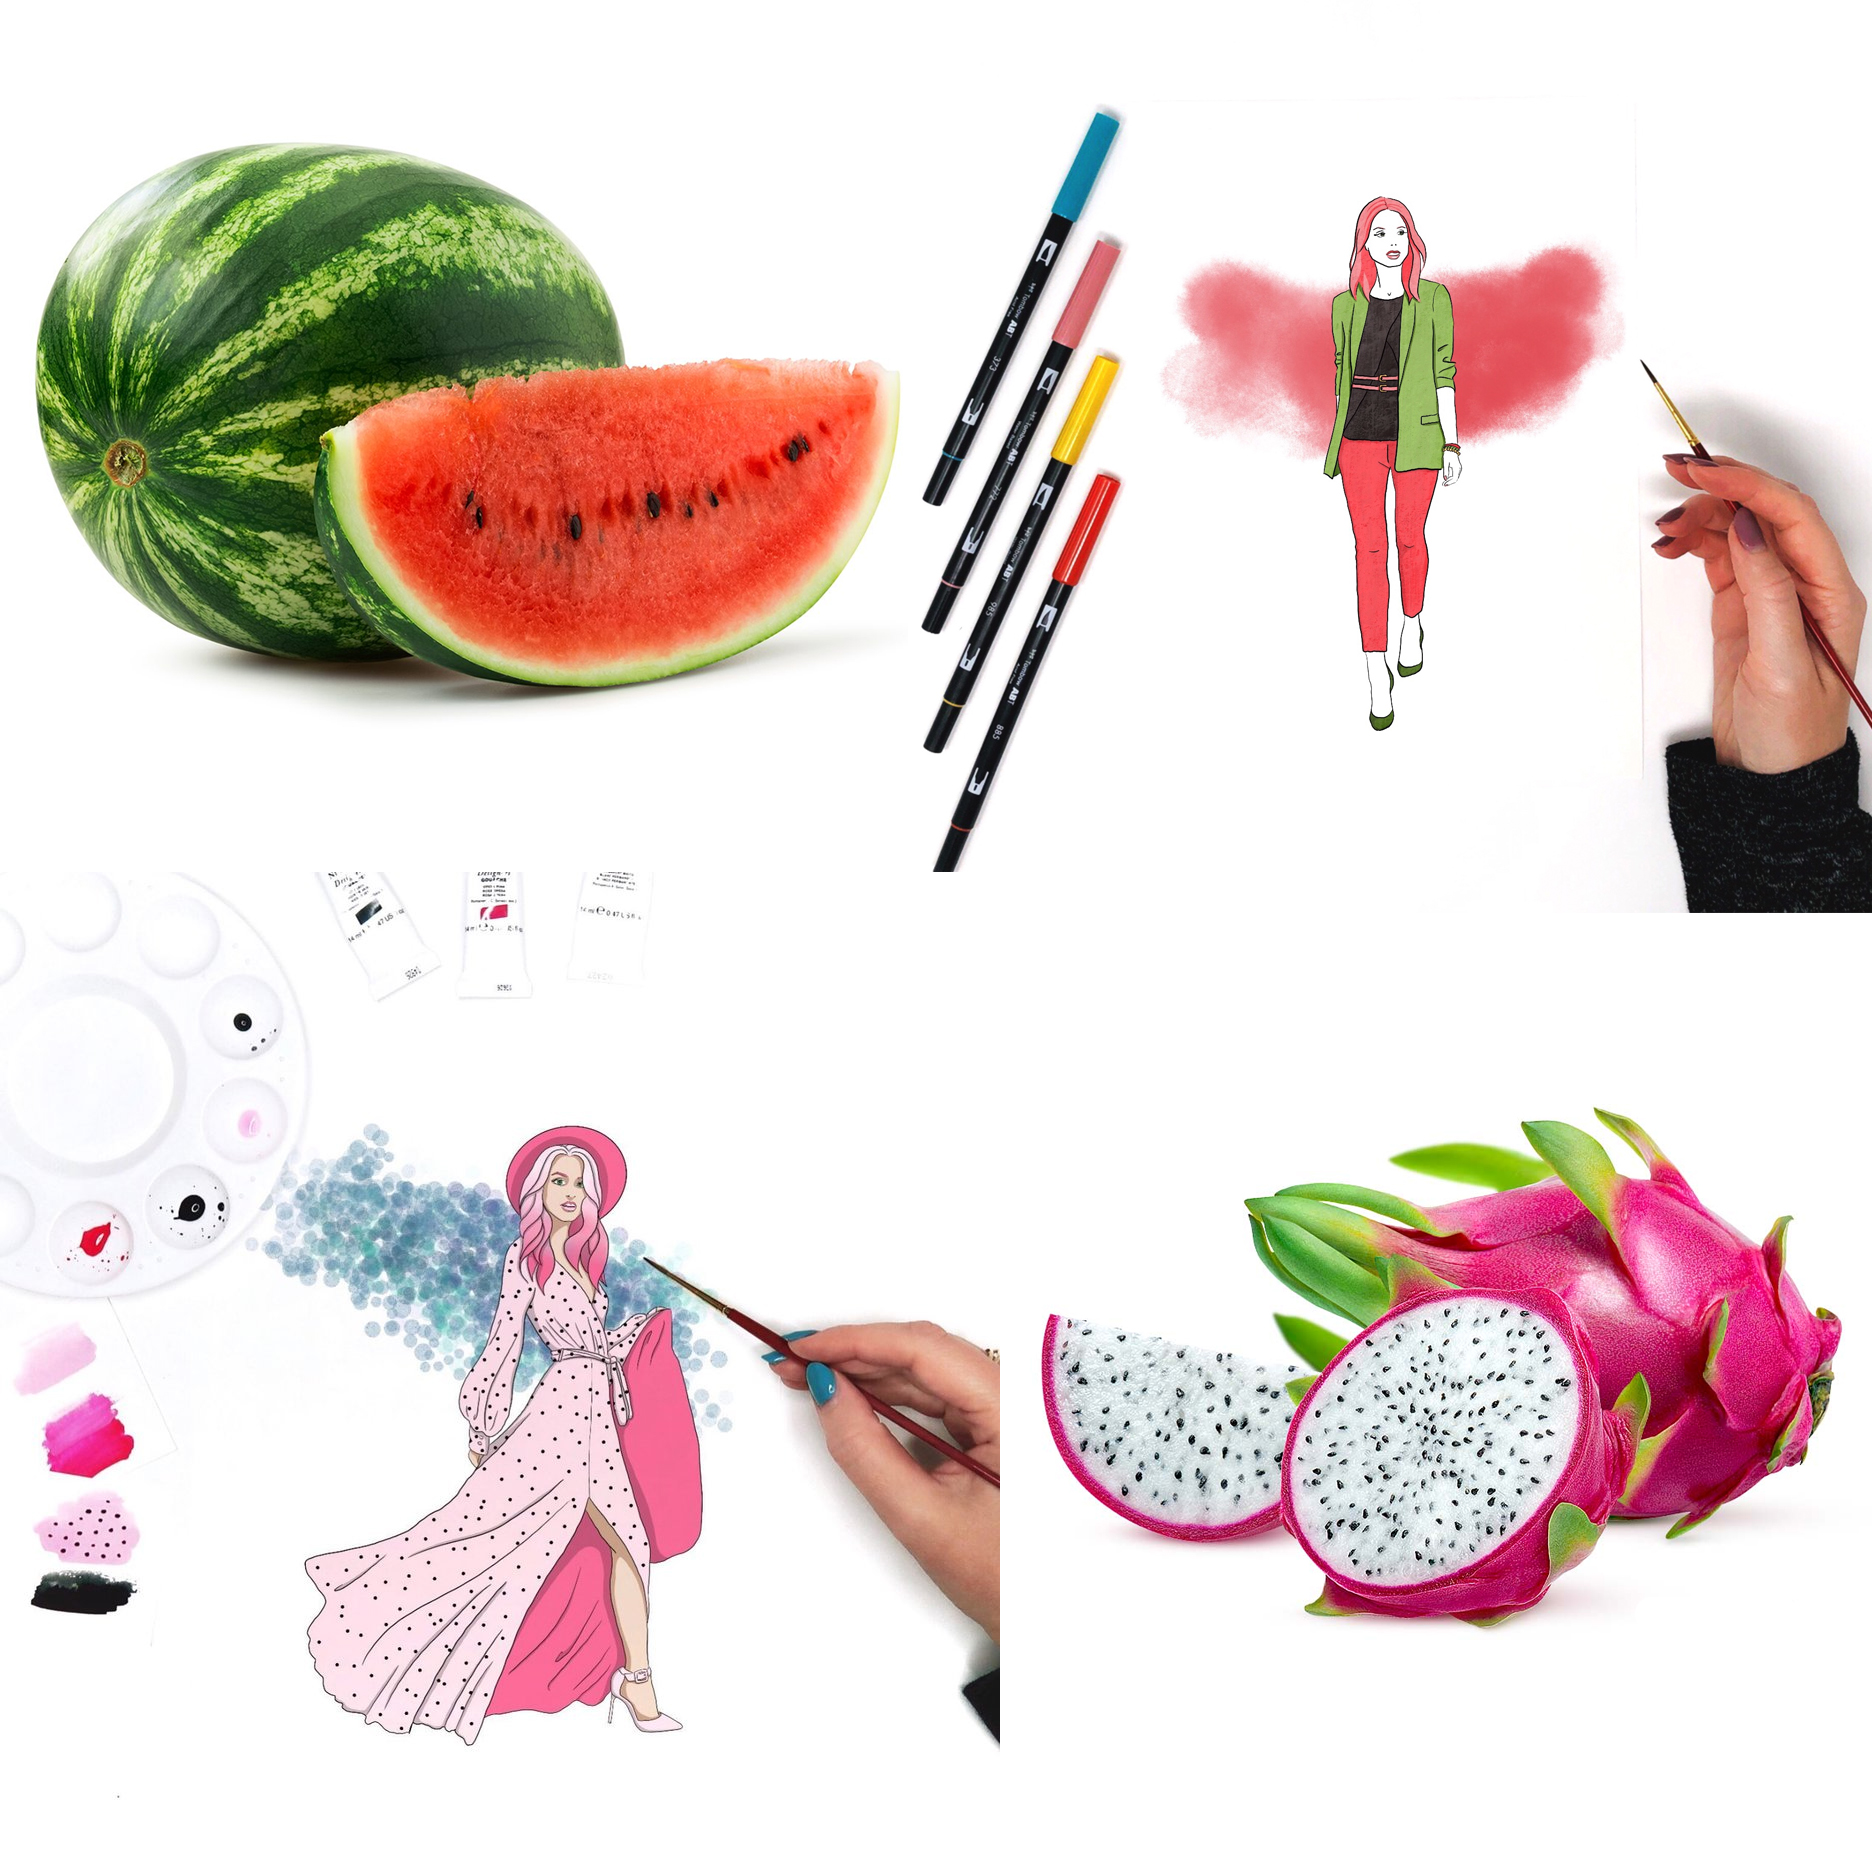
After I created this fashion illustration, inspired by Starbucks’ Dragon Drink (made from Dragonfruit) someone suggested I create a whole series, inspired by food and drink. What a great idea! So here are the first few I’ve done so far.

View this post on Instagram

A post shared by Jessica 🎨 Seattle Artist (@brownpaperbunny) on May 30, 2019 at 1:23pm PDT

This summer romper was inspired by a strawberry glazed donut covered in rainbow sprinkles.

View this post on Instagram

A post shared by Jessica 🎨 Seattle Artist (@brownpaperbunny) on Jun 7, 2019 at 7:01am PDT

This business casual outfit was inspired by watermelon.

View this post on Instagram

A post shared by Jessica 🎨 Seattle Artist (@brownpaperbunny) on Jun 9, 2019 at 4:49pm PDT

This one was inspired by a Café Latte.

Fashion Illustration inspired by coffee. By Jessica Mack of BrownPaperBunny.

What food or drink do you think I should use as my inspiration next?

In Fashion Illustration, Illustrations, Ink, May 2019, Portraits, Sketchbook
5 Comments
Fashion Illustration inspired by Dragonfruit drink at Starbucks. By Jessica Mack of BrownPaperBunny.

Inspired by Dragonfruit

May 30, 2019

@Starbucks challenged me to show them how I was inspired by dragonfruit, to celebrate their new Dragon Drink. It's a bold, sweet, and refreshing flavor so I illustrated an outfit that I felt embodied that. Plus y'all know how much I love pink!

Starbucks Dragon Drink. Photo by Jessica Mack of BrownPaperBunny

Now it's your turn, show me your dragonfruit-inspired creations, whether that means art, photography, fashion, nail art, makeup, or any other way you feel inspired! Tag #dragonfruitinspired so we can see!

In Fashion Illustration, Illustrations, May 2019
8 Comments
FullSizeRender.jpg

'60s Inspired Art Journal Page

May 27, 2019

Please note: This blog post contains affiliate links, which help pay for the upkeep of this site. That being said, I will never, ever promote anything I am not 100% in love with!

----------

This week I’m creating projects with a retro vibe, so I’m going to show you how to make an art journal page that looks like a ‘60s band poster.

SUPPLIES:

  • Tombow Dual Brush Pens

  • MONO Drawing Pens

  • MONO Graph Mechanical Pencil

  • Art Journal or Sketchbook

FullSizeRender.jpg

Step 1: Draw Your Outlines

The first step is to draw (or trace) a face profile, use your own for a fun self portrait. Then fill in the whole page with wavy hair.

FullSizeRender.jpg

Step 2: Add Some Lettering

Next, use some retro lettering to write words into the hair (I wrote things that make me happy). Fill blank hair sections with doodles of hearts, and daisies.

FullSizeRender.jpg

Step 3: Add Color

Using a retro color palette it’s time to use your Dual Brush Pens to color each section of the hair and lettering. To get a watercolor look you can blend the ink in each section with a damp paintbrush. What words would you write into the hair?

FullSizeRender.jpg
FullSizeRender.jpg

Step 4: Pull Out Details

Once you’ve finished coloring your journal page, you can go over the facial features with the bullet tip of one of your Dual Brush Pens for more definition. Voila, you have a ‘60s inspired journal page!

FullSizeRender.jpg

Let me know what your favorite decade is and why in the comments! 

In Tutorial, Type, Ink, May 2019, Illustrations, Watercolor
4 Comments
Create Watercolor Flowers Using Markers by Jessica Mack of BrownPaperBunny.

Create Watercolor Flowers Using Markers

May 20, 2019

I love the look of watercolor, but I also love the portability and vibrancy of markers. So in my latest Skillshare class I’ll teach you how to create watercolor-look flowers using markers.

The class is perfect for beginners, or more experienced artists looking to try some new techniques.

I’ll walk you through the three main techniques I use with the markers, and blending with water, then for the class project you’ll create your very own floral wreath!

Create Watercolor Flowers Using Markers by Jessica Mack of BrownPaperBunny.

Tombow has been kind enough to give students of the class a 15% off all products, and if you are new to Skillshare you can get your first two months for free by using this link! I can’t wait to see what you make!

View the Class
In May 2019, Watercolor, Tutorial, Illustrations, Ink
9 Comments
How to Draw a Cute Popsicle Character by Jessica Mack of BrownPaperBunny.

How to Draw a Cute Popsicle Character

May 20, 2019

Please note: This blog post contains affiliate links, which help pay for the upkeep of this site. That being said, I will never, ever promote anything I am not 100% in love with!
----------

The weather is getting warmer and I'm already dreaming about sunshine, BBQs and fruity popsicles. So today I'm going to show you how to draw a cute popsicle character, which makes a cute task journal decoration, fun summer greeting card, or something cute to pop into the kids' bags when you send them off to their last days of school for the year.

Supplies:

  • Tombow 1500 Series Colored Pencils

  • Tombow MONO Graph Mechanical Pencil

  • Paper

  • Tombow Dual Brush Pen Colorless Blender (optional)

  • Tombow MONO Drawing Pen

How to Draw a Cute Popsicle Character by Jessica Mack of BrownPaperBunny.

Step 1: Draw Your Outlines

Using your MONO Graph Mechanical Pencil, draw a rectangle for the main part of your popsicle and a thinner rectangle for the stick. You can use a ruler or just free-hand them both.

How to Draw a Cute Popsicle Character by Jessica Mack of BrownPaperBunny.

Step 2: Sketch the Details

Again, using your pencil, sketch rounded corners and the indents in the middle of the popsicle. Also, curve the bottom of the popsicle stick. If you want your popsicle to look a little more 3D you can add an edge on one side. Then erase any lines you no longer need. 

How to Draw a Cute Popsicle Character by Jessica Mack of BrownPaperBunny.

Step 3: First Pencil Layer

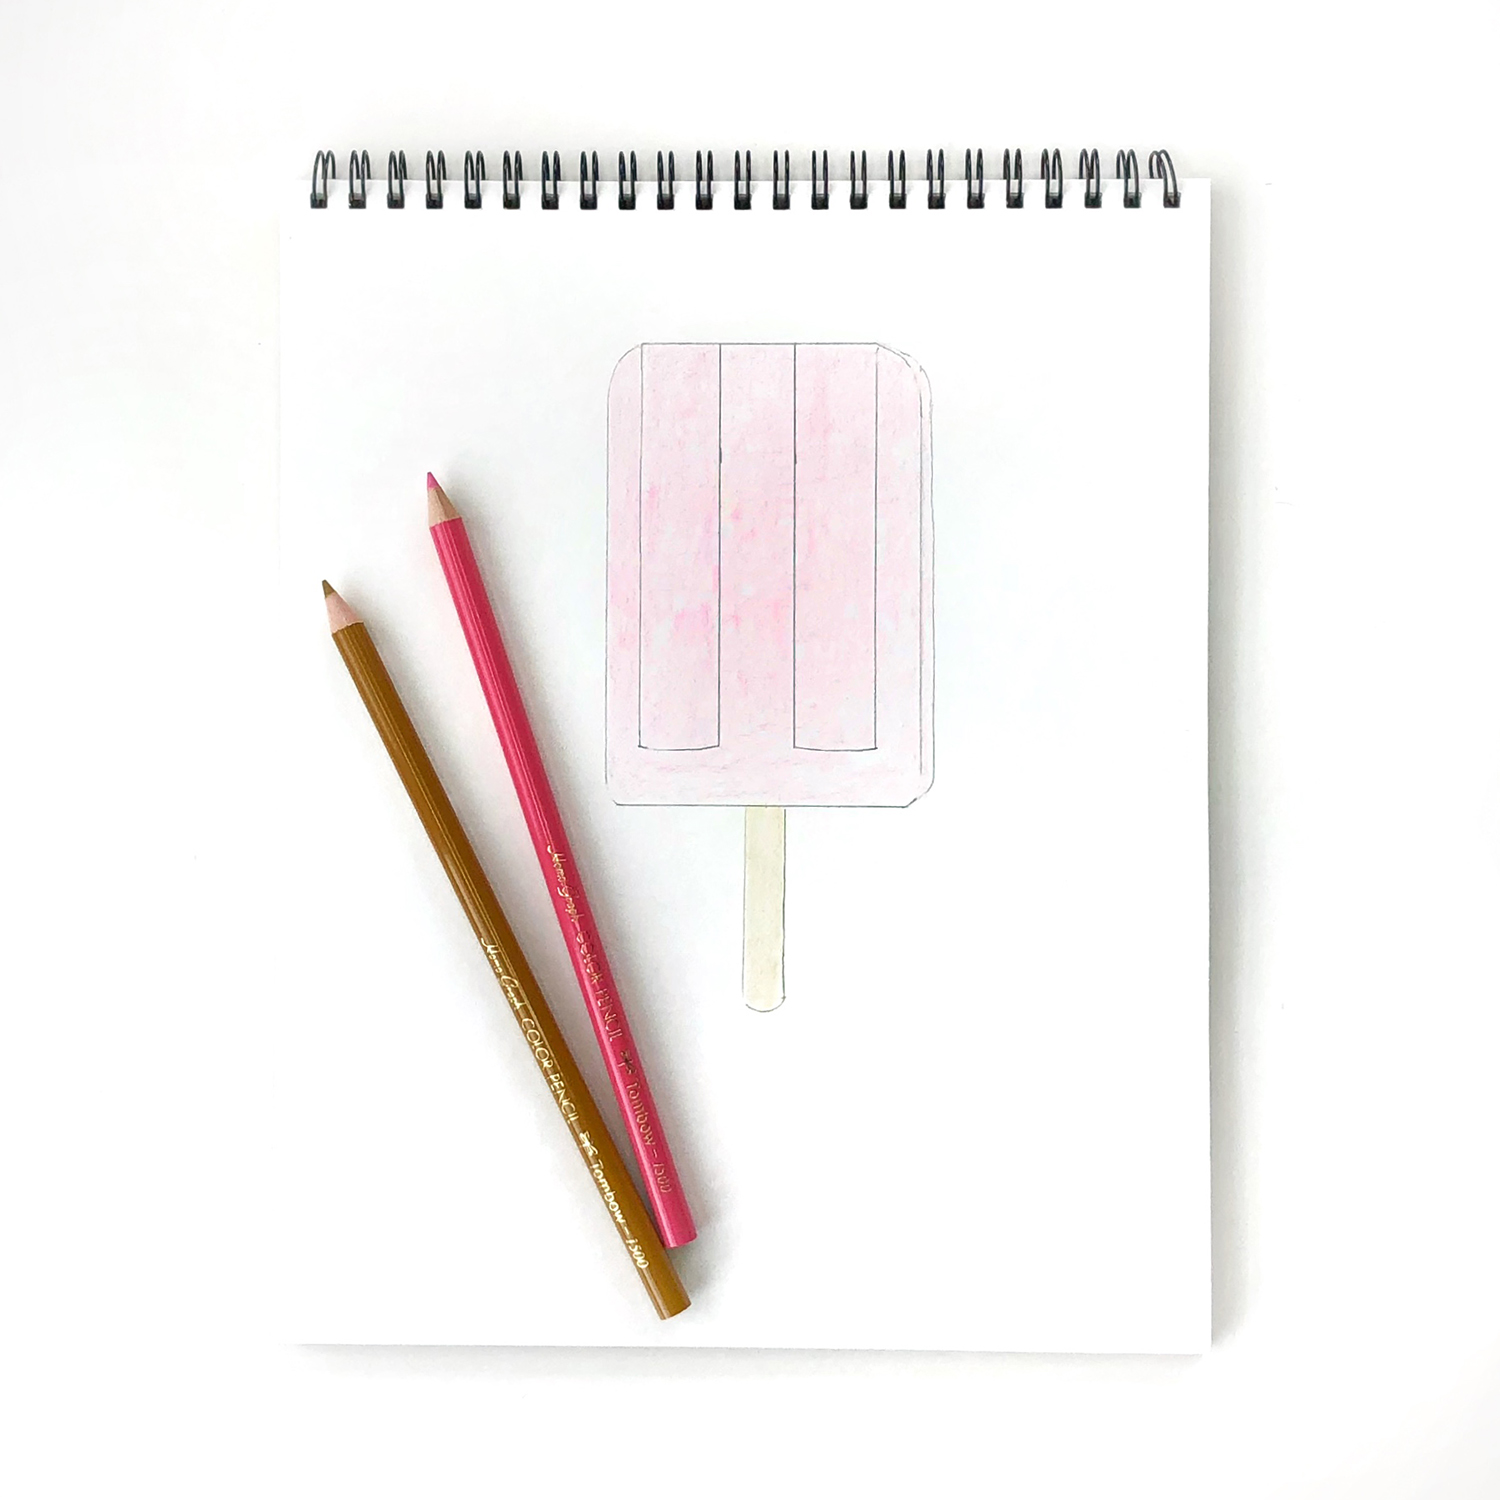
Using your lightest pink pencil, color in the popsicle shape. For even color, make soft circular motions with the pencil held at an angle, rather than straight up. Add the first layer of color for the stick in light brown.

How to Draw a Cute Popsicle Character by Jessica Mack of BrownPaperBunny.

Step 4: Blend in a Second Color

To make your popsicle a little more interesting, go over the first layer with an additional color, like a yellow or orange. Softly blend it into the first layer of color in circular motions. Do the same on the popsicle stick.

How to Draw a Cute Popsicle Character by Jessica Mack of BrownPaperBunny.

Step 5: Add Shadows

Next, use a darker pink or red to add bolder color where there would be shadows on the popsicle. I imagined the light was coming from the right, creating shadows in the indents and along the left edge. In a darker brown, add a shadow where the stick meets the popsicle.

How to Draw a Cute Popsicle Character by Jessica Mack of BrownPaperBunny.

Step 6: One More Layer

Keep blending colors into the popsicle and stick until they are as dark as you'd like them to be.

How to Draw a Cute Popsicle Character by Jessica Mack of BrownPaperBunny.

Step 7: Blending

This step is optional, but if you really want to smooth out your pencil lines and have the colors blend nicely together you can go over them softly with the Dual Brush Pen Colorless Blender.

How to Draw a Cute Popsicle Character by Jessica Mack of BrownPaperBunny.

Step 8: Some Additional Cuteness

To add a little bit of extra cuteness to your summer popsicle, trace around the lines with your MONO Drawing Pen and add little eyes and a mouth, turning it into a little character.

How to Draw a Cute Popsicle Character by Jessica Mack of BrownPaperBunny.

I’d love to see your summer drawings, so tag @BrownPaperBunny on social media!

In Dec 2018, Illustrations, Tutorial
2 Comments
FullSizeRender.jpg

Lunchtime Illustrations

May 9, 2019

I carry around little scraps of watercolor paper and a tiny travel watercolor tin I made, so that when an opportunity to sketch or paint presents itself I can take advantage. Today it was too sunny to be indoors so I made this little watercolor sketch while eating my lunch in the sun, between running errands.

Do you carry art supplies around with you too? 

In Dec 2018, Illustrations, Watercolor, Fashion Illustration
5 Comments
Books books books by Jessica Mack of BrownPaperBunny

Books, Books, Books

May 2, 2019

I’ve always been a big reader, but lately I’ve been reading (and listening to so many audio books) that I felt compelled to start a whole new Instagram (or Bookstagram) account just to share them all. If you’re interested you can check it out at @LatestBookCrush

I’ve even been drawing and painting books, they’re just taking over my life lately!

What are you reading right now? Leave me a comment and let me know if you ever use books or book pages to create art!

949bba1389ca075f38f2e5ae4c205e364be4064587fe8efab6

In Dec 2018, Book Review, Illustrations, Type
6 Comments
Watercolor Flowers Using Tombow Dual Brush Pens by Jessica Mack of BrownPaperBunny

Watercolor Flowers Using Tombow Dual Brush Pens

April 25, 2019

Please note: This blog post contains affiliate links, which help pay for the upkeep of this site. That being said, I will never, ever promote anything I am not 100% in love with!

----------

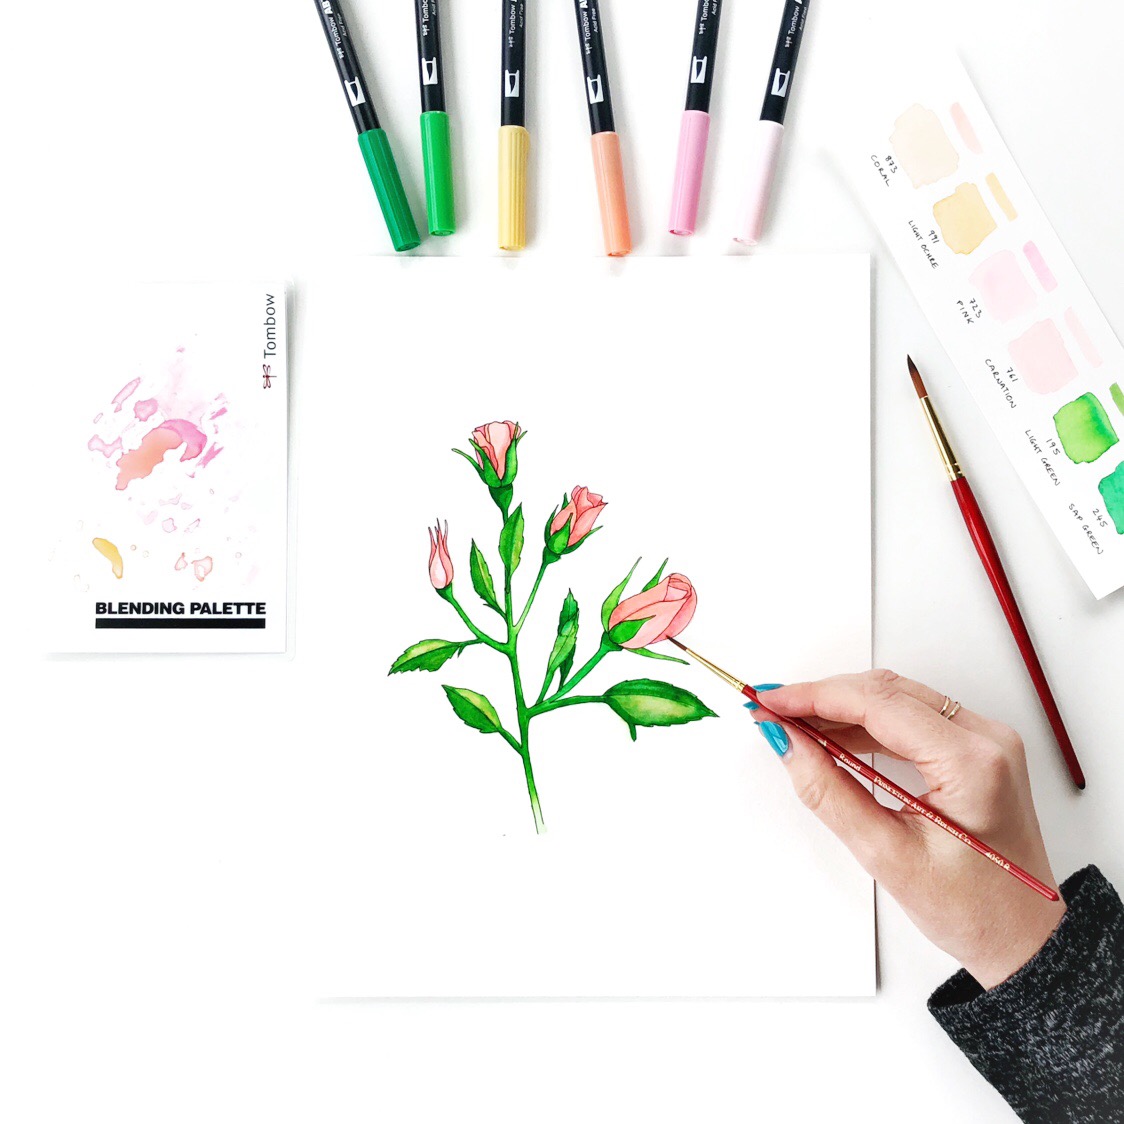
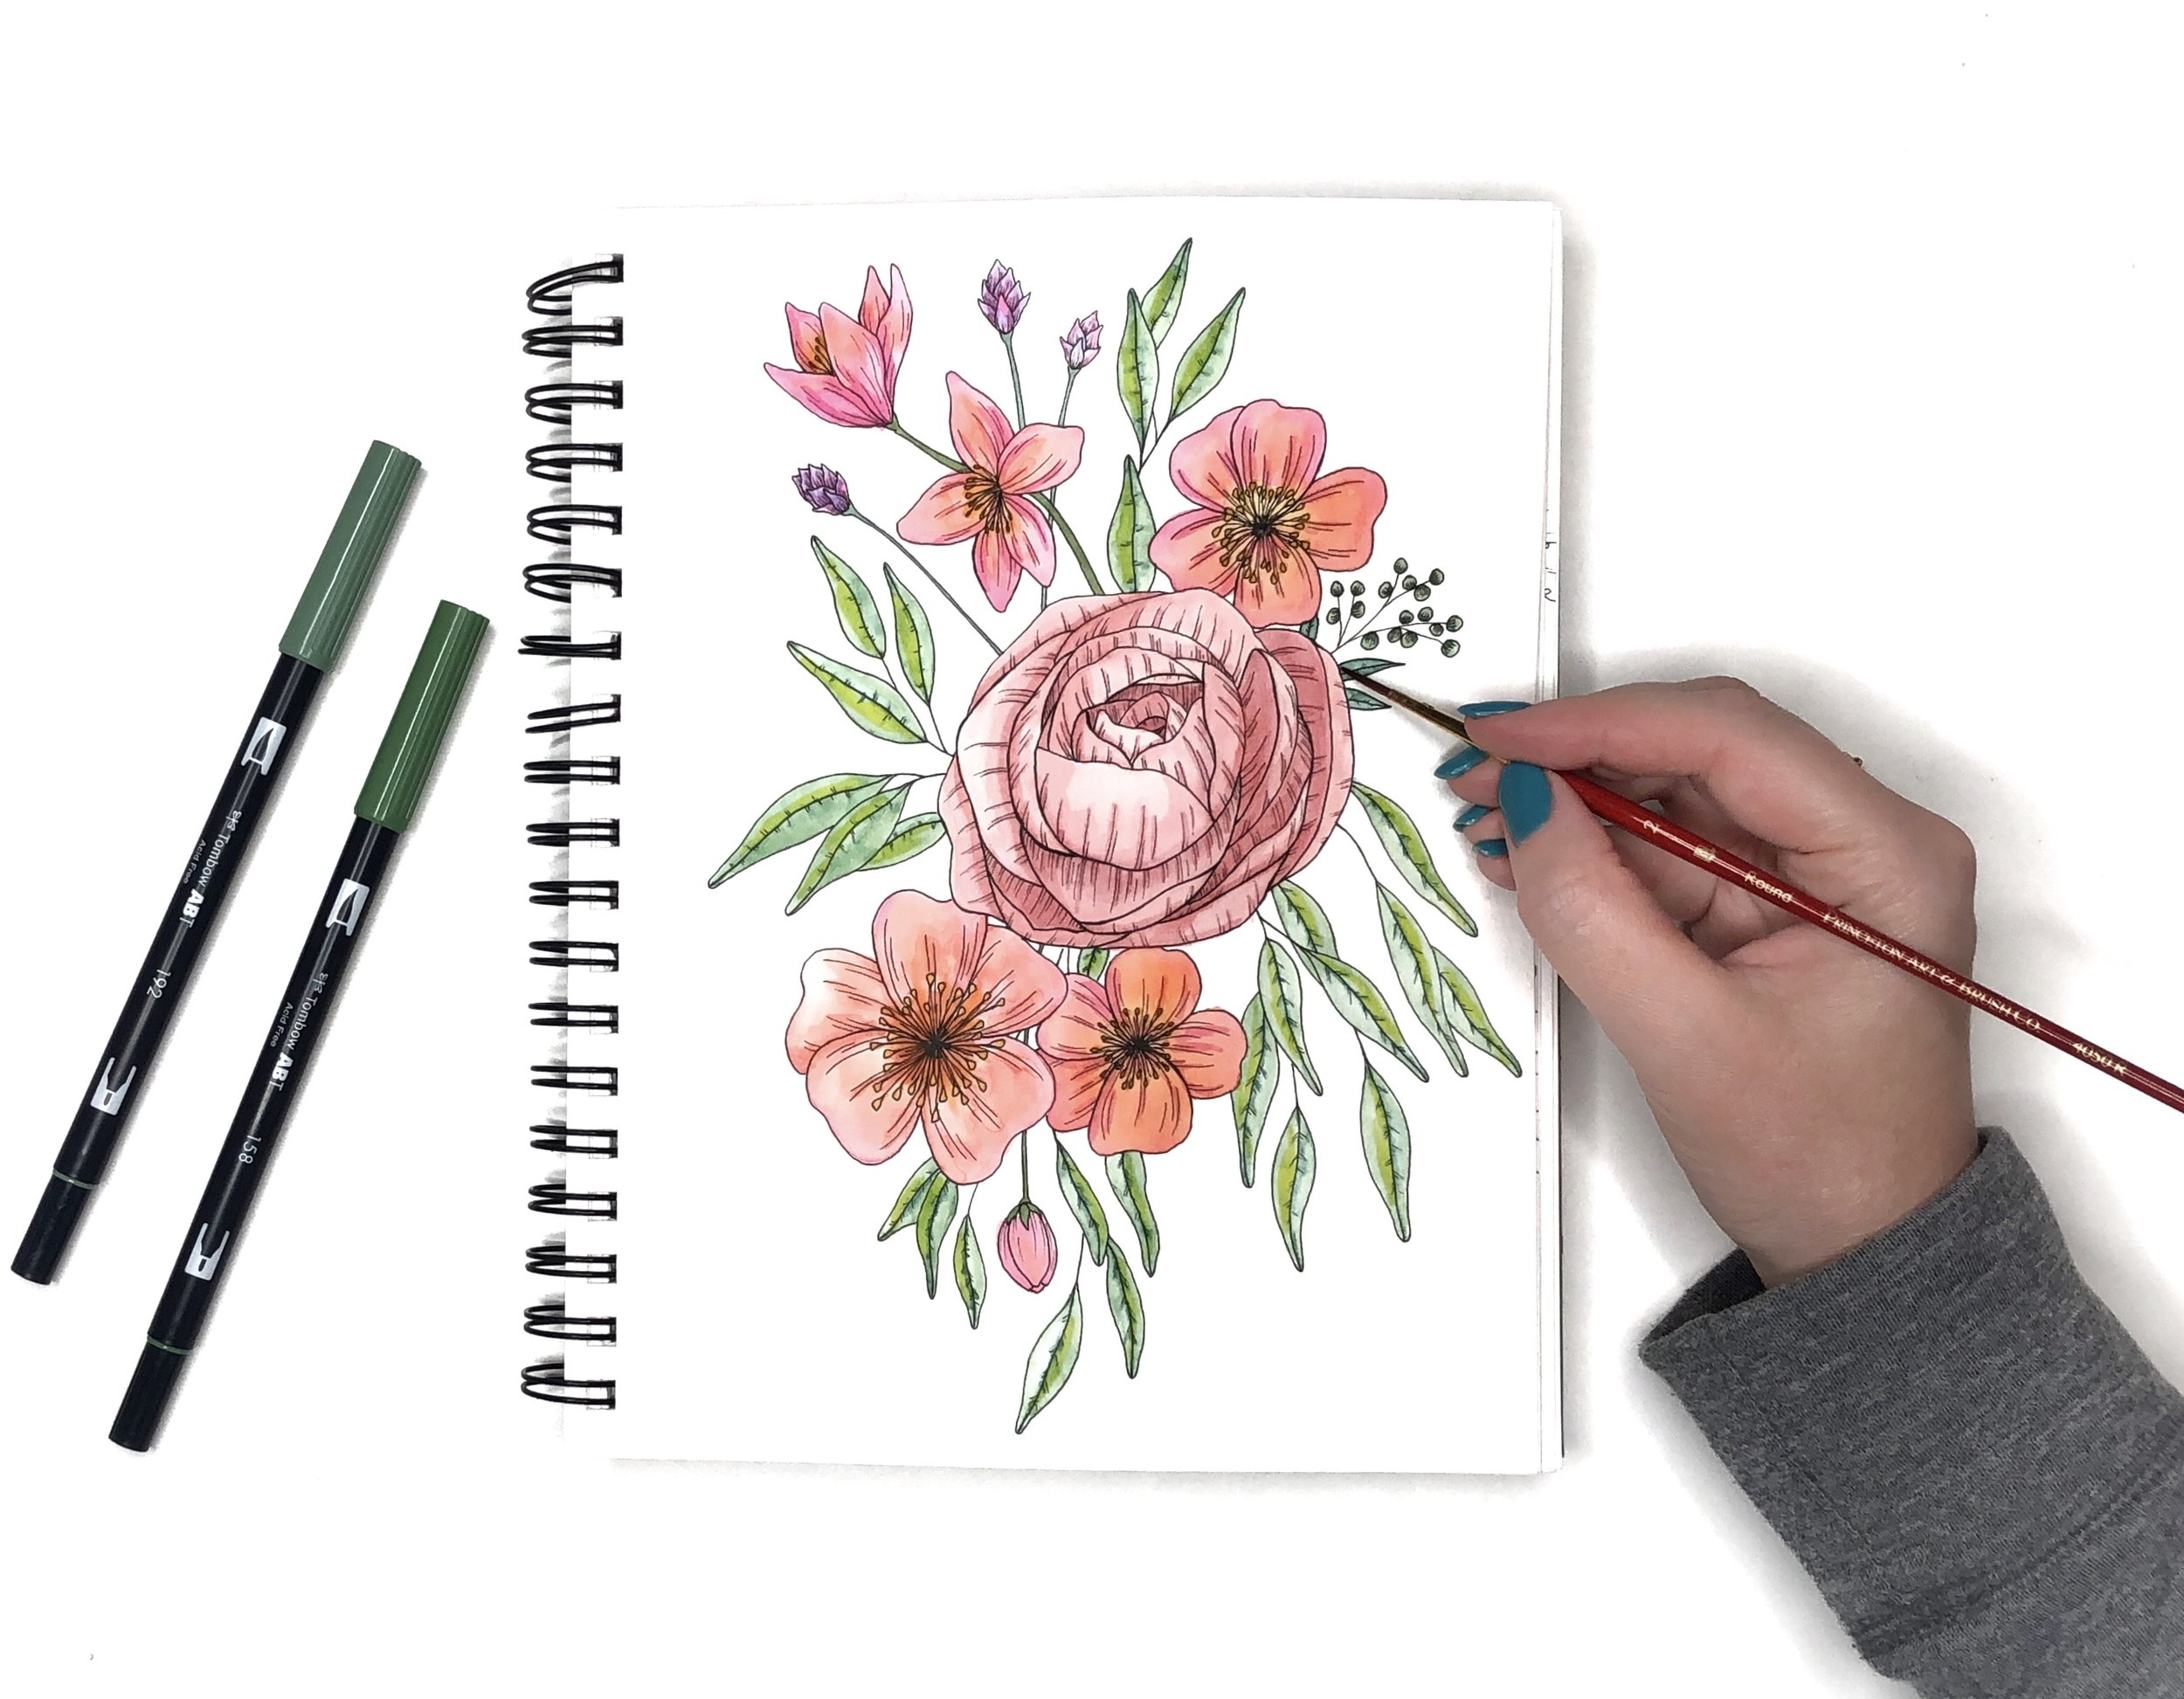
Over on Instagram I’ve been creating a lot of watercolor flowers using Tombow Dual Brush Pens lately — in case you can’t tell from my blog, using Dual Brush Pens to make a watercolor effect is one of my favorite things.

View this post on Instagram

A post shared by Jessica 🎨 Seattle Artist (@brownpaperbunny) on Apr 21, 2019 at 7:06pm PDT

For these flowers and leaves I mixed several colors together to provide greater variation and also because I just really enjoy mixing whole new colors. I also waited for each layer to dry before adding another on top to give it a bit more depth.

View this post on Instagram

A post shared by Jessica 🎨 Seattle Artist (@brownpaperbunny) on Apr 22, 2019 at 7:15pm PDT

Have you ever used water soluble markers before? (Tombow Dual Brush Pens or something else) Would you like me to post some tutorials in how to use them to create different watercolor-look florals? Let me know in the comments!

View this post on Instagram

A post shared by Jessica 🎨 Seattle Artist (@brownpaperbunny) on Apr 23, 2019 at 7:06am PDT

In Dec 2018, Ink, Illustrations, Sketchbook, Tutorial, Watercolor
10 Comments
How to Make a Watercolor Easter Card by Jessica Mack of BrownPaperBunny

How to Make a Watercolor Easter Card

April 4, 2019

Please note: This blog post contains affiliate links, which help pay for the upkeep of this site. That being said, I will never, ever promote anything I am not 100% in love with!

----------

Today I’m going to show you how to make a watercolor Easter card in pastel Dual Brush Pen colors. We're also going to use embossing powder because it resists ink nicely to give you white outlines. Here's what you'll need to get started.

Supplies:

  • Tombow Dual Brush Pens Pastel Palette

  • White Embossing Pen & Powder

  • Heat Gun

  • Watercolor Paper (140lb)

  • Tombow MONO Graph Mechanical Pencil

  • Paint Brush & Water

How to Make a Watercolor Easter Card by Jessica Mack of BrownPaperBunny

Step 1: Bunnies

Start by drawing a bunny template on a plain piece of paper. Think of them as snowmen with ears...a big circle for the body and a smaller one for the head, then two ears and a fluffy tail. Use your template to trace bunnies onto the right-hand side of your watercolor paper (when you fold it that will be the front) using your MONO Graph Mechanical Pencil. This is a good time to write a greeting on the front too. I chose a simple Happy Easter.

How to Make a Watercolor Easter Card by Jessica Mack of BrownPaperBunny

Step 2: Embossing

Follow the directions for your particular embossing pen, powder and heat gun. The general steps are usually to draw / write with the pen, sprinkle the powder on top of the ink, shake off any excess then heat with the gun for around 15 seconds until the powder melts and looks 'embossed'. Emboss over all of your pencil lines for the bunnies and your greeting.

Step 3: Adding Color

This is the really fun step. You get to choose how you'll color your bunnies. Will you pick one color for each, or blend all of the pastel colors to make a rainbow? I choose to pair up the pinks, yellows, blues and purples to make each bunny two-tone, and used the green for the greeting at the bottom. You can color directly onto your watercolor paper, right over the embossing once it is cool. Then to get the watercolor look, use a damp paintbrush to go over the ink and blend it together.

How to Make a Watercolor Easter Card by Jessica Mack of BrownPaperBunny

And there you go, once your ink is dry your card can hop on over to its intended recipient!

How to Make a Watercolor Easter Card by Jessica Mack of BrownPaperBunny

I’d love to see your card, share it with me by tagging @BrownPaperBunny on social media!

In Dec 2018, Illustrations, Ink, Tutorial, Watercolor
8 Comments
Spring Flower Letters with Tombow Dual Brush Pens by Jessica Mack of BrownPaperBunny

Spring Flower Letters with Tombow Dual Brush Pens

March 18, 2019

Please note: This blog post contains affiliate links, which help pay for the upkeep of this site. That being said, I will never, ever promote anything I am not 100% in love with!

----------

Are you as excited as I am about spring?! I'm so excited that I've been creating lots of spring flower letters with Tombow Dual Brush Pens and I want to show you how to make them. Here's what you'll need to get started.

Supplies:

  • Tombow Dual Brush Pens

  • Watercolor Paper (140lb)

  • Tombow MONO Drawing Pens

  • A small paintbrush

  • A pencil

Spring Flower Letters with Tombow Dual Brush Pens by Jessica Mack of BrownPaperBunny

Step 1: Draw Your Letter Shape

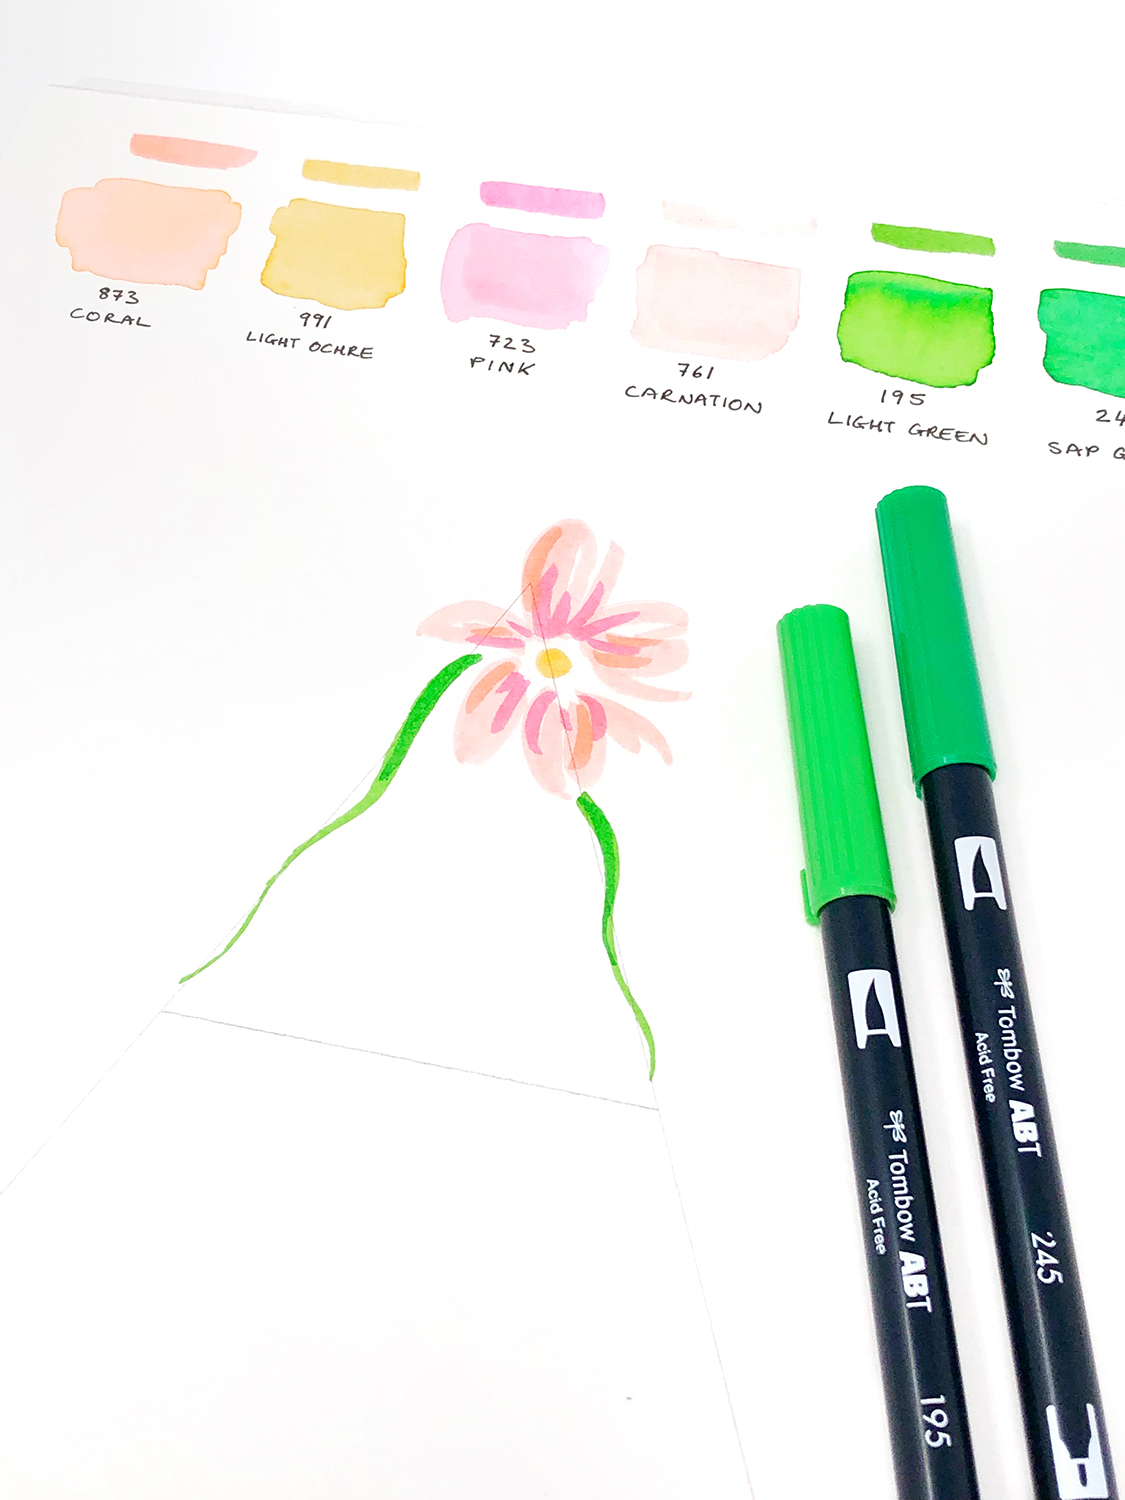
Start by drawing the shape of your letter, lightly, in pencil. You can choose to draw either an uppercase or lowercase letter. Next, add your first spring flower. I like to draw one larger flower near the top of my letter as a focal point. Keep it nice and loose, starting with the lightest color first. Add small amounts of different shades to give it some variety. The colors I chose were 873 Coral, 991 Light Ochre, 723 Pink, 761 Carnation, 195 Light Green, and 245 Sap Green). 

Spring Flower Letters with Tombow Dual Brush Pens by Jessica Mack of BrownPaperBunny

Step 2: Draw Your Stems

Next, draw flower stems along the penciled shape of your letter, leaving some spaces for smaller flowers and buds to be drawn in between them.

Spring Flower Letters with Tombow Dual Brush Pens by Jessica Mack of BrownPaperBunny

Step 3: Add Buds and Smaller Flowers

Start filling in the spaces at the ends of the stems with flower bud shapes and small, slightly open flowers. Follow the same approach as you did for the first flower, by adding different colors to each flower for variety. Don't worry if they don't look much like flowers at this stage, and it's ok if they're a little messy. After all your flowers have been drawn you can fill in any gaps with leaves.

Spring Flower Letters with Tombow Dual Brush Pens by Jessica Mack of BrownPaperBunny

Step 4: Add Water

Next, it's time to add water. Start with either the stems and leaves or the flowers, but don't do everything at once or it will run together into a muddy mess! With a damp paintbrush gently brush over the ink, blending colors together a little until you have a watercolor look. Once your first part is dry then you can start on the next bit.

Spring Flower Letters with Tombow Dual Brush Pens by Jessica Mack of BrownPaperBunny

Step 5: Adding Detail

If you'd like you can leave your spring letter at the last, watercolor stage. But if you'd like to add some small details, grab your MONO Drawing Pens and add thin lines to suggest where the petals are, and which direction they are going in. You can add some lines to the outsides of the stems and leaves as well. To keep it looking loose and fresh I recommend not closing all of the petal and leaf shapes completely, but leaving some gaps here and there.

Spring Flower Letters with Tombow Dual Brush Pens by Jessica Mack of BrownPaperBunny

Voila, you're finished! Now you can frame it and hang it on your wall, or give it as a gift! I’d love to see your spring flower letters, so be sure to tag @BrownPaperBunny if you share them on social media!

In Dec 2018, Ink, Illustrations, Tutorial, Watercolor
3 Comments
Make Me Up by Jessica Mack of BrownPaperBunny

Make Me Up

March 15, 2019

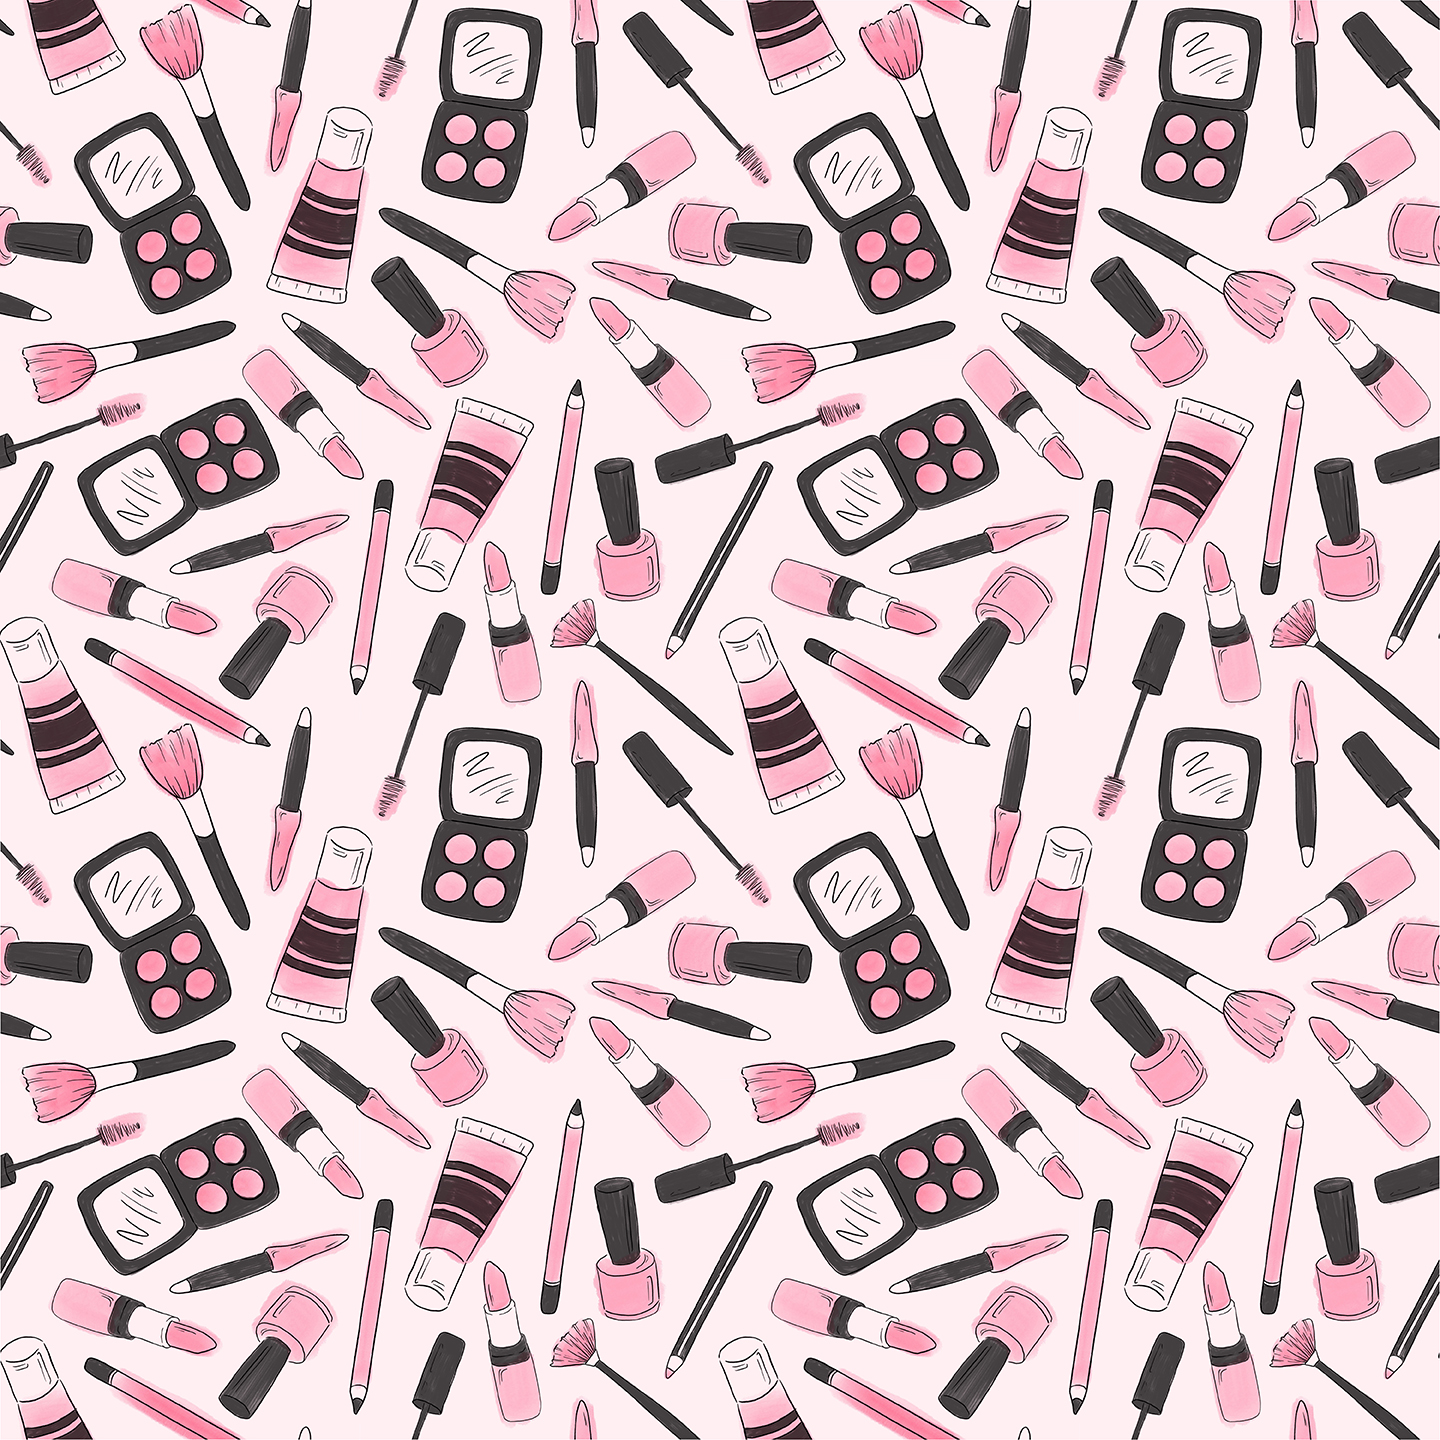
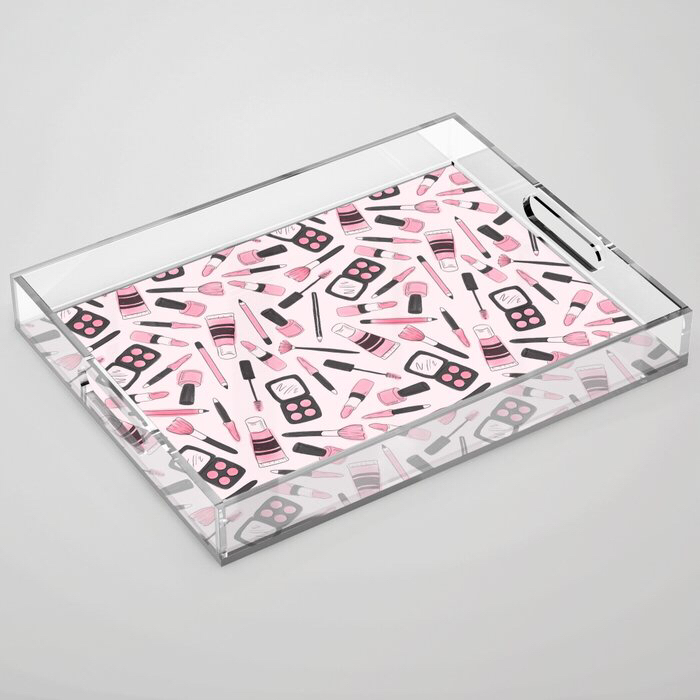
This hero image and repeat pattern was created for use on a series of products, from t-shirts to backpacks. The make-up pieces were drawn digitally with vintage gouache brushes to give them a retro feel. Scroll down to see the different colorways and their product applications.

Make Me Up repeat pattern by Jessica Mack of BrownPaperBunny
Make Me Up pattern by Jessica Mack of BrownPaperBunny
Make Me Up illustrated tote bag by Jessica Mack of BrownPaperBunny
Make Me Up illustrated phone case by Jessica Mack of BrownPaperBunny
Make Me Up illustrated make-up bag / pencil case / pouch by Jessica Mack of BrownPaperBunny
Make Me Up illustrated greeting card by Jessica Mack of BrownPaperBunny
Make Me Up illustrated backpack by Jessica Mack of BrownPaperBunny
Make Me Up illustrated makeup tray / drawer organizer by Jessica Mack of BrownPaperBunny
In Dec 2018, Fashion Illustration, Illustrations, Pattern
Comment
Blog Cover BrownPaperBunny.jpg

Watercolor Portrait Using Markers

March 11, 2019

Please note: This blog post contains affiliate links, which help pay for the upkeep of this site. That being said, I will never, ever promote anything I am not 100% in love with!

----------

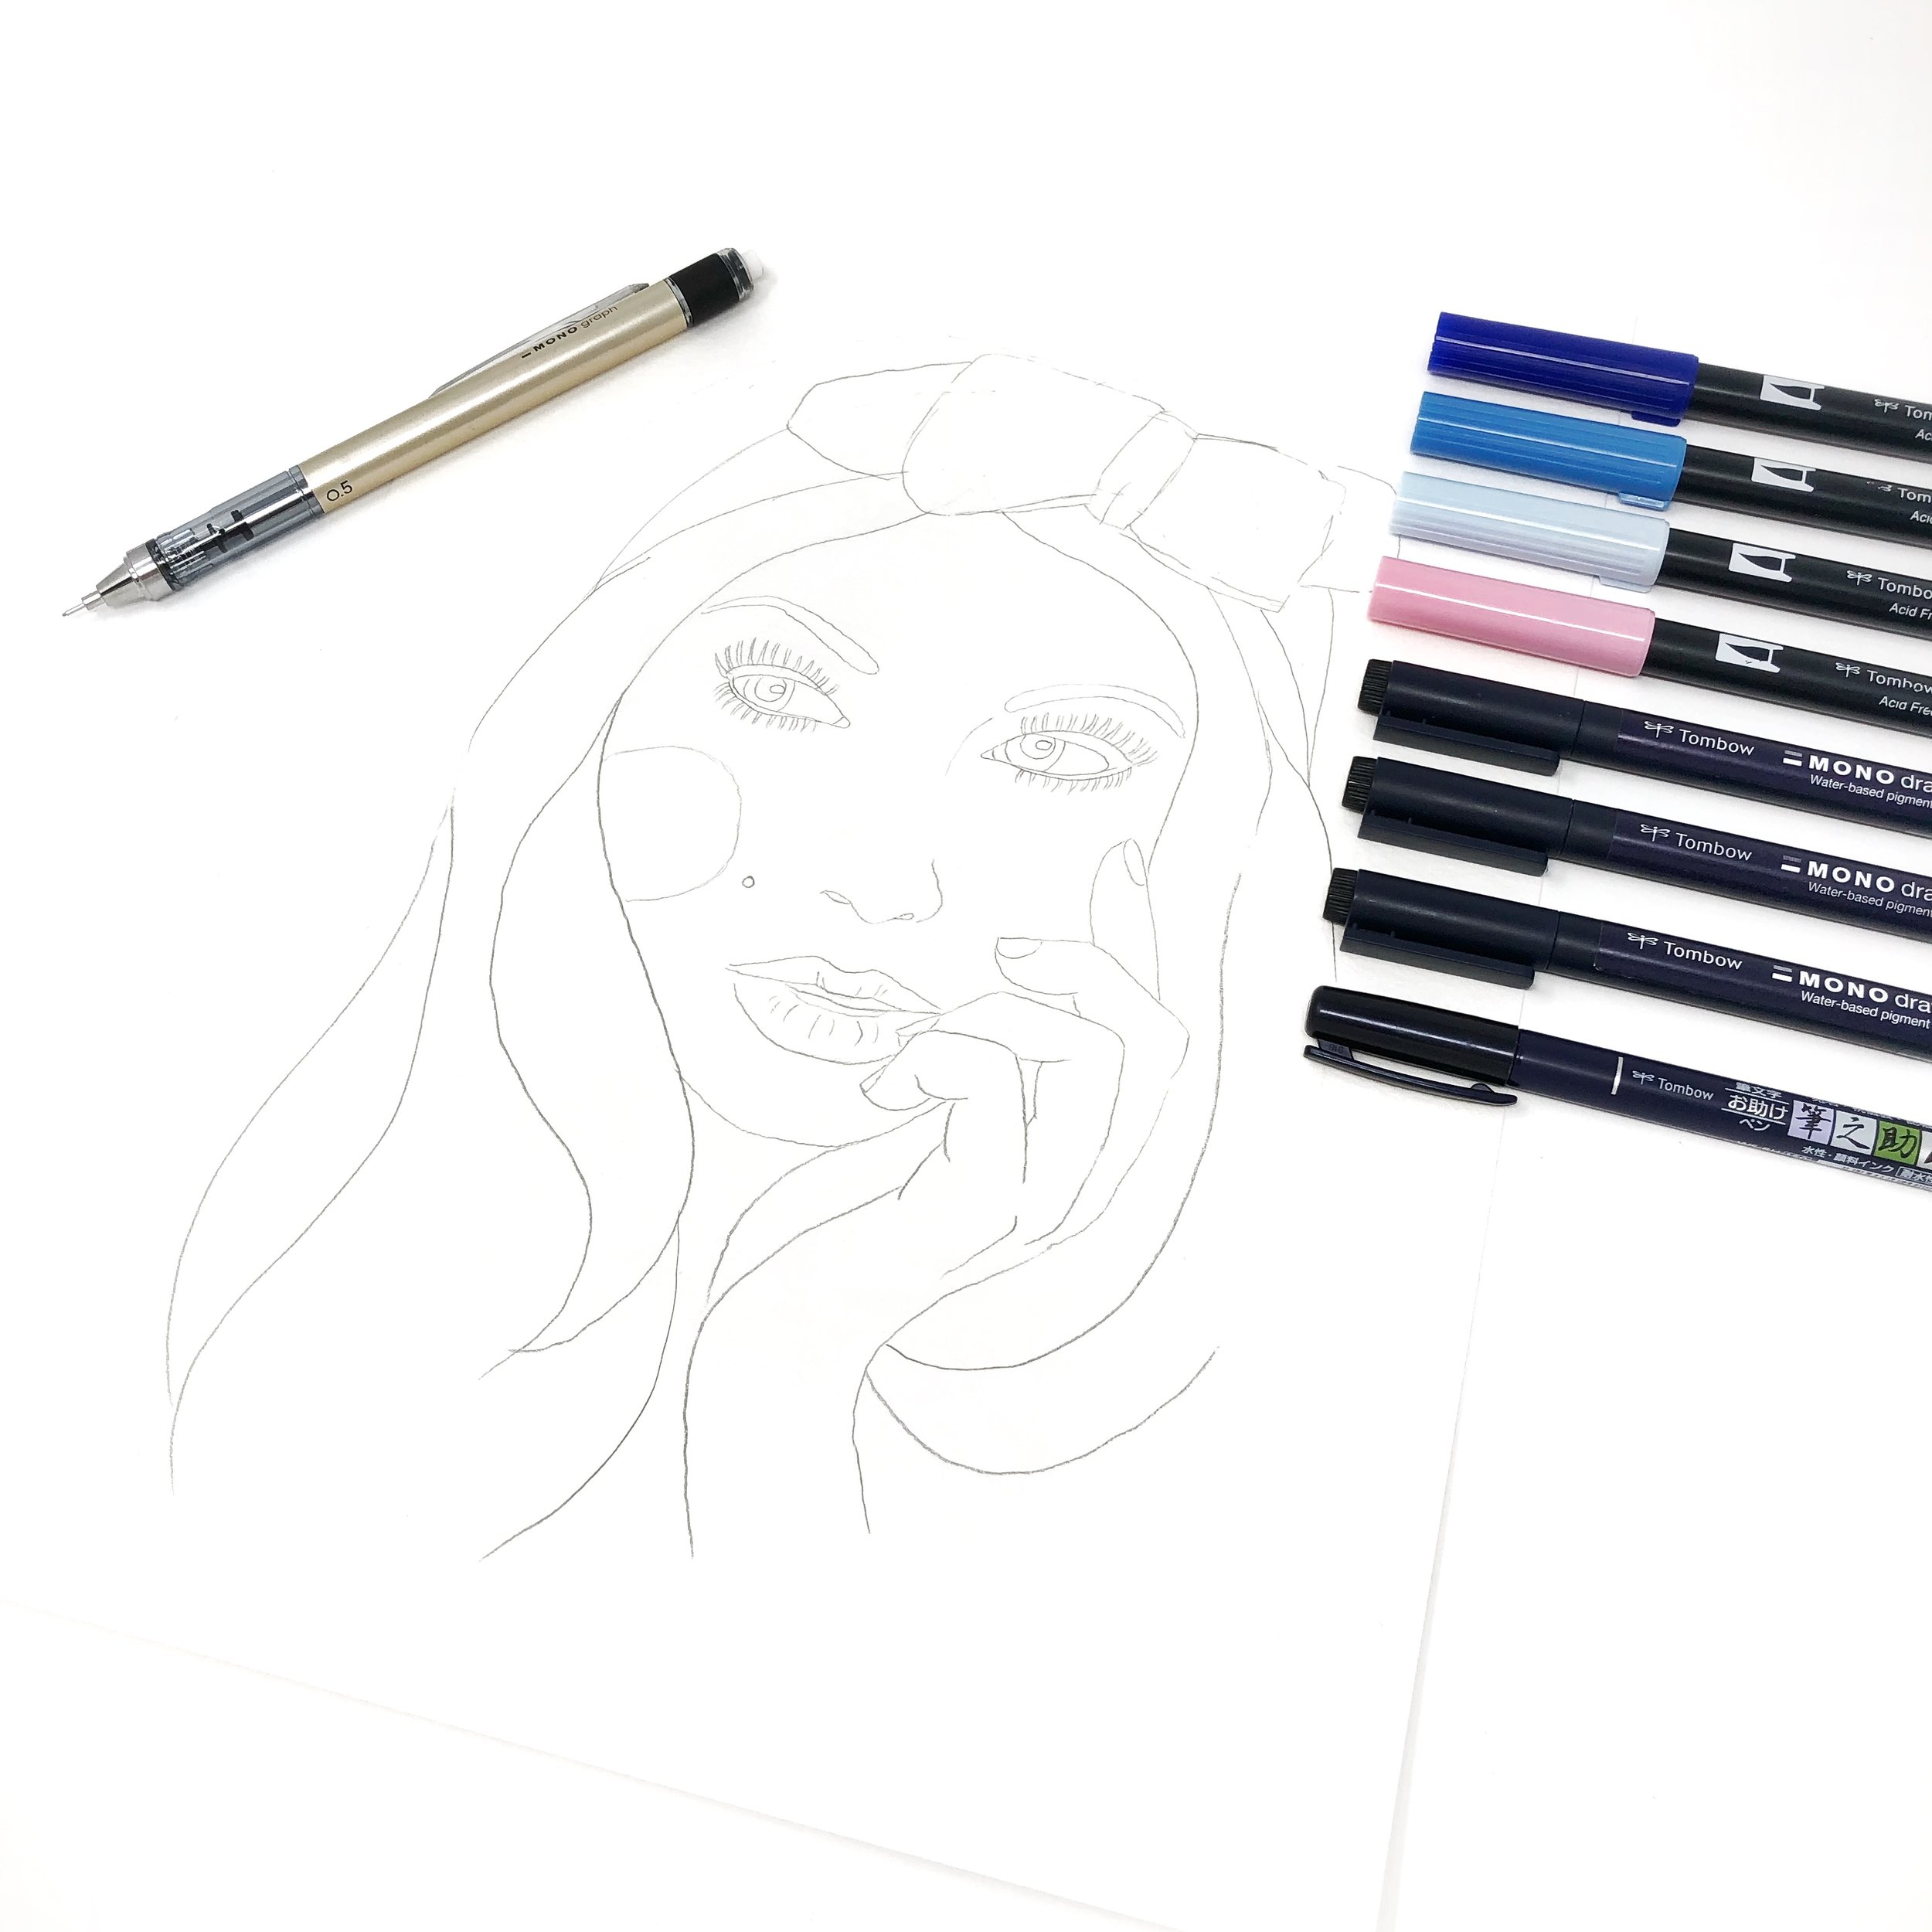
This week I’m redoing an old watercolor portrait from 2011, using skills and knowledge I’ve learned since then to try and improve upon it.

I’ve always loved messy watercolor portraits with ink lines so I wanted to re-do that style. If you’d like to create along with me, here are the materials I’m using:

  • MONO Graph Mechanical Pencil

  • Tombow Dual Brush Pens

  • MONO Drawing Pens

  • Fudenosuke Brush Pen (hard tip)

  • Watercolor paper

  • A Paintbrush

Re-doing a watercolor portrait from 2011 by Jessica Mack of BrownPaperBunny

A few things I’ve learned since creating my 2011 portrait are not to mix too many different colors or everything will get muddy and brown. I’ve also learned that using different line weights gives you more interest. AND I discovered that if you color across the whites of someone’s eyes they look really weird and creepy.

So I’m using a limited color palette, I’ve got my 01, 03, 05 MONO Drawing Pens and Fudenosuke Brush Pen for the line work, and I’m avoiding washes near the eyes.

Re-doing a watercolor portrait from 2011 by Jessica Mack of BrownPaperBunny

To start, sketch out your portrait in pencil, then either transfer ink from a Blending Palette with a wet paintbrush (like I did for the cheeks and lips) or use the Dual Brush Pens directly onto the watercolor paper then go back and wet it. I made sure to let the color run together a little, and added some extra water splotches. You can watch each step in the video below.

What do you think, did I improve on my 2011 effort? Have you ever recreated an old project? Or is there one you’d like to re-do? Let me know in the comments!

Re-doing a watercolor portrait from 2011 by Jessica Mack of BrownPaperBunny

If you’re new here, I’m Jessica — a watercolor artist and fashion illustrator, living in Seattle. I’d love to connect on social media, come say hi on Instagram, Facebook or Twitter @BrownPaperBunny! 

You might also like these blog posts:

Featured
Make a Watercolor Planner Bookmark by Jessica Mack on BrownPaperBunny
Make a Watercolor Planner Bookmark
Fashion Illustration Inspired by Food. By Jessica Mack of BrownPaperBunny.
Fashion Illustrations Inspired by Food
Watercolor portrait by Jessica Mack of BrownPaperBunny using different watercolor techniques
Watercolor Techniques
In Watercolor, Illustrations, Ink, Dec 2018, Tutorial
8 Comments
Loose Watercolor Florals in Living Coral by Jessica Mack of BrownPaperBunny

Loose Watercolor Florals in Living Coral

March 4, 2019

Please note: This blog post contains affiliate links, which help pay for the upkeep of this site. That being said, I will never, ever promote anything I am not 100% in love with!

----------

Howdy! Today I’m going to show you how to create some loose watercolor florals in living coral (try saying that five times fast). Living Coral is the Pantone Color of the Year for 2019. These florals are super easy to make and I'll be showing you how to use Tombow Dual Brush Pens to get a watercolor look and add line work. Here's what you'll need to get started.

Supplies:

  • Tombow Dual Brush Pens

  • Round Paintbrush (Size 8)

  • Tombow Blending Palette

  • Watercolor Paper (140 lb)

Loose Watercolor Florals in Living Coral by Jessica Mack of BrownPaperBunny

Step 1: Mix Your Colors

The first step is to scribble some ink onto your blending palette. Dual Brush Pen 905 is pretty close to the color Living Coral already, but I wanted to add a little punch of pink so I used a touch of 815 in the mix. Experiment with blending different quantities of each color until you get a shade you love.

Loose Watercolor Florals in Living Coral by Jessica Mack of BrownPaperBunny

Once you've got your ink onto the blending palette wet it with your paintbrush.

Loose Watercolor Florals in Living Coral by Jessica Mack of BrownPaperBunny

Step 2: Create Loose Petal Shapes

Using your paintbrush, transfer ink from the blending palette onto your watercolor paper. Start making loose flower petal shapes around in a circle. Leave a little white space so the paper can show through. And don't worry if it looks pretty messy at this stage, we're going to add detail at the end, and they are meant to be loose florals after all. ;)

Loose Watercolor Florals in Living Coral by Jessica Mack of BrownPaperBunny

Step 3: Drop in a Third Color

To add a little more variety to your base color, drop in a few dots of yellow ink using the same technique as before. Let them spread into the living coral color while it is still wet.

Loose Watercolor Florals in Living Coral by Jessica Mack of BrownPaperBunny

Step 4: Add a Stem and Leaves

On your blending palette, mix up some green for the stem and leaves. I used colors 177 and 228. Using your paintbrush, transfer the ink from the blending palette to create a stem and leaves coming down from your flowers.

Loose Watercolor Florals in Living Coral by Jessica Mack of BrownPaperBunny

Here's what mine looks like so far.

Loose Watercolor Florals in Living Coral by Jessica Mack of BrownPaperBunny

Step 5: Adding Detail

Once the ink is completely dry, use your Dual Brush Pens to add detail to the petals and leaves. Experiment with the brush tip and the bullet tip and see which you're more comfortable with.

Loose Watercolor Florals in Living Coral by Jessica Mack of BrownPaperBunny

And voila, you've got some loose florals in living coral. These would make a nice framed art piece, or look great in your journal, or on a card to someone special.

Loose Watercolor Florals in Living Coral by Jessica Mack of BrownPaperBunny

I’d love to see your flowers! Share them on social media and tag @BrownPaperBunny so I can see!

In Dec 2018, Illustrations, Watercolor, Tutorial, Ink
19 Comments
Free Downloadable Fashion Illustration Figure Croquis by Jessica Mack of BrownPaperBunny

Free Fashion Croquis

February 23, 2019

I’ve been working on getting faster with my fashion illustrations, and the best way to cut time off each sketch is to use a fashion illustration croquis or figure. Croquis are also a great way to get started illustrating fashion if you aren’t confident drawing figures yet.

With awards season in full swing, one of my favorite things is to illustrate outfits from the red carpet. With the Oscars around the corner I thought it would be fun to share a set of my fashion illustration croquis so you can illustrate the red carpet with me.

Enter your email to download and print this set of free croquis. Then use the figure croquis to illustrate your favorite outfits. Tag @BrownPaperBunny and #BPBcroquis on Instagram so I can see your finished sketches!

Download Croquis

Enter your email to get the download link for these free croquis

I respect your privacy, and rarely send emails (but when I do I promise they’ll be fun)!

Download Fashion Illustration Croquis

Fine print: These croquis are for your own personal use and not for licensing, resale, or commercial use.

If you’d like to see some of my fashion illustrations for inspiration, check out these posts.

Featured
Fashion Illustration with Collage by Jessica Mack of BrownPaperBunny
Fashion Illustration with Collage
Fashion from Found Objects by Jessica Mack on BrownPaperBunny
Fashion From Found Objects
Free Fashion Flatlay Coloring Pages by Jessica Mack on BrownPaperBunny
Free Coloring Pages: Fashion Flatlays
Free Coloring Pages: Shoes by Jessica Mack on BrownPaperBunny
Free Coloring Pages: Shoes
Live+Fashion+Illustration+by+Jessica+Mack
Live Fashion Illustration: How To
Bloomtober 2019 Day 1 Portrait by Jessica Mack of BrownPaperBunny
Bloomtober 2019
Fall Fashion Illustration by Jessica Mack of BrownPaperBunny
Fall Fashion Illustration
Exclusive Tombow Dual Brush Pen Packs for Michael's by Jessica Mack of BrownPaperBunny
Exclusive Tombow Dual Brush Pen Packs for Michael's
Fashion Illustration Inspired by Food. By Jessica Mack of BrownPaperBunny.
Fashion Illustrations Inspired by Food
Fashion Illustration inspired by Dragonfruit drink at Starbucks. By Jessica Mack of BrownPaperBunny.
Inspired by Dragonfruit
FullSizeRender.jpg
Lunchtime Illustrations

(c) BrownPaperBunny

In Fashion Illustration, Dec 2018, Illustrations, Free Downloads, Watercolor
Comment
Watercolor portrait by Jessica Mack of BrownPaperBunny using different watercolor techniques

Watercolor Techniques

February 21, 2019

This week I was challenged to use multiple watercolor techniques in one portrait. I took that challenge and not only used multiple techniques but as many as I could think! Can you spot them all in my portrait above? Let me know, in the comments, if you think of any I missed!

Salt with Watercolor

Dropping kosher salt into almost-dry watercolor paint gives you a fun starburst effect. You have to experiment a little because if the paint is too wet or too dry it won’t work.

Watercolor and Salt by Jessica Mack of BrownPaperBunny

Wet on Wet Watercolor

This technique is fairly self explanatory. You wet your paper first, then add wet paint onto the wet paper, and watch it spread in a deliciously unpredictable way!

Wet on Wet Watercolor by Jessica Mack of BrownPaperBunny

Wet on Dry Watercolor

Wet paint, onto dry paper gives you a controlled, precise finish.

Wet on dry watercolor by Jessica Mack of BrownPaperBunny

Flat Wash

Flat washes give you a nice even area of color. I usually create mine with a really wet brush, onto dry paper.

Flat Wash Watercolor by Jessica Mack of BrownPaperBunny

Watercolor Fade Technique

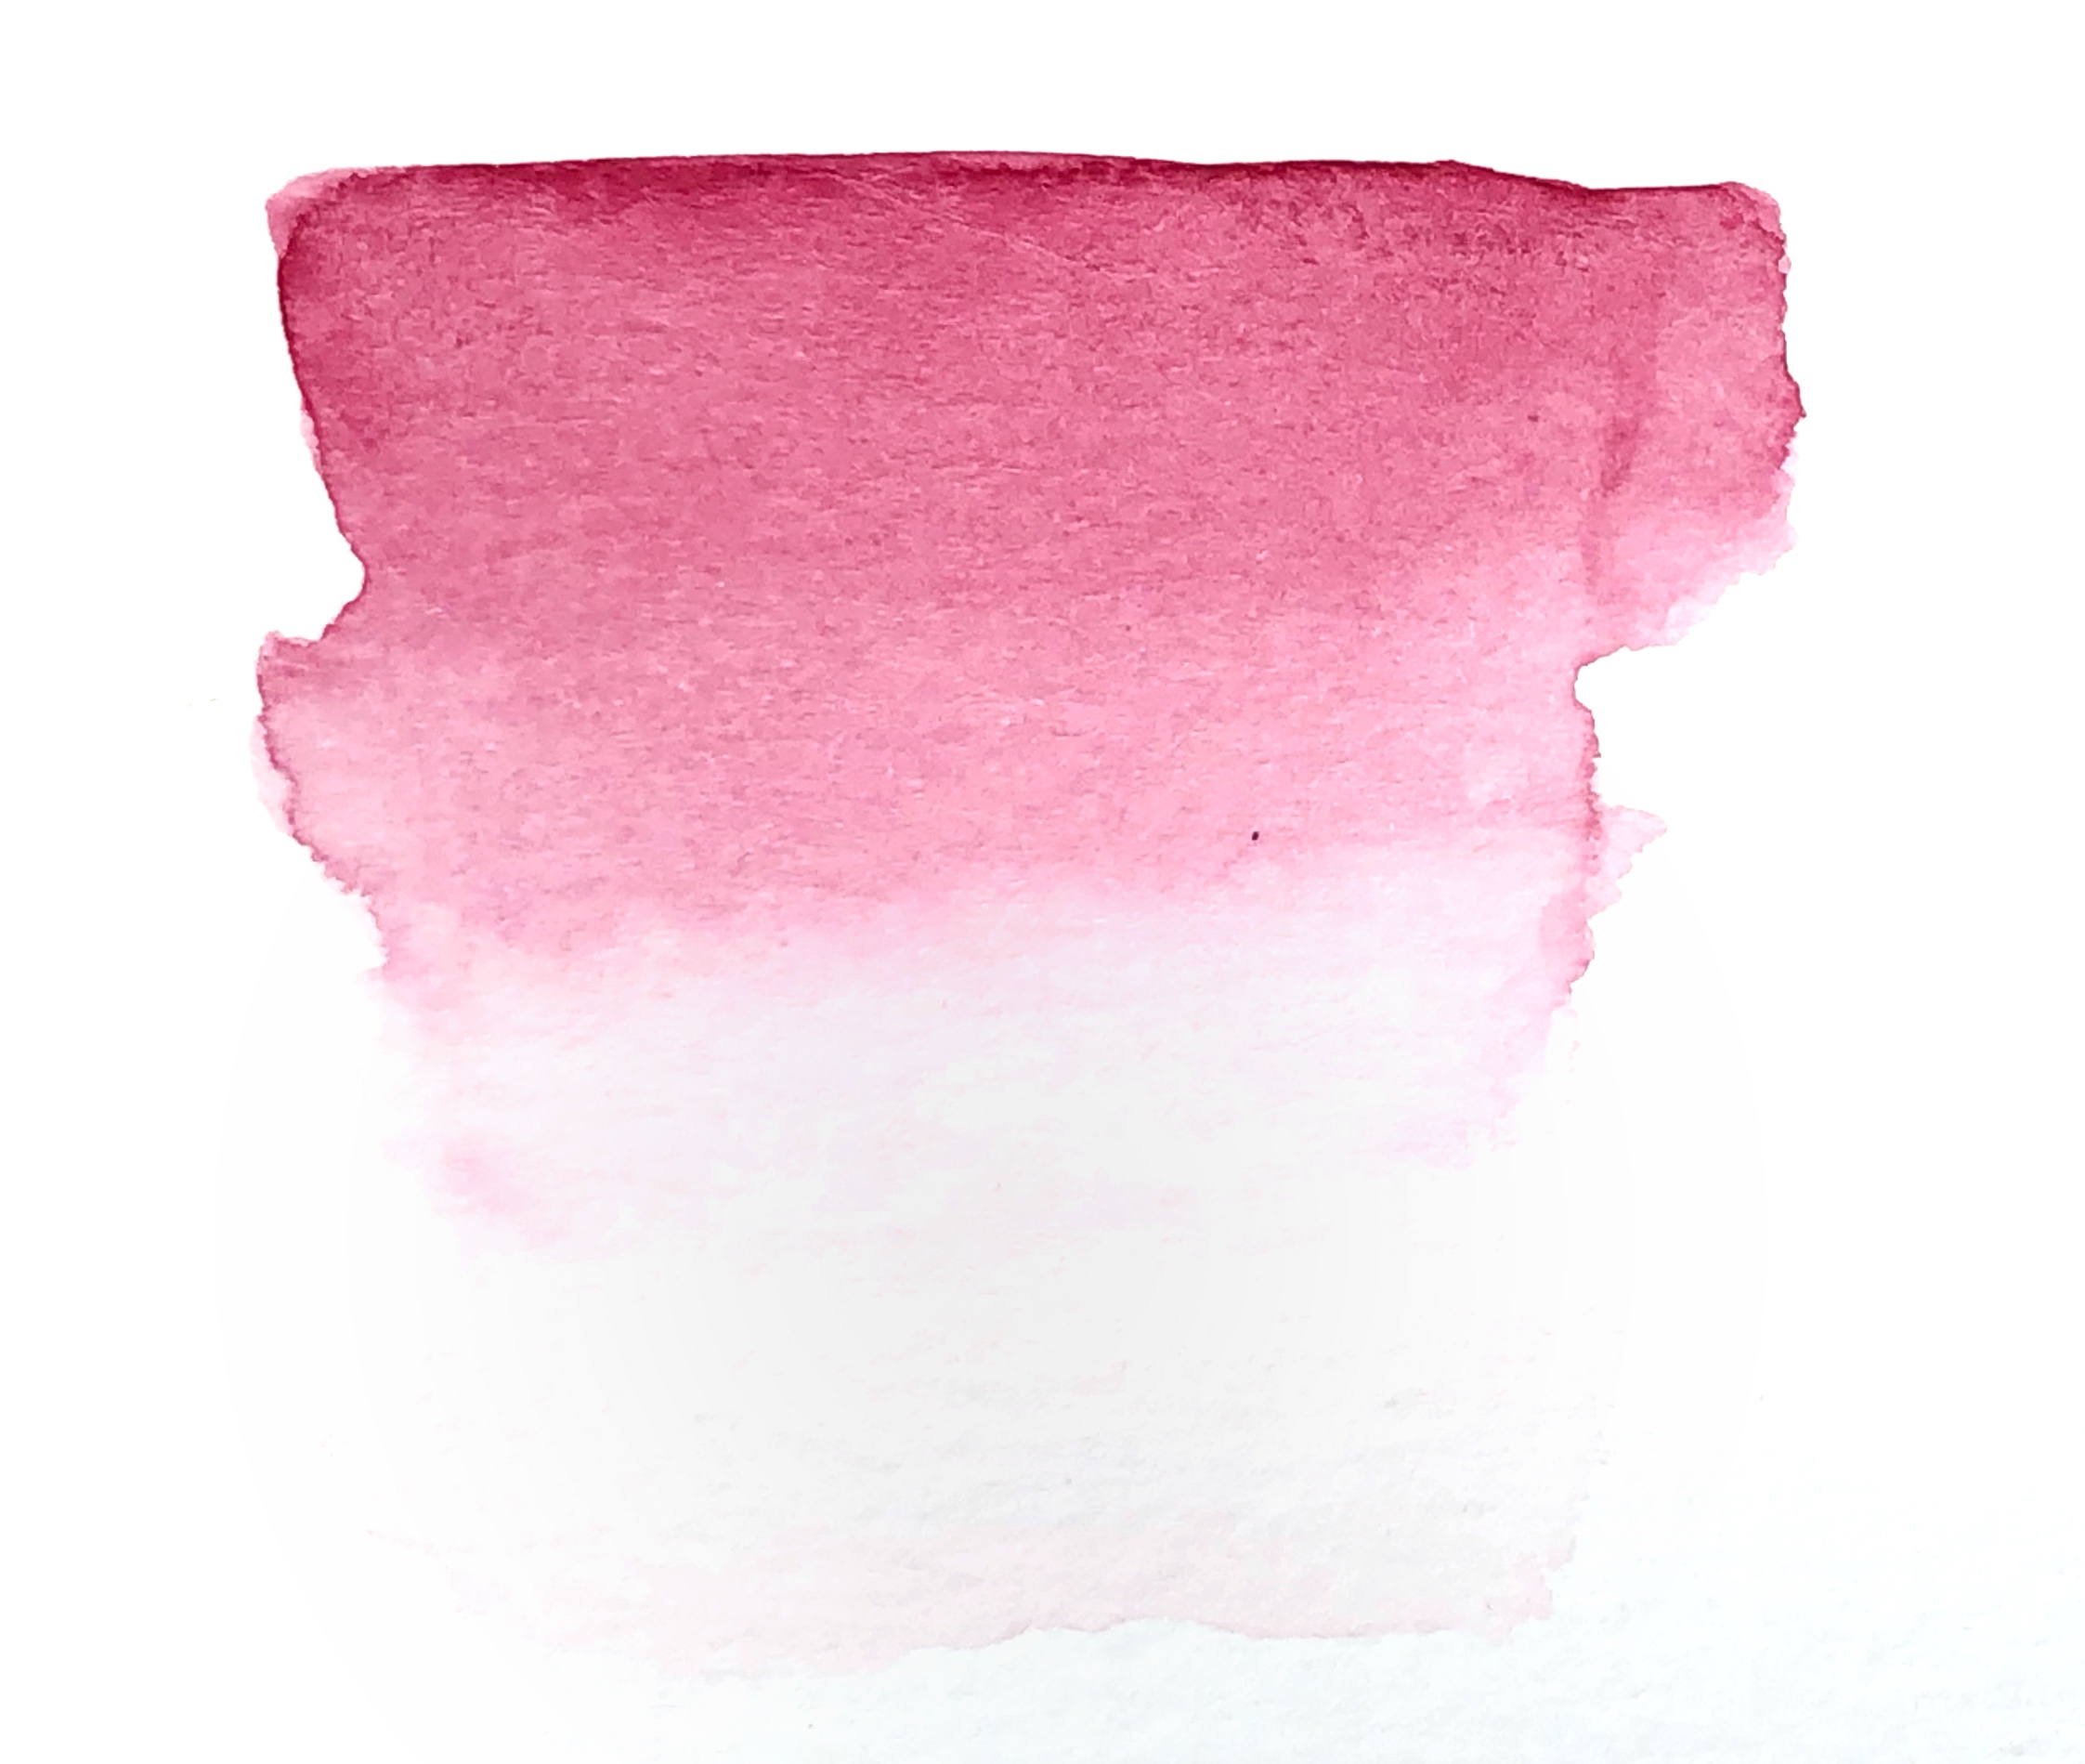
This technique has a few different names, but I like the term ‘fade’. It’s where you add a little wet paint to your dry paper, then rinse your brush and use it to pull the paint down the paper. You can then rinse and repeat until the color is faded completely.

Watercolor Fade Technique by Jessica Mack of BrownPaperBunny

Graduated Wash

A graduated wash can be achieved via wet-on-wet and controlling the spread of paint by tilting the paper or blotting with paper towel. Or you can get this look by similarly to the fade technique but by using more water and rinsing your brush less in between each cross stroke (more of a dip than a rinse).

Graduated Wash using Watercolor by Jessica Mack of BrownPaperBunny

Glazing

A watercolor glaze is a thin wash applied over dry paint. It’s useful in unifying a painting with a similar color, or if you need to reduce the contrast of an area etc.

Watercolor Glazing by Jessica Mack of BrownPaperBunny

Scumbling

Watercolor scumbling is a technique I only learned recently, and it’s great for adding texture — especially to your underpainting. Scumbling is basically scribbling, or loose dots which let some of the paper show through.

Watercolor Scumbling by Jessica Mack of BrownPaperBunny

Crosshatching with Watercolor

Most used with pencil or ink, crosshatching can either be a fun or madening watercolor technique. Too wet and it turns into a muddy mess, but just a little bleeding together can make for a very cool effect and give you lots of texture.

Crosshatching with Watercolor by Jessica Mack of BrownPaperBunny

Here’s an example of an entire portrait I created using watercolor crosshatching.

View this post on Instagram

A post shared by Jessica 🎨 Seattle Artist (@brownpaperbunny) on Feb 1, 2019 at 7:19am PST

Doodling with Watercolor Paint

If you have a fine brush, doodling on a painting can be really fun and is a great way to add some detail or areas of interest.

Doodling with Watercolor by Jessica Mack of BrownPaperBunny

Using Masking Fluid

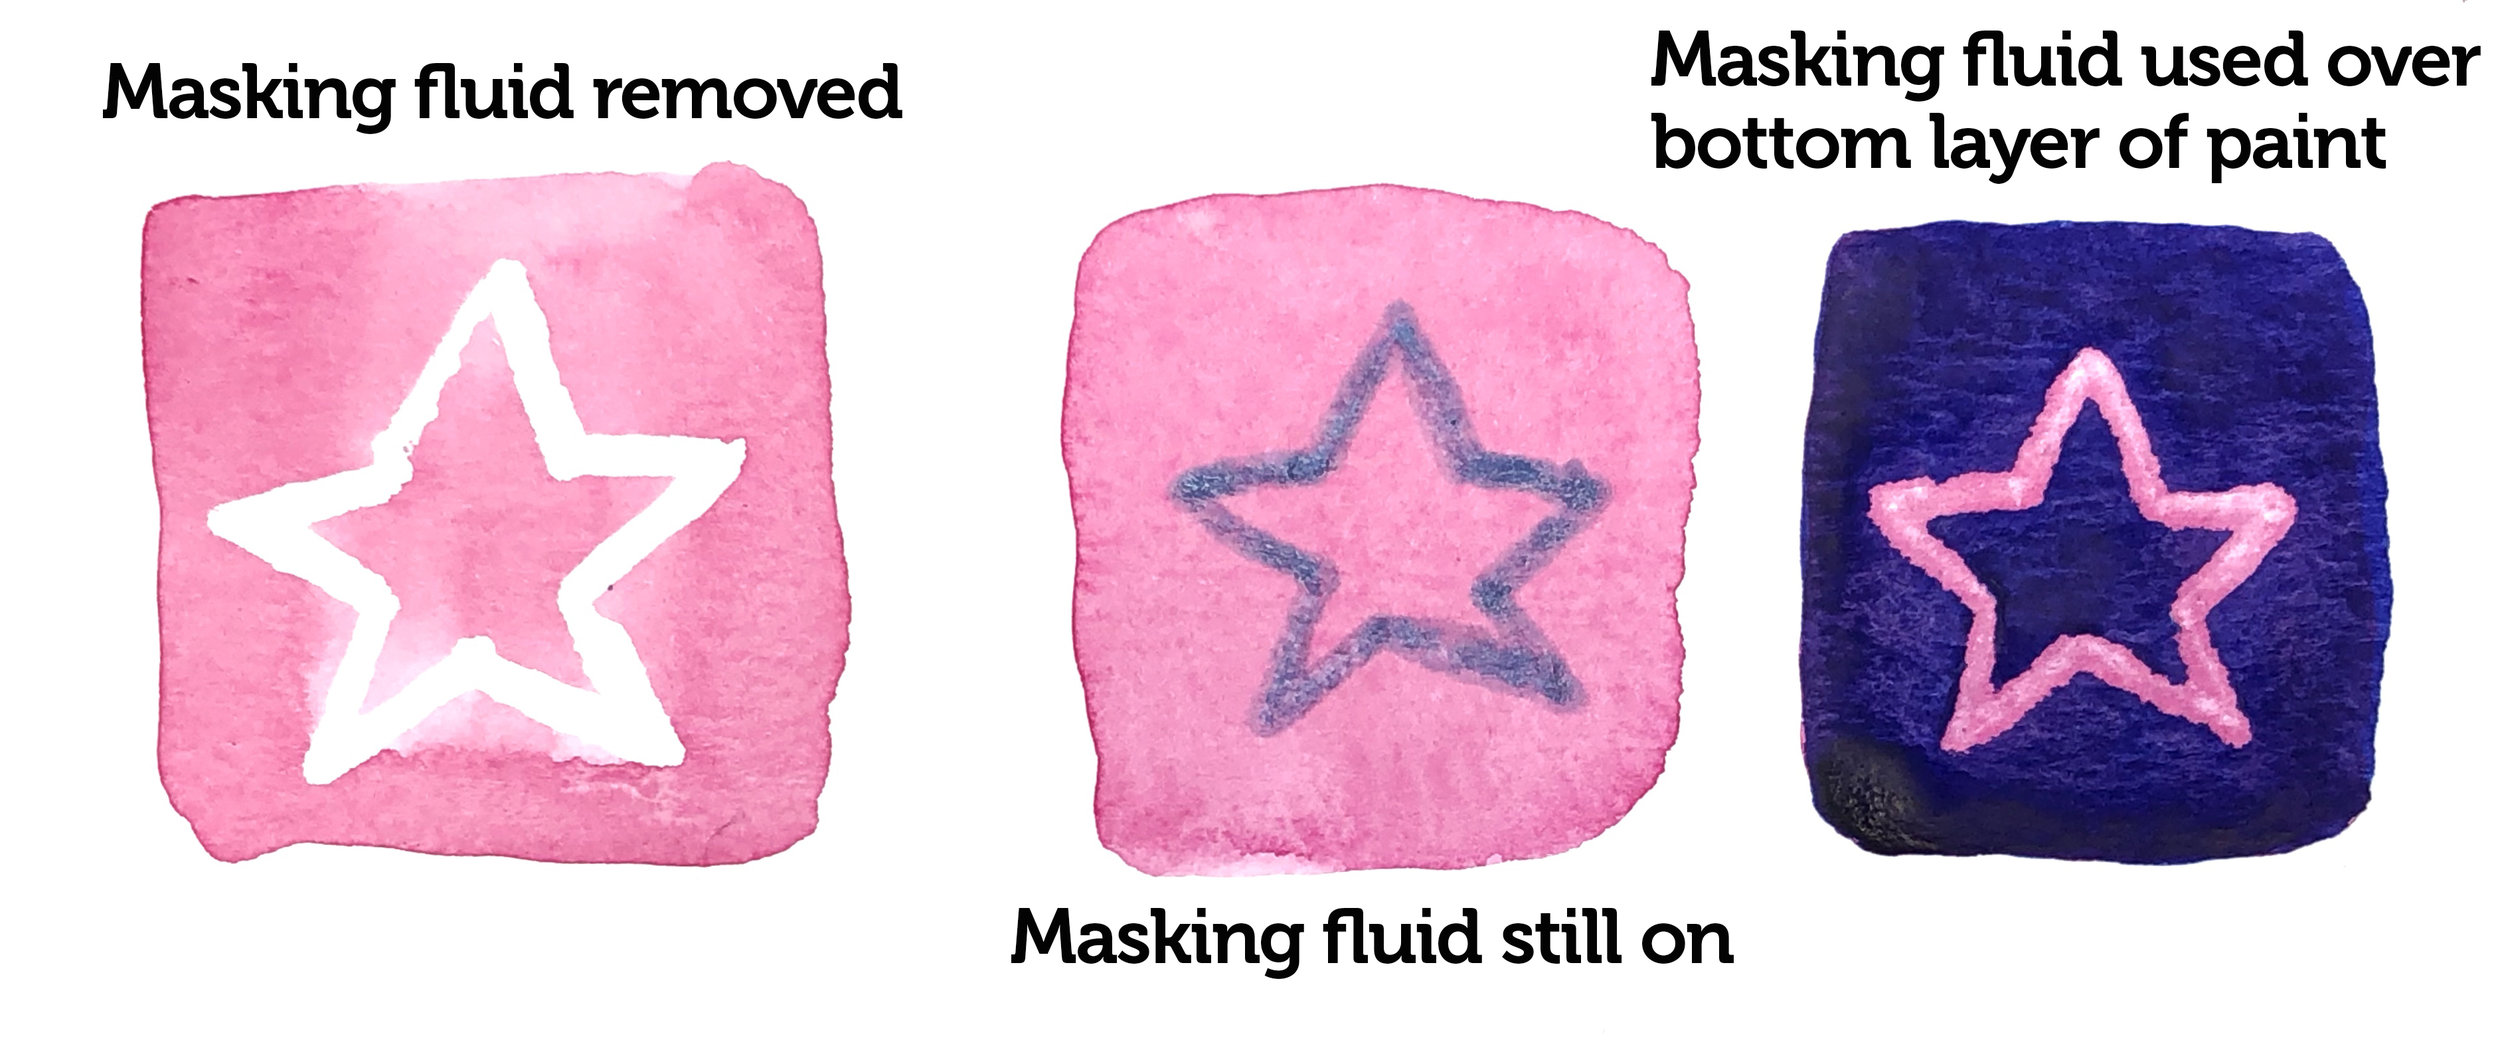
Masking fluid is a liquid rubber that once dry can be painted over, preserving (masking) the area underneath until it is removed. It’s great for highlights or details you want to keep while applying a wash or big area of color to the rest of your paper. Make sure you dip your brush in soap before you use it with masking fluid, and clean it immediately afterwards or else it will dry and in your brush and ruin it. You can also use masking fluid pens or dip a toothpick into it instead of risking your brushes.

Masking Fluid with Watercolor by Jessica Mack of BrownPaperBunny

Lifting off

Lifting off is great if you want a lighter area, or you made a mistake. It can be done with a clean dry brush (or paper towel) into almost dry paint, or you can gently use a sand eraser or razor blade to remove areas of dried paint (these last two will damage the paper though and you won’t be able to paint over the top).

Lifting off Watercolor by Jessica Mack of BrownPaperBunny

I often get asked what brands of watercolor, paper, and brushes I use, so I created a list for you here.


More watercolor tutorials:

Featured
CRL-Horizontal-Laptop-Beige-Floral-Painting.jpg
Creative Retreat Live
Rainbow-Watercolor-Wreath-Using-Markers.JPG
Rainbow Wreath Tutorial
JessicaMack-Mothers-Day-Art-8.jpg
Make Your Own Mother's Day Art
In Tutorial, Illustrations, Watercolor, Dec 2018, Portraits
12 Comments
← Newer Posts Older Posts →

Subscribe

Sign up to receive social media tips, freebies, special promotions, and art tutorials!

Thank you!

Please click confirm in the email you were just sent!

Directory of Illustration Jessica Mack

Shop my work on Society6

Watercolor World Map by Jessica Mack of BrownPaperBunny

Follow on Instagram

For the 100 Days Project this year I’m keeping it super low pressure. I’ve got a very busy couple of months coming up and want to set myself up to be able to stick with it, while still making sure I do something creative every day. You ca

See my classes on Skillshare

Skillshare Classes by Jessica Mack

Popular Posts

Popular Posts
CRL-Horizontal-Laptop-Beige-Floral-Painting.jpg
Creative Retreat Live
Rainbow-Watercolor-Wreath-Using-Markers.JPG
Rainbow Wreath Tutorial
15 Ways to Journal by Jessica on BrownPaperBunny
15 Ways to Journal
Tombow Brush Pen Markers and Colored Pencils
Brown Paper Bunny

Privacy + Terms of Use

Shop

Watercolor with Markers Book

Classes

Art Tutorials

Art & Illustration Portfolio

About

Contact

Custom Book Print

Custom Book Mug

How to Paint Watercolor Flowers Using Markers

Free Fashion Croquis

Start an Art Journal

6 Easy Flowers to Draw with Tombow Markers

Make Your Own Watercolor Bookmarks